

MTB Bike Parts Explained for NZ Trails
- by Nigel
-

About 292,000 New Zealand adults took part in mountain biking at least once in a year. Sport New Zealand's 2013/14 Cycling Sports Profile, cited in the Ministry of Business, Innovation and Employment cycle trail evaluation, put that at 8.8% of adults aged 16 and over. Everyday cycling was larger, and only a small share did both, so trail riding is its own group of people, not a side note on the commute.
Those riders wear out mtb bike parts on mud, roots and repeated climbs. A chain, a set of pads, a tyre or a seal is the cost of keeping a bike that already fits, not a surprise you deal with after something fails. Fit is a separate question from whether a battery is safe to charge.
This guide starts with the noise or the soft lever in your hand, then checks the socket the bike already has, then sets pressure, rotor size and a service budget for New Zealand trails.
MTB Parts by Symptom and System
Match the symptom before you name a brand. Each group below has one job, a first sign that it is tired, and the cue that means it is time to replace or service it.
| Part group | Job on the bike | First wear sign | Replacement cue |
|---|---|---|---|
| Drivetrain | Turns pedals or motor torque into drive | Skip, chain slap or rusty links | Worn chain, hooked cassette or shark-fin chainring |
| Brakes | Slow and control the bike | Long lever, squeal or pulse | Thin pads, glazed or undersized rotor |
| Suspension | Absorb hits and keep tyres planted | Harsh, wallowing or oily legs | Seal service or worn bushings |
| Wheels | Hold the tyre and roll true | Wobble, hop or gritty hub | Loose spokes, bent rim or bad bearing |
| Tyres | Grip, cushion and seal air | Cuts, squared knobs or slow leaks | Damaged casing or worn tread |
| Cockpit | Steer, support and connect the rider | Creak, slip or crunch | Bent bar, torn grip or worn pedal |
Drivetrain is the chain, cassette, chainring, derailleur and shifter. Replace when a chain checker shows stretch, or the cassette skips under power even after a clean and a fresh lube. Brakes are pads, rotors, levers and the hose or cable. Act when the lever travels a long way, the pads look thin, or the rotor pulses through the lever. Suspension is the fork, rear shock, seals and bushings. Service it when the bike feels harsh, dives in its travel, or leaves oil on the stanchions after a wet trail.
Wheels cover rims, hubs, spokes, bearings and axles. A wobble, a dull hub or a thru-axle that will not snug up is the cue, not a new tyre. Tyres are casing, tread and the tubeless setup. Replace them for cuts, squared knobs, or sealant that will not hold overnight. Cockpit is bars, stem, grips, saddle, seatpost and pedals. Bent bars, torn grips and pedals that crunch underfoot come off the bike. They do not get another season of “it still turns”.
One corner, four systems
Say you drop into a rooty corner on a Nelson hillside. The front wheel takes the hit, the fork compresses so the tyre stays planted, the brakes scrub speed before the apex, and the drivetrain carries the next pedal stroke up the rise. If the fork is packed down, the pads are thin and the chain is rusty, you feel three problems at once and it is easy to blame the wrong one.
Practical rule: Name the symptom first, then check the interface the bike already has. The useful question is which socket, axle or mount is on the bike, not which logo looks best on the shelf.
A 2018 BERL economic study, set out in a Ministry of Transport cycling participation response, estimated about 45,620 individual mountain-bike users a year across wider Nelson-Tasman: 16,370 local riders, 20,250 visitors from elsewhere in New Zealand, and 9,000 international visitors. That volume of trips through mud, dust and impacts is why chains, pads, tyres, seals, cables, bearings and wheels keep leaving the workshop, and why Nelson is a practical place to get the part and the fitting done together.
Fit Checks That Stop a Bad Buy
A part can look right and still be the wrong socket. The expensive miss is the one that almost fits: a wheel that slides in most of the way, a rotor that bolts on two holes, a bar that clamps if you really wind the stem bolts. Work down this list in buying order, and stop at the first mismatch.
| Interface | Match this | Common mismatch | If it is wrong |
|---|---|---|---|
| Drivetrain speeds | Shifter, derailleur, cassette and chain | 11-speed shifter on 12-speed cassette | Missed shifts or a chain that will not sit |
| Hub axle | Frame and fork spacing and axle type | Boost wheel in a non-boost frame | Wheel will not sit or the disc rubs |
| Rotor attachment | Six-bolt or Center Lock hub | Wrong rotor with no adaptor | Bolts will not secure the rotor |
| Caliper mount | Post mount and adaptor for rotor size | 200 mm rotor on a 180 mm mount | Pads miss the rotor or the caliper hits the spoke |
| Tyre and rim | Bead diameter and rim internal width | Tyre too wide for the rim or frame | Burping, rubbing or unstable cornering |
| Cockpit clamps | Bar diameter, stem, headset and seatpost size | 31.8 mm bar in a 35 mm stem | Slip, creak or a crushed bar |
What a near miss actually does
Speeds have to agree across shifter, derailleur, cassette and chain. An 11-speed shifter will not index a 12-speed cassette. You get missed shifts, or a chain that climbs the cog and drops off the other side.
Axle standard has to match the frame and the fork. A boost hub in a non-boost dropout can look close in the stand. On the trail the wheel sits crooked, the rotor rubs, or the axle thread never quite draws up.
Brake mount and rotor attachment are two checks, not one. A six-bolt rotor will not bolt to a Center Lock hub without the correct adaptor. A post-mount caliper needs the adaptor that matches the rotor you intend to run. Skip that and the pads miss the braking surface, or the caliper walks into a spoke.
Rim and tyre have to agree on bead diameter and internal width, and the tyre still has to clear the fork, frame and chainstays. Too wide a tyre on a narrow rim burps in a corner or rubs the stay on the first compression.
Cockpit and pedals finish the list. Headset, bar clamp, stem length and seatpost diameter decide whether a swap is safe. A 31.8 mm bar in a 35 mm stem slips, creaks, or gets crushed when you chase the creak with more torque. Pedal thread is a left-and-right trap: the non-drive pedal tightens the other way, and a forced thread ruins the crank.
Before you order, photograph the old part, count the speeds, read the axle and rotor markings, and measure the clamp diameters. A phone photo of the worn part next to a ruler saves a return.
Tyre Pressure and Rotor Size by Terrain
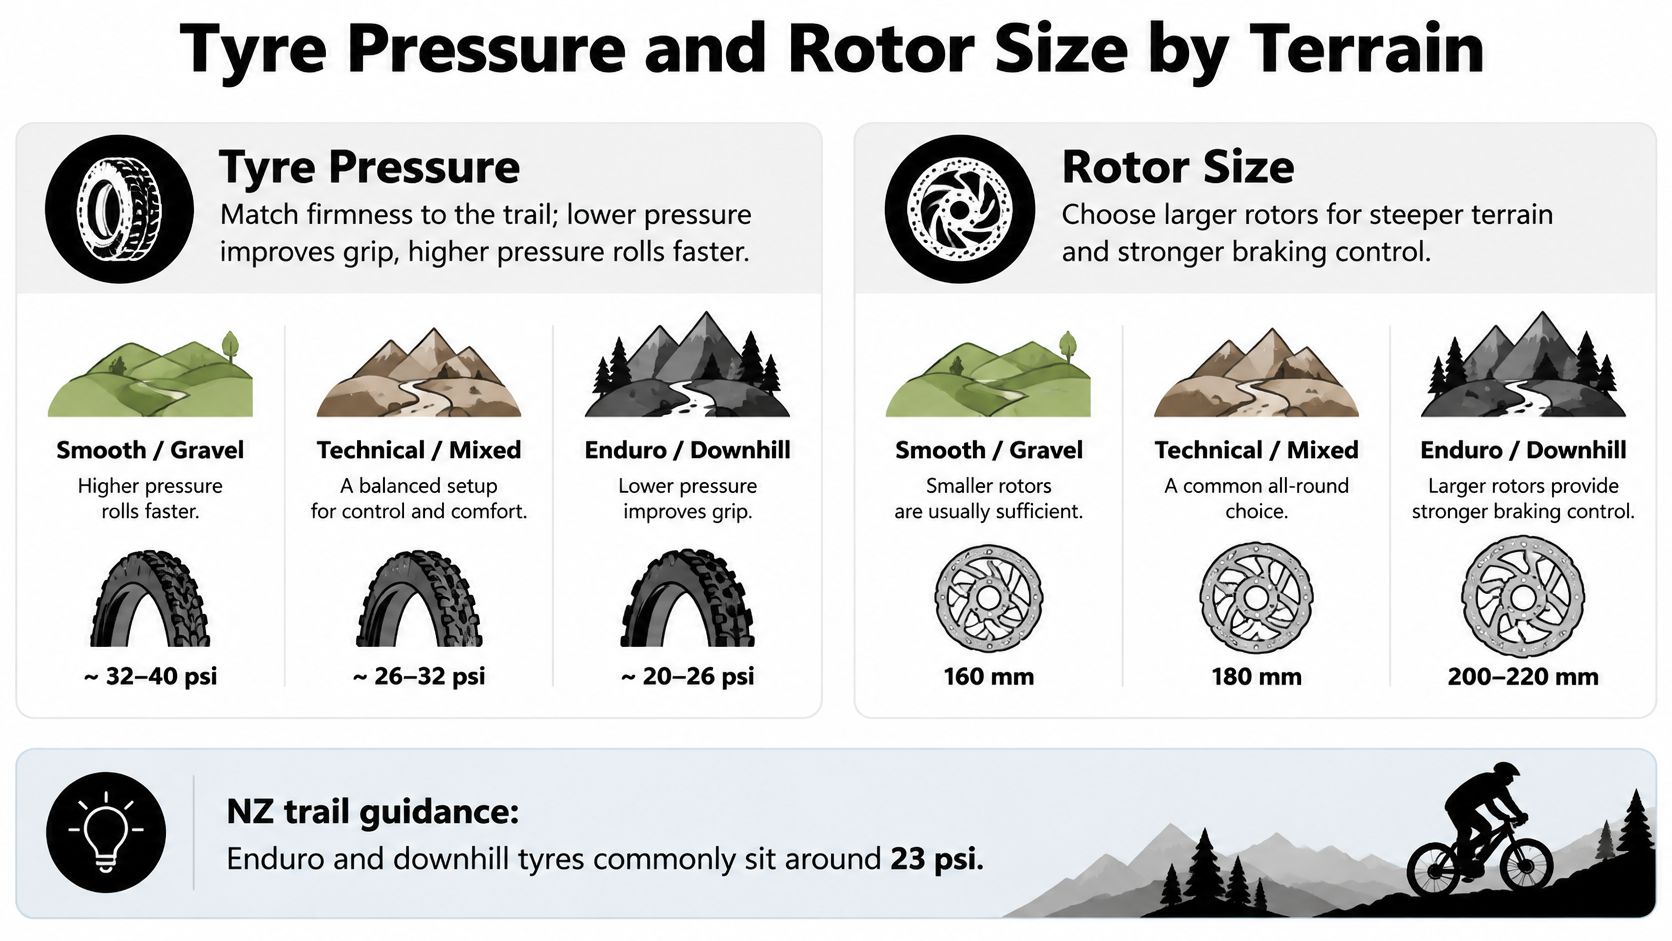
Once the part fits, the next choice is how firm the tyre is and how large the rotor is for the trail in front of you. NZ trail guidance puts typical enduro and downhill pressures around 23–32 psi (1.6–2.2 bar), as set out in this Rider 18 mountain bike tyre guide. The low end adds grip and lets the casing swallow square edges. It also raises rim strikes, casing roll and tubeless burping. Heavier e-MTBs and aggressive riders should sit toward the firmer end, because the motor, battery and rider load the same casing harder.
The same guidance scales rotors with the hill. About 180 mm suits mixed trail riding. About 200 mm suits enduro and steep technical terrain, because the larger diameter adds braking torque and gives heat more metal to live in. A larger rotor is not free. The fork tab, adaptor and caliper have to clear it, and the hub mount has to match.
Two riders, one frame idea
Picture two people on similar travel. The lighter trail rider can run the soft end of that pressure band and 180 mm rotors, and the bike still turns and stops. Copy those settings onto a loaded e-MTB and the heavier bike feels vague in corners and fade-prone on a long descent. The extra mass works the pads and the casing on every braking bump.
A simple setup beats a brand ranking. Start mid-range, drop a little for a tacky forest trail, and add air after a rim ping or a folded sidewall. If you want a fuller walk-through of that habit, use the tyre pressure guide for New Zealand trails. These numbers only apply after the fit checks pass. An incompatible rotor or tyre can sit on the bike and still give poor pad contact, rub, or unstable handling.
A short workshop clip on reading tread and pressure on the bike is worth a look before you change both at once.
Wear Intervals Worth Budgeting For
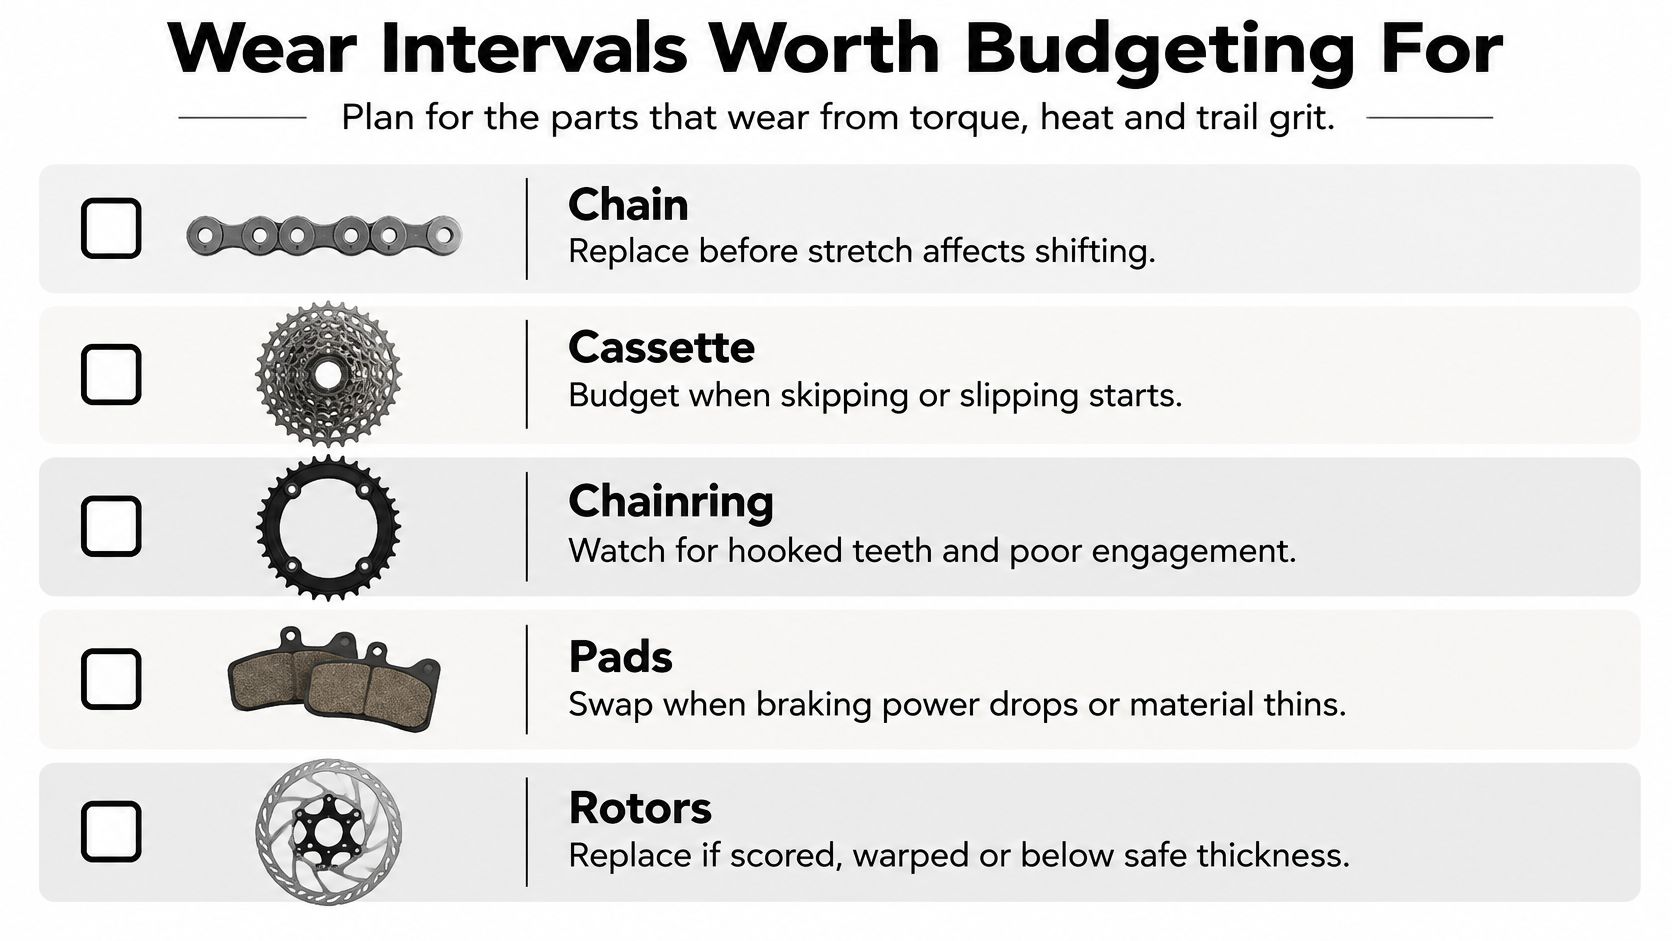
Chains, pads, tyres and suspension seals are running costs, not optional repairs. On an e-MTB, the motor's torque and the added weight put extra load on the chain, cassette, chainring, pads, rotors and wheels. Budgeting for wear is like allowing for tyres on a car: the part does its job every ride, and replacement is part of keeping the bike working properly.
Consumer NZ's e-bike maintenance guidance recommends checking tyre pressure weekly, inspecting the casing before each ride, and replacing brake pads when the friction material is below 1 mm. For the chain, use a chain checker and replace it when the tool shows stretch, or if it skips under power. Keep it clean and use only a light film of lubricant, so grit does not turn into grinding paste.
Who does the check
| Check | Act when | Who does it |
|---|---|---|
| Tyre pressure and casing | Check pressure weekly and inspect before every ride | Rider |
| Brake pads | Friction material is below 1 mm | Rider if confident, otherwise workshop |
| Chain | Chain checker shows stretch, or it skips under power | Rider measurement, workshop if unsure |
| Cassette and chainring | A new chain still skips, or teeth look hooked | Workshop preferred |
| Rotors | Brakes pulse, rotors show blue heat marks, or their size is too small for the trail | Workshop preferred |
| Suspension | Oil appears on stanchions, or the suspension feels harsh and packed down | Workshop service |
| Wheels | Spokes are loose, the wheel hops, or a bearing sounds dull | Workshop |
| Battery, motor or display | A cut-out, heat or water ingress occurs | Stop riding and use a professional |
Pressure, pad thickness and chain wear are practical home checks. Wheel building, brake bleeds and suspension seals call for workshop skills. If you are unsure whether a job is routine or needs a booking, this guide on when to service a bike can help you decide.
A commuter may budget for pads and a chain over a year of wet roads, while a weekend trail bike may use more tyres and need a seal service. A family e-MTB may need both, as well as a workshop check if its display cuts out. The same parts face different demands, so set aside room in the ownership budget for the wear your riding brings.
Stop riding if the bike has electrical cut-outs, a hot battery, water inside a connector, a cracked rim or a tyre casing showing threads. Chain and pad checks help with ordinary wear; they cannot diagnose a drive unit.
Electrical Parts and NZ Safety Rules
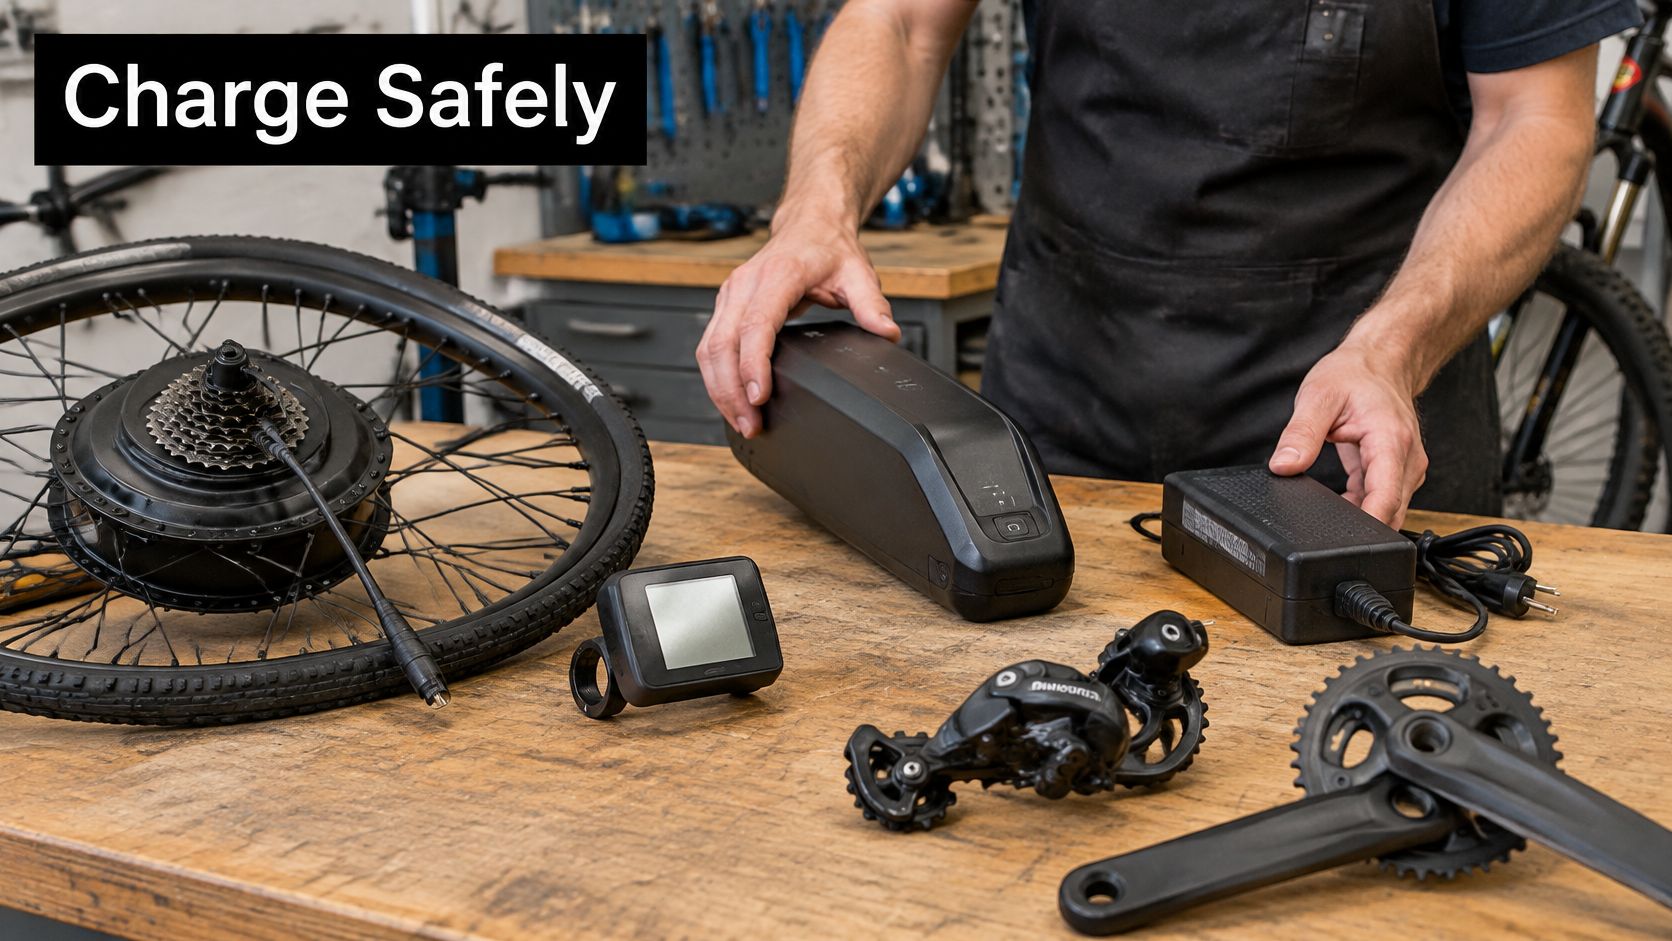
A matching connector does not prove a battery is right for your e-MTB. Before charging a replacement pack, check its documentation, cells, charger compatibility and connector polarity. Mechanical fit and electrical safety are separate decisions, like a wheel fitting the frame but still needing the right setup for the trail.
New Zealand's Electricity (Safety) Amendment Regulations 2025 bring e-bikes and lithium cells in batteries into the electrical-safety framework, as outlined in TÜV Rheinland's regulations note. The changes come into force on 13 November 2025, with a transition running to 13 November 2026.
What to look for before a pack leaves the shelf
Documentation and claimed standards. Check what the pack was built to. Capacity on a label is only one detail, not proof that the battery suits your bike or charger.
Charger match. Use the charger specified for the pack. A plug that fits is like a tyre that clears the frame: it confirms one part of the fit, not the whole setup. The charging profile must also suit the cells.
Connector polarity. Confirm polarity before connecting the pack to the bike. Reversed polarity is not a safe test.
System match. Avoid mixing unknown cells with a display or motor the bike maker did not specify. A setup outside the maker's specifications can also leave you without clear warranty support if something fails on a climb.
Water ingress, swelling, heat during charging or a pack that cuts out on climbs are reasons to stop using it and get professional help. Workshop installation is the sensible choice for electrical parts. Chains, brake pads, tyres and seals are mechanical wear items, so budget for them as part of owning a bike rather than treating them as optional repairs.
Before comparing a cheap imported listing with the battery supplied with your bike, review these electric bike battery basics. A pack that bolts into the cradle may still be wrong to charge. Documentation, charger match and warranty support matter more than a bigger capacity number on the label.
Confirm the Part Before You Order
Buy the part that matches the bike already in the shed. Name one symptom from the opening table, confirm the interface, and only then pick a pressure, a rotor size or a service interval if that row applies.
- Photograph the worn part and its markings. Include the speed count, the axle stamp and any rotor size printed on the disc.
- Read the interface before you add it to a cart. Speeds, axle standard, rotor attachment and clamp diameter decide whether the new part can do the job. A wider tyre or a larger rotor is a later choice.
- Book a workshop look when the job has left home-check territory. That includes a chain that is due, pads worn down to the friction limit, a wheel out of true, or any electrical symptom. Do not ride it “until it gets worse” and call that a saving.
If the symptom is a chain, pads, a tyre or a noisy hub, buy that wear part and put the next interval in the budget. You do not need a whole groupset because one cog is hooked. If the symptom is a battery, charger, motor or display, stop and treat it as an electrical job with paperwork, not a mechanical upgrade.
A 2025 NZTA study on e-bike support schemes, NZTA research report 732, found that including maintenance and safety equipment reduces cost barriers and supports safer riding. It also reported that intermittent troubleshooting, electrical faults and regular servicing often need professional attention, and it recommends mechanical support close to where people live and ride. That is the opposite of assuming every owner can run a full workshop from a multitool.
Rider 18, the Nelson shop at rider18.co.nz, is one place to check or buy the confirmed part, including Shimano, SRAM and Maxxis parts, and to book a workshop look when the interface or the electrics are unclear. The useful purchase is the one that matches the bike you already own.
Rider 18 stocks mountain-bike drivetrain, brake, wheel, tyre, suspension and e-bike parts, and the workshop can confirm fit against the bike you ride. If you are budgeting a chain, pads or a tyre for Nelson trails, or you need a documented look at an electrical part, start with the symptom and the interface, then visit Rider 18 to check the part or book the job.


Please upload banner from store admin blog pages