

Bike Maintenance Kit for Every NZ Ride
- by Nigel
-

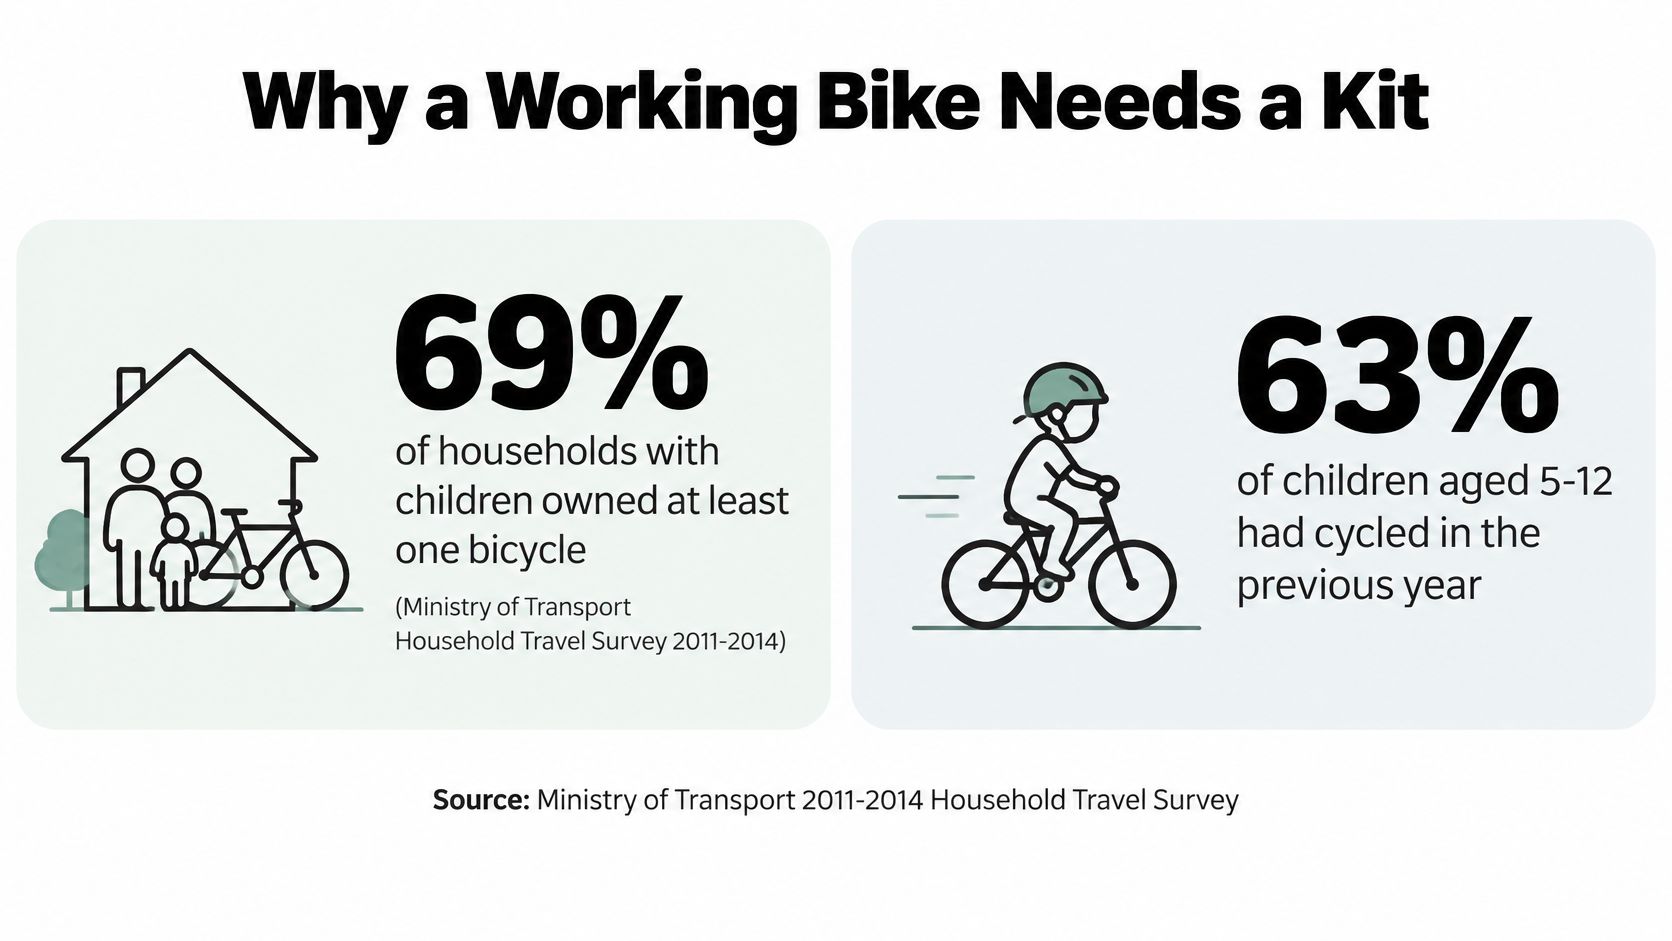
Cycling across New Zealand covers about 313 million kilometres and roughly 25 million hours of travel a year, the Ministry of Transport's 2011–2014 Household Travel Survey found. The same survey recorded that 69% of households made up of families with children owned at least one bicycle, and that 63% of children aged 5–12 had cycled in the previous year. Those hours only count if the bike still holds air, runs a quiet chain and stops on both wheels. A bike maintenance kit is the small set of tools that keeps that true between shop visits.
Why a Working Bike Needs a Kit
That survey measured bicycles "in working order". A bike leaning in the shed is not the same thing as a bike you can send to school or ride to work. Roadworthiness is a maintenance job, not a fact of ownership.
Say a household has two children's bikes and one adult hardtail. After a wet fortnight the small tyres are soft, one chain has surface rust, and a rear brake squeals. Nothing is "broken" in a dramatic way. The bikes have slipped out of working order. One compact kit covers all three, which matters because kids' bikes get wet, sit unused, and change size quickly.
Treat the kit as the few tools and consumables that keep tyre pressure, the chain and the brakes trustworthy. It is not a rolling workshop and it is not a substitute for a mechanic.
Home limit: Inflation, puncture repair, lubrication, bolt checks and a simple brake inspection stay at home. Lithium-ion packs and suspension seal work do not.
Shop from the packing list in the next section today. A track pump, tyre levers, a tube or plugs, chain lube and a multi-tool are enough to start. Add the rest only when a real ride shows a gap.
What Belongs in the Base Kit
| Item | What it does | When to use it | Keep it |
|---|---|---|---|
| Track pump with gauge | Sets pressure to the sidewall figure | Before every ride and weekly | Home |
| Mini pump | Gets the rider home after a flat | Roadside | Ride bag |
| Plastic tyre levers (2–3) | Lifts the bead without pinching the tube | Puncture repair | Both |
| Spare tube or tubeless plugs | Restores a rolling tyre | After a puncture | Ride bag |
| Patch kit | Repairs a small tube hole | At home after the ride | Home |
| Chain lubricant | Cuts wear, noise and rust | After rain, mud or a dry dusty ride | Home, plus a small bottle |
| Multi-tool, hex keys about 2–8 mm | Tightens cages, stems, levers and axles | A loose or creaking bolt | Ride bag |
| Ruler or pad gauge | Confirms rim pads stay over 3 mm | Monthly, plus a quick look before rides | Home |
| Rags, brush and degreaser | Cleans chain and cassette | Monthly or after mud | Home |
| Torque-aware bit set | Avoids crushed carbon or motor mounts | When a bolt spec is printed | Home |
Pack or buy from that table before you worry about exceptions. Each row exists to stop one failure, not to fill a toolbox.
The checks those tools make possible
Auckland Transport recommends inflating tyres to the pressure printed on the sidewall, and checking that the front and rear brakes each stop their own wheel. It also says rim-brake pads should remain more than 3 mm thick. NZTA's seven-point check treats a frayed brake cable, a spongy disc-brake lever or braking that doesn't work as a fault that needs attention, not a roadside experiment.
Low pressure raises puncture risk and can let the rim hit the ground. A dry or grit-coated chain wears the cassette long before the chain looks "done". A pad thinner than that 3 mm line, or a cable with broken strands, is a stop-the-ride fault. On a heavier bike or a rough trail, those checks matter before you leave, because mass and repeated braking load the tyres and the brakes harder.
What travels and what stays
The ride bag holds only the mini pump, levers, a plug or tube, and the multi-tool. The gauge pump, rags, degreaser and torque bits stay in the shed. Patch a small hole at home after you're back. Don't try a tidy patch on the roadside in the rain.
The kit is complete when you can set pressure, fix one flat, lube the chain and confirm both brakes work on their own.
If the budget covers only three things, buy a track pump with a gauge, a patch kit with two plastic levers, and a multi-tool. Add wet lube, a spare tube and a pad gauge as soon as a ride shows you need them. A torque-aware bit set waits until a bolt on carbon or a motor mount prints a number.
How the Kit Changes by Bike
The base list doesn't change. What you add does, and so does what you refuse to carry.
| Bike | Add these | Why it changes |
|---|---|---|
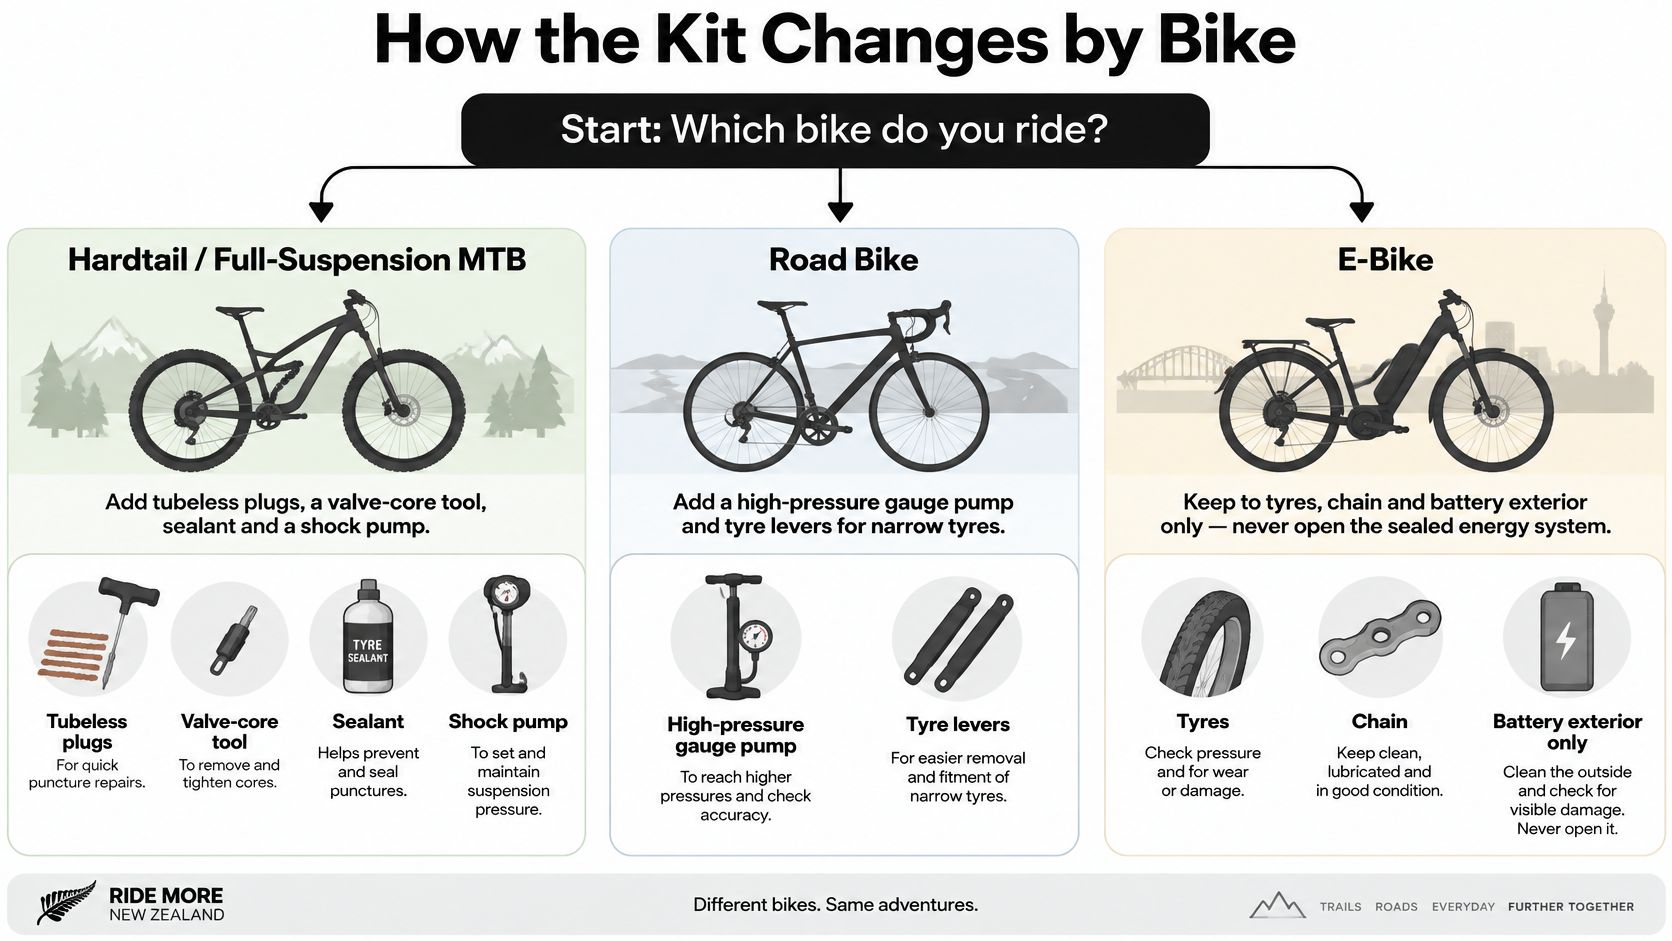
| Mountain bike | Tubeless plugs, sealant, valve-core tool, shock pump | Impacts and grit load tyres and dampers |
| E-bike | Original charger, battery visual checklist, correct hex bits | Mass plus fire and diagnostic risk |
| Family and kids bikes | Tubes in each size, shared floor pump, simple levers | Several bikes wear and sizes change |
| Everyday commuter | Wet lube, compact pump, one spare tube | Daily braking has to be predictable |
A hardtail or full-suspension bike wants tubeless plugs, a valve-core tool, sealant and a shock pump matched to that fork or shock. Trail impacts and grit punish tyres and dampers. The shock pump sets air pressure. It does not open seals. A narrow-tyre road bike instead wants a gauge you trust at high pressure and levers that won't tear a thin bead.
An e-bike kit adds only the original charger, a visual battery checklist and the correct hex bits. Electrical probes and cheap replacement chargers stay out. A family shed needs tubes in each child's size, one shared floor pump and simple levers, because several bikes wear at once and sizes change. A commuter is better with wet lube, a compact pump and one spare tube. A spongy hydraulic lever on that commute is a shop job, not a home top-up.
A Ministry of Transport Domestic Transport Costs and Charges Study, using Statistics New Zealand household expenditure figures for June 2019, put average spending on bicycle purchases at $1.20 a week, or $62.40 a household a year, with a sampling error of 26.4%. At an average of 0.75 bicycles per household, that is about $83.20 per bicycle a year. That figure is purchases, not servicing. It still shows why a modest kit is cheaper than replacing a bike you could have kept rolling.
If you're lining up a supported ride rather than a solo commute, Samba's bike tour booking tools help you see what the operator expects you to bring, so the kit matches the route instead of a guess.
If the printed symptom is electrical, hydraulic or inside a sealed damper, the extra tool does not belong in the kit.
A short workshop walk-through of the same boundary is worth watching before you buy a bigger roll.
E-Bike Jobs the Kit Must Not Touch
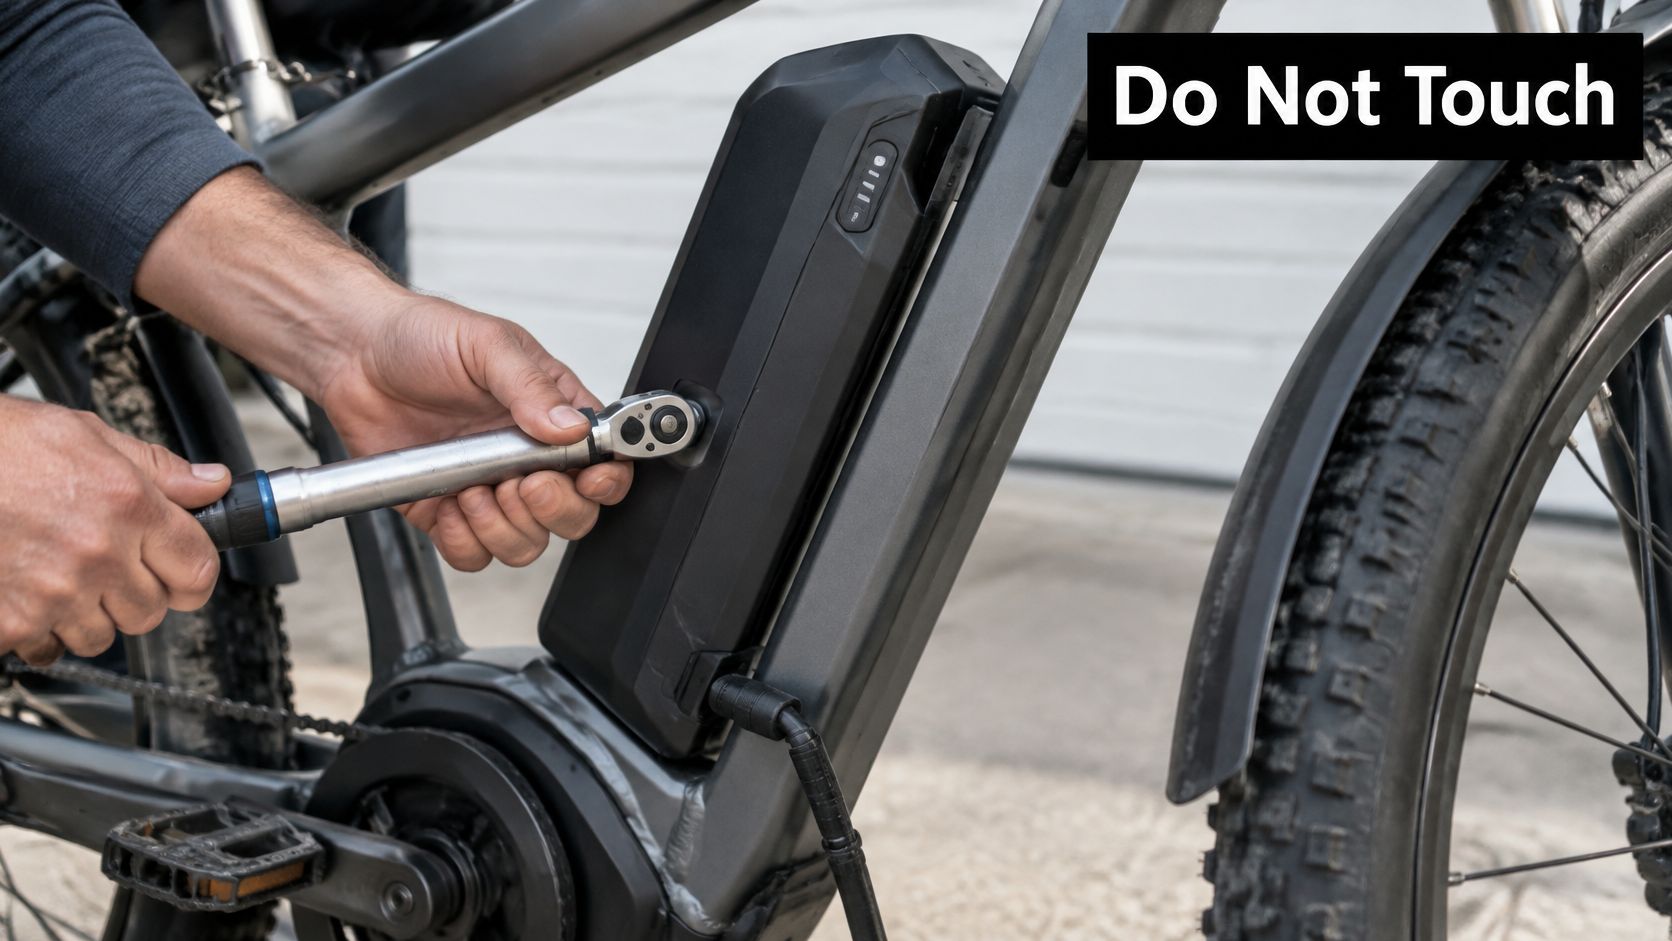
An e-bike is a bicycle plus a sealed energy system. It is not a heavier bike that needs more screwdrivers. A larger kit does not make you more self-sufficient. Home tools stop at tyres, the chain, bolts and brake checks.
Look over the case of the pack the way you'd look over a tyre. You're checking the outside, not opening it.
Checks that stay legitimate
Before every ride, look at the tyres, the chain and the outside of the battery. Don't leave a typical-use pack sitting empty for weeks. Charge only with the original charger, unplug it when it's full, and charge in a ventilated spot away from bedding. Where you can, charge away from the main living area.
WorkSafe New Zealand warns that lithium-ion batteries that are damaged, crushed, punctured, poorly maintained or overcharged can cause intense fires, explosions and toxic smoke. Check the pack for damage before you charge, and keep it away from combustible materials.
What never goes in the kit
Opening the pack, the motor or the electronics is out. So are third-party chargers and any electrical probing. A swollen case, cracks, a puncture, crush damage, unusual heat, smoke or noise means you isolate the battery and get a professional assessment. You don't repair it on the bench.
Chasing a rattle by unsealing a fuel tank doesn't find the noise faster. It creates a fire. The same trap applies to a delayed battery fault.
Keep a suspect pack cool, dry and clear of combustibles, then take it to a workshop or a recovery centre that accepts e-bike batteries. Adding electrical tools doesn't shorten that wait. It raises the risk and can stretch the downtime.
How to Run the Kit Between Rides
Run one routine, in ride order, and stop at the first fault that needs a workshop.
Before every ride
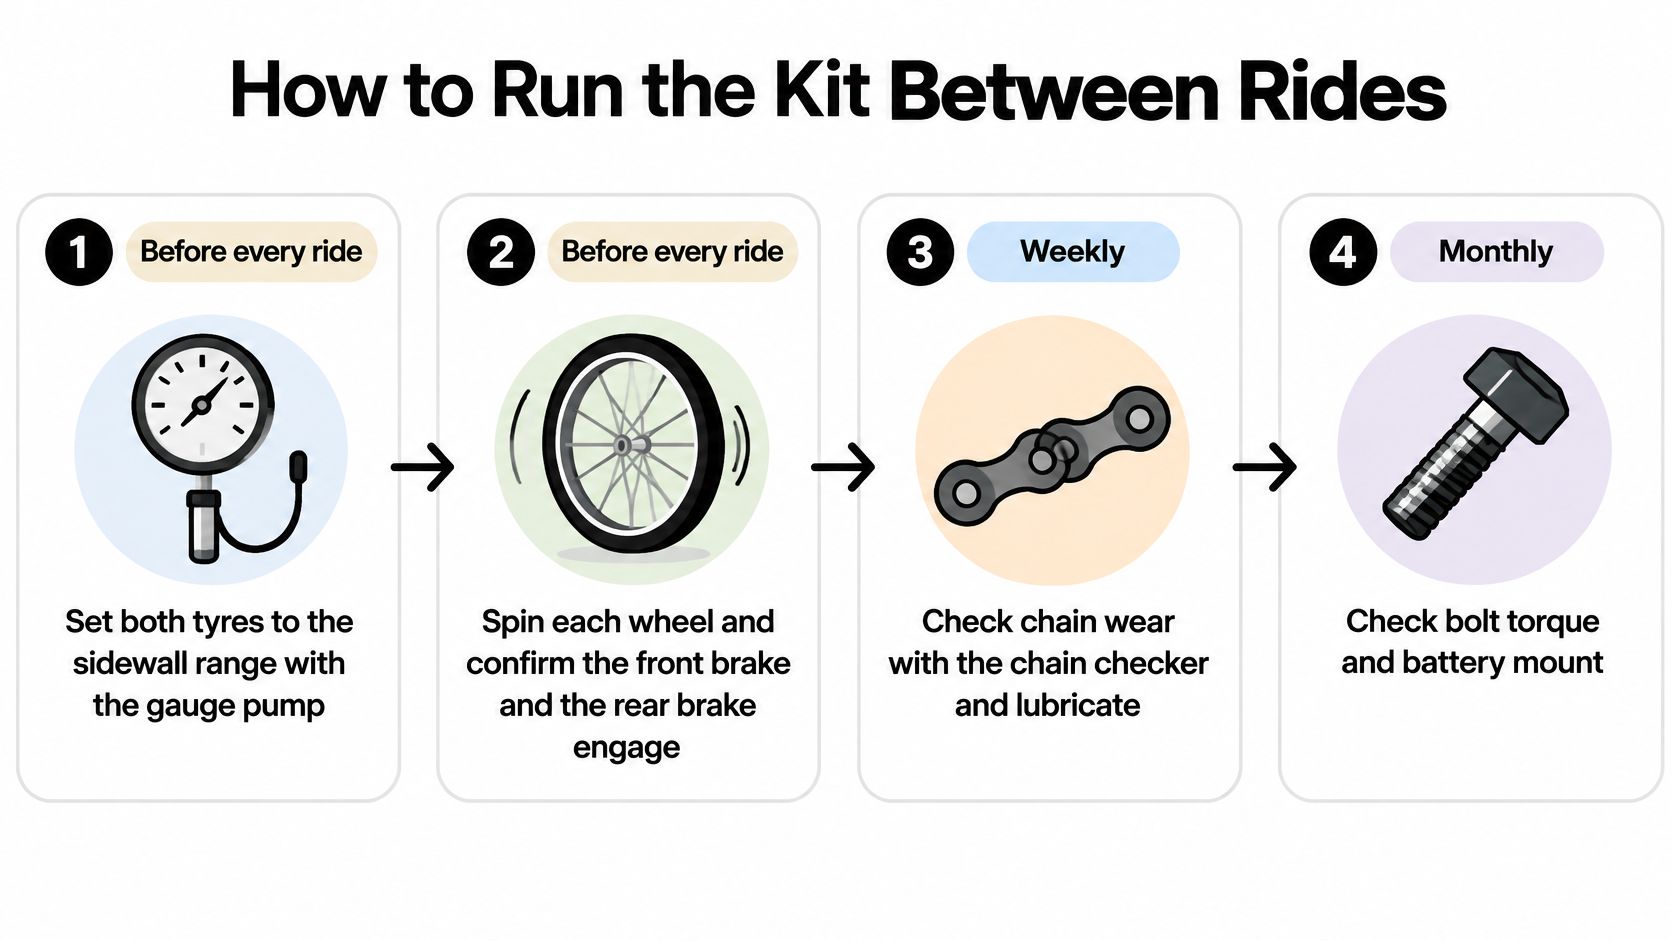
- Set both tyres to the sidewall range with the gauge pump. A squeeze test isn't a pressure check.
- Spin each wheel. Confirm the front brake and the rear brake each stop their own wheel.
- Glance at rim pads against the 3 mm line, or at disc pads for a worn backing plate.
- If the chain is dry or grit-coated, wipe it and add a drop of lube. If it already looks wet and clean, leave it.
- On an e-bike, look at the battery case and confirm the charger you'll use is the original one.
Monthly, or after a wet ride or a river crossing
- Degrease and relube the chain, and check the hanger still looks straight.
- Measure pad thickness with the ruler or pad gauge. Nip up an obvious loose bolt with the multi-tool, and use a torque bit where a number is printed.
- Inspect cables for fraying and levers for a spongy feel. Either one ends the home session.
A roadside flat
- Use the levers, a tube or plugs, and inflate enough to ride home. Patch the tube, or refresh sealant, at the shed.
A healthy result is a bike that rolls smoothly and stops in a straight line. Bleeds, motor diagnostics and damper seals are not steps 10, 11 and 12. They're the moment you book, which is also when our notes on when to service a bike start to matter more than another tool.
Where Worn Parts and Batteries Go
A kit that never retires its consumables turns into a hazard cupboard. The Ministry for the Environment's 2025 research found batteries were the item most often taken to a separate drop-off, cited by 39% of people, ahead of rechargeable electronic devices at 38%. Old tyres and lithium-ion packs, including e-bike batteries, go to Resource Recovery Centres that accept them.
| Item | Retire path | Keep out of |
|---|---|---|
| Worn tyres | Resource Recovery Centres that accept old tyres under Tyrewise | Kerbside bin |
| E-bike lithium-ion battery | Resource Recovery Centre that accepts e-bike batteries, with its safety advice if swollen or leaking | Kerbside bin or rubbish truck |
| Sealant | Replace dried sealant inside the tyre; take leftovers to a recovery centre | Drain |
| Tubes | Repair small holes once; retire tubes that will not hold air | Household recycling if sealant-soaked |
| Oily rags and lube bottles | Dry rags safely and follow the bottle label | Sink |
A tube works like a spare sock with one darn left in it. Repair a small hole once. A tube that will not hold air is finished, and a sealant-soaked tube does not belong in household recycling. Keep leftover sealant sealed and dated. Do not pour it down a drain. Dry oily rags safely, and send empty lube bottles the way the label says, not into the sink.
Home tools stop at tyres, the chain, bolts and brake checks. A larger roll does not make an e-bike self-sufficient, because a battery still needs a centre that will take it. A swollen or leaking pack needs that centre's safety advice before handover. Our guide to electric bike batteries sits beside that handover, not in place of it.
Hand the Bike to a Workshop
Decide with three questions.
Can the kit restore pressure, a rolling tyre, a lubed chain and two brakes that each stop their own wheel? If yes, ride.
Is the fault a frayed cable, a spongy hydraulic lever, a hanger that won't stay indexed, a creaking headset, or a wheel that is no longer true? Book a workshop visit.
Is it an e-bike error, a swollen battery, a motor fault, or suspension that needs seals? Don't add tools. Isolate a damaged battery and book diagnostics.
Our workshop covers basic bikes through high-end competition bikes and e-bikes. A Safety Check at $69 covers lubrication of parts such as the chain and derailleur pivots, plus basic gear and brake tuning. An E-Health Check at $59 plugs the bike into diagnostics, applies updates where required, reads the error log, looks for worn parts, and finishes with a function check and test ride. We point riders toward a fuller visit after repeated wet riding or river crossings. The home kit covers the weeks between. Pack the base kit this week, and use our notes on a bicycle repair shop near you for the first fault the kit isn't allowed to touch.
Rider 18 keeps Nelson riders rolling with a workshop that handles everyday bikes, mountain bikes and e-bikes, plus the pumps, lube and puncture supplies a home kit needs. Bring the bike when the fault is electrical, hydraulic or inside a sealed damper, and keep the small jobs at home. Visit Rider 18 to book the check that matches the fault, or to pick up the few tools you're still missing.


