

Electric Trail Bike Guide: Types, Motors and Setup
- by Nigel
-

The climb you used to clear in one go now takes two stops and a quiet conversation with yourself. Then a rider you know rolls past on a bike that looks familiar but sounds different, heavier and quieter, and they're still talking at the top. That's usually the moment people start asking real questions about an electric trail bike.
Here's the short version of what changes. An electric trail bike carries a motor and a battery, and that extra mass sits low and central, which steadies the bike on descents and makes it harder to lift over a log or load onto a rack. The assist changes what your legs have to do, but it doesn't change the physics of stopping, turning or landing. And in New Zealand, how much power the motor makes decides what the bike legally is and where you're allowed to ride it.
Those two facts, the extra system weight and the 300 W classification, reshape almost every choice that follows: suspension setup, tyre pressure, brake condition, battery planning and the geometry that suits you. Treat them as the frame around everything else and the rest of the buying decision gets much simpler.
Electric Trail Bike Types at a Glance
| Type | Typical weight | Best for | Assist style |
|---|---|---|---|
| Lightweight trail e-bike (120-140 mm travel) | 18-21 kg | Mixed singletrack, climbs and flow trails | Torque-sensing, low-power assist |
| Enduro-style e-MTB (150-170 mm travel) | 23-25 kg | Steep, technical descents and rough terrain | Higher-output mid-drive motor |
| Hardtail e-MTB (front suspension only) | 17-20 kg | Smoother trails, fitness riding and budget buyers | Hub or mid-drive motor |
Most shop floors hold these three shapes, and the differences matter more than the spec sheet suggests.
A lightweight trail e-bike with 120-140 mm of travel is the one that feels closest to a normal mountain bike. It changes direction quickly in tight switchbacks, lifts over roots without a fight, and the lower-power assist still flattens a climb. If your riding is mostly flowing singletrack with short, punchy climbs, this is the type that disappears under you.
An enduro-style e-MTB with 150-170 mm of travel and a higher-output mid-drive motor is built for gravity. The extra weight keeps the tyres planted on steep, chattery descents and the motor hauls you back up for another run. The trade-off is real: these bikes are the hardest to lift onto a rack, hardest to carry over a fence, and hardest to pick up after a fall on an off-camber corner.
A hardtail e-MTB with front suspension only is the simple, durable option. Fewer moving parts, less to service, a lower price. On smoother trails and fire roads it's efficient and honest, and it suits riders who want fitness with backup rather than a downhill weapon.
The market widened quickly enough to make all three easy to find. Statistics New Zealand import data reported by the NZ Herald put national e-bike imports at 23,326 units in 2017 and approximately 63,500 in 2019, which goes some way to explaining why batteries, suspension parts and workshop servicing are now routine rather than specialist.
Before you read another word, answer three questions. Where do I ride most weekends? How much climbing does that involve? And how much servicing am I prepared to pay for? Match the bike to the first answer, not to the hardest ride you hope to do one day.
Motor Power and the 300 W Legal Limit
Where the motor sits decides how the assist reaches the ground, and that shapes how the bike behaves long before the legal side comes into play.
A mid-drive motor sits at the bottom bracket and feeds power through your drivetrain, so it uses the gears. That's why it climbs well: drop into a low gear and the motor works in its efficient range instead of straining. A hub motor sits in the rear wheel hub, drives the wheel directly and ignores your gearing. It's simpler and often cheaper, but on a long steep climb it can feel like it's pushing you from behind rather than helping you pedal.
How the motor decides to help matters just as much. Torque sensing responds to how hard you push on the pedals, so assist rises and falls with your effort. Cadence sensing switches on once the cranks turn at a set speed, which can feel like a switch rather than a push. On rough, tight trail at walking pace, that difference is real: torque-sensing pedal assist without a throttle is generally easier to control over bumps and through off-camber corners than a throttle-operated system, because the power follows your input instead of arriving on demand.
Now the part that decides where you can ride. In New Zealand, an electric trail bike intended to remain a power-assisted cycle must use auxiliary electric propulsion with a combined maximum power output of no more than 300 W, as set out in the relevant secondary legislation. Exceeding that threshold can change the vehicle's legal classification and restrict where it may be ridden, so it becomes a land-access question before it ever becomes a performance one. The ceiling also explains why mid-drives dominate trail bikes: when you can't add watts, working through the gearbox is how the motor keeps its climb speed, and the extra system mass is spent where it does the most good, low and central.
The shop-floor check: a nominal "250 W" label on the motor casing doesn't prove compliance. Ask for the manufacturer's declared maximum output and the configured setting on the bike in front of you.
Run this sequence before you pay for anything:
- Confirm the declared maximum output, in writing, from the manufacturer's specification.
- Confirm assistance is pedal activated, not throttle driven.
- Confirm the system uses torque sensing rather than cadence sensing alone.
- Check the configured output on the actual bike, not just the model name on the frame.
Assist changes pace as well as effort. A New Zealand Transport Agency-commissioned observational programme surveying cyclists in Auckland, Wellington and Christchurch found e-bike riders travelled on average 5.2 km/h faster than unpowered riders on flat terrain and 8.8 km/h faster on hilly terrain, according to ViaStrada. That hill gap is the whole point of a trail motor, and it's also why braking points arrive sooner than they used to on a heavier bike.
A high-torque motor earns its place on sustained climbs and loose, seated power sections. Where it works against you is tight, technical, low-speed terrain, where strong assist can push the front wheel wide or break traction mid-corner. Learn to ride in the lowest mode that keeps you moving, and save the top mode for the fire road.
Battery Range Planning for Remote and Steep Trails
Distance on paper is not distance on dirt.
A battery on an electric trail bike works like a fuel tank that shrinks on every climb. Because motor output is capped at the legal limit, the watts available have to cover everything: rolling resistance, acceleration, and lifting the combined mass of rider, gear and a heavier frame against gravity. On flat ground that load is modest. On a steep grade it dominates, which is why two riders on identical bikes can finish the same loop with very different charge remaining.
Department of Conservation guidance puts many electric bikes at roughly 20 to 40 km before recharging, and notes that higher-output systems can sustain speeds up to 40 km/h and may be treated as motorised vehicles when they exceed the applicable power threshold, as set out in the DOC electric bikes guideline.
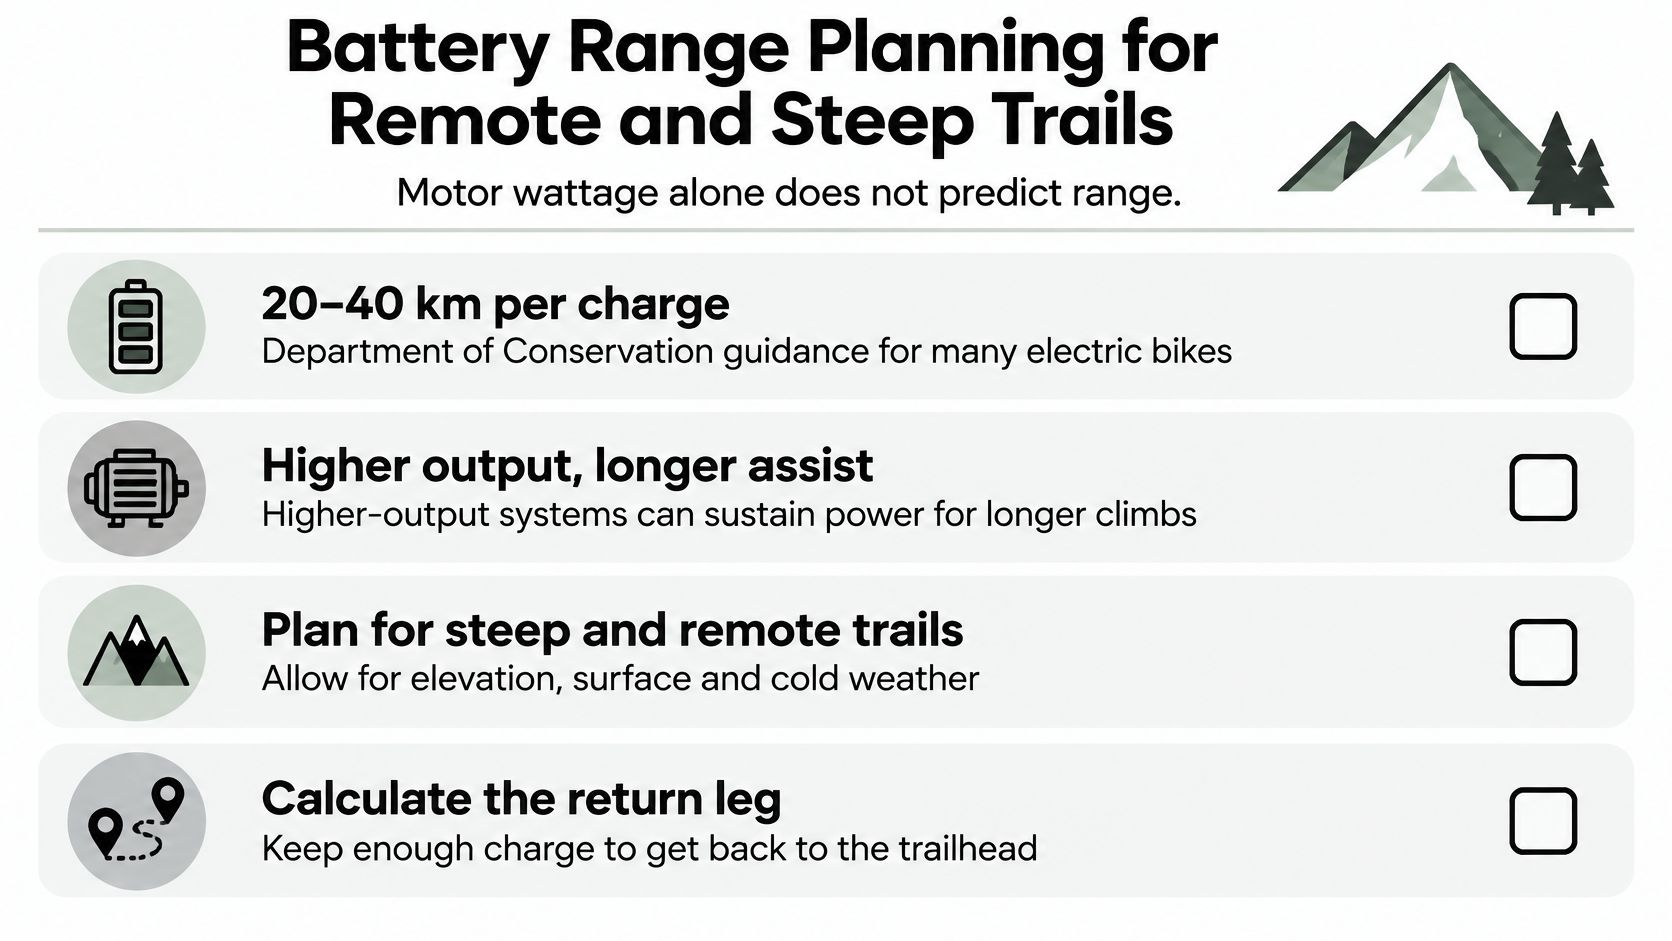
Six things drain a battery faster than the brochure suggests: climbing load, total mass on the bike, tyre pressure, surface conditions, temperature and repeated acceleration out of corners. A 20 km route with serious elevation gain can demand more reserve than a 35 km route on smooth, rolling terrain. Cold mornings cut usable capacity. Soft ground and under-inflated tyres add drag that the motor pays for all day.
| Ride type | Planning approach | Reserve margin |
|---|---|---|
| Short smooth loop under 20 km | Use one charge at a moderate assist mode | Small |
| Climbing loop with substantial elevation gain | Plan towards the lower end of the 20 to 40 km range | Large |
| Remote or technical route | Start on a full charge and carry a charging plan | Largest |
| Group ride | Plan around the rider with the least battery left | Medium |
The routine that keeps riders out of trouble is short:
- Start technical or remote rides on a full charge.
- Run the lowest assist mode that still covers the terrain, and drop a mode on descents and flat traverses where the motor adds nothing.
- Carry a charging or recovery plan where you can, whether that's a spare battery, a charger at the trailhead or a mate with a tow rope.
If you're comparing capacities or working out what a second pack would cost, our guide to electric bike batteries covers capacity, care and replacement.
The last check is access, and it's the one riders skip. Some tracks prohibit e-bikes outright, so check the Department of Conservation's track information for the specific route before you build a ride around it. A fully charged battery is useless at a trailhead you can't legally enter.
Suspension and Tyre Setup for Extra Weight
A suspension spring doesn't know what kind of bike it's on. It only knows the load sitting on it. Put a rider plus a motor and battery on a spring tuned for a lighter bike and the suspension sits deeper into its travel before you've hit anything, which leaves less room for the hits that matter.
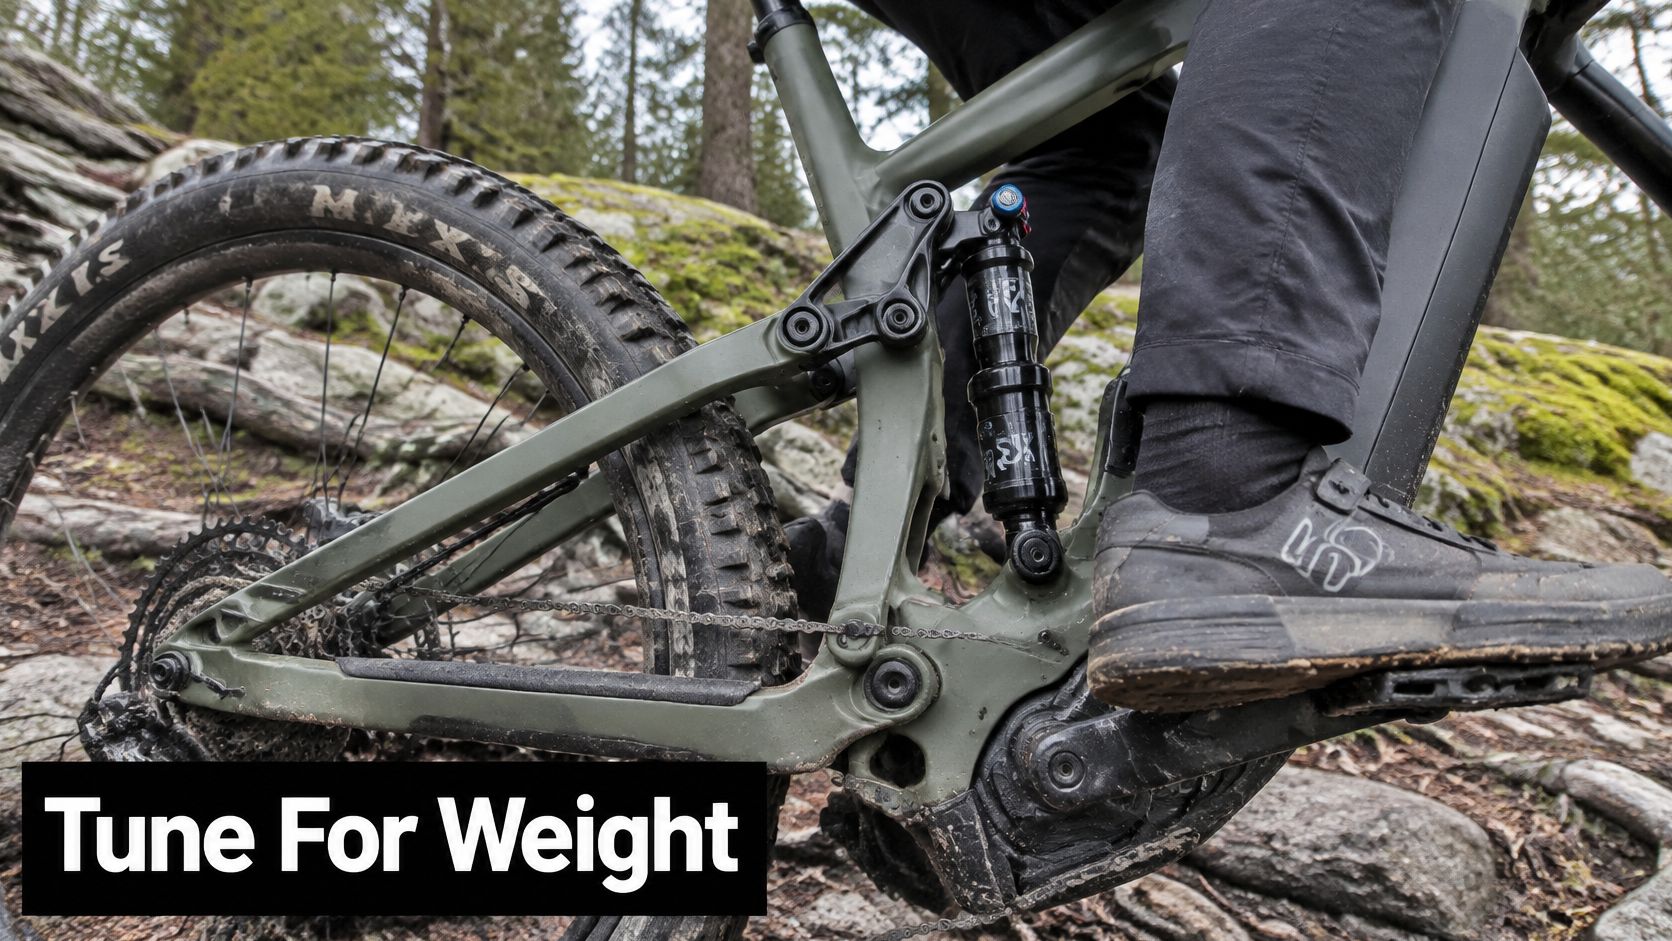
That's why a setup copied from a non-electric bike usually feels wrong in one of two directions: harsh and skittish if it's over-sprung for the load, or wallowy and bottoming out if it's under-sprung. The bike weighs more and carries more momentum, so the same rock garden produces a bigger force through the fork.
Work through the setup in this order, and change one thing at a time. If you've never set sag before, our walkthrough on how to set suspension sag covers the measurement itself.
- Set sag for your riding weight and gear. Weigh yourself with hydration, tools and armour on. That's the load the spring is carrying.
- Adjust rebound so the wheel returns without bouncing. Push down hard on the saddle, let go, and watch. One clean return, no pogo.
- Set compression to control pedalling bob on climbs. Enough to stay high in the travel under power, not so much that the bike skips off roots.
- Check the manufacturer's pressure range for the heavier load. A heavier system usually wants to sit towards the upper part of that range.
- Test on a familiar loop. Change one setting, ride the same section, judge the difference.
The tyre pressure trade-off catches people out. Run pressure too low on a heavier bike and you risk pinch flats and rim damage on square-edged rocks. Run it too high and you lose the grip that lets you carry speed through loose corners. Start at the upper end of the recommended range, drop in small increments, and stop when the front starts to feel vague.
The setup is right when three things happen together: the rear tyre hooks up on loose climbs, landings feel controlled rather than springy, and you stop using the last of the travel on drops you ride every week.
Geometry and Fit Checks Before You Buy
Geometry decides how a trail bike steers, climbs and corners, and on an electric trail bike there's a complication: the motor and battery move the centre of mass, so a frame that feels neutral on a standard bike can feel different once that weight is added. Read the geometry chart for the size you're considering, not a general trail-bike figure.
Five numbers do most of the work.
Reach is the horizontal distance from the bottom bracket to the top of the head tube. More reach gives you room to move and stability on steep descents, because your weight can stay between the wheels instead of over the front.
Head angle sets how eagerly the front end steers. A slacker angle steadies the steering at speed and holds a line through rough drops, at the cost of some low-speed agility in tight switchbacks.
Seat tube angle places you over the pedals. A steeper angle keeps your hips forward on long climbs instead of drifting back and lifting the front wheel, which matters more on a heavier bike.
Chainstay length affects manoeuvrability and front-wheel lift. Shorter stays turn faster and resist wheelies when you're grinding up something steep out of the saddle.
Bottom bracket height is the cornering-versus-pedal-strike trade. Lower feels planted through a berm; too low and you'll be clipping rocks and roots with a crank arm.
Then run the fit checks in order:
- Stand over the top tube with both feet flat and check clearance.
- Sit in a neutral riding position and judge reach and cockpit feel.
- Set saddle height from the manufacturer's sizing chart using your inseam.
- Take a test ride that includes a climb and a loose corner.
Saddle height is worth getting right because it's the change most riders notice in their knees first. If you're already managing soreness, this explanation of why knees hurt after cycling is a useful companion to your fit session. A size chart is a starting point. The test ride tells you more than any table.
Safety Gear and Crash Risk on Trails
The easy assumption is that an electric trail bike is automatically more dangerous. The evidence doesn't support anything that simple.
Research reviewed by the NZTA found that e-bikes' greater average speed and mass may increase crash likelihood and injury severity, while the same safety analysis rated the available evidence inconclusive, as recorded in the NZTA summary report on regulations for low-powered vehicles. Broader e-bike research does point to a higher rate of head injuries among e-bike riders than unpowered cyclists, though that evidence covers e-bike use in general rather than trail riding specifically.
Both findings point at the same thing without proving a trail-specific risk: this is a heavier, faster bike, and the consequences of a mistake scale with mass and speed. The answer is to manage those two variables rather than stay home.
Start with a helmet that fits properly. Correct sizing means the shell sits level, the rear cradle tightens against the base of your skull, and the straps form a V just under each ear. If you're replacing an older lid, this rundown of mountain bike helmets covers the fit details worth checking. Add armour for the descents you ride, not the ones in the edit.
Then manage speed deliberately, especially downhill. Mass is the quiet multiplier here. A heavier bike carries more energy into every corner, drop and landing at the same speed, so braking earlier than you would on an unpowered bike matters more, not less. Check pad wear and rotor condition before a big ride rather than after, because the same energy that tests your arms on the descent tests your brake hardware harder too.
A pedal-assist trail bike that meets the 300 W classification is not the same machine as an unrestricted or incorrectly classified bike. A bike outside the legal classification may take you to places and speeds you haven't planned for.
Where the advice is well supported: helmet fit, deliberate speed management and legal classification each reduce risk on clear grounds. Where it's thinner: nobody can currently give you an exact trail-specific injury rate for e-MTBs in New Zealand, so treat the gaps as a reason for sensible precautions rather than alarm.
Ownership Checks and Servicing Intervals
An electric trail bike loads its brakes, tyres, drivetrain and suspension harder than a standard bike, so the usual service intervals tend to arrive sooner than the calendar suggests. Plan on checking more often, not replacing more often out of panic.
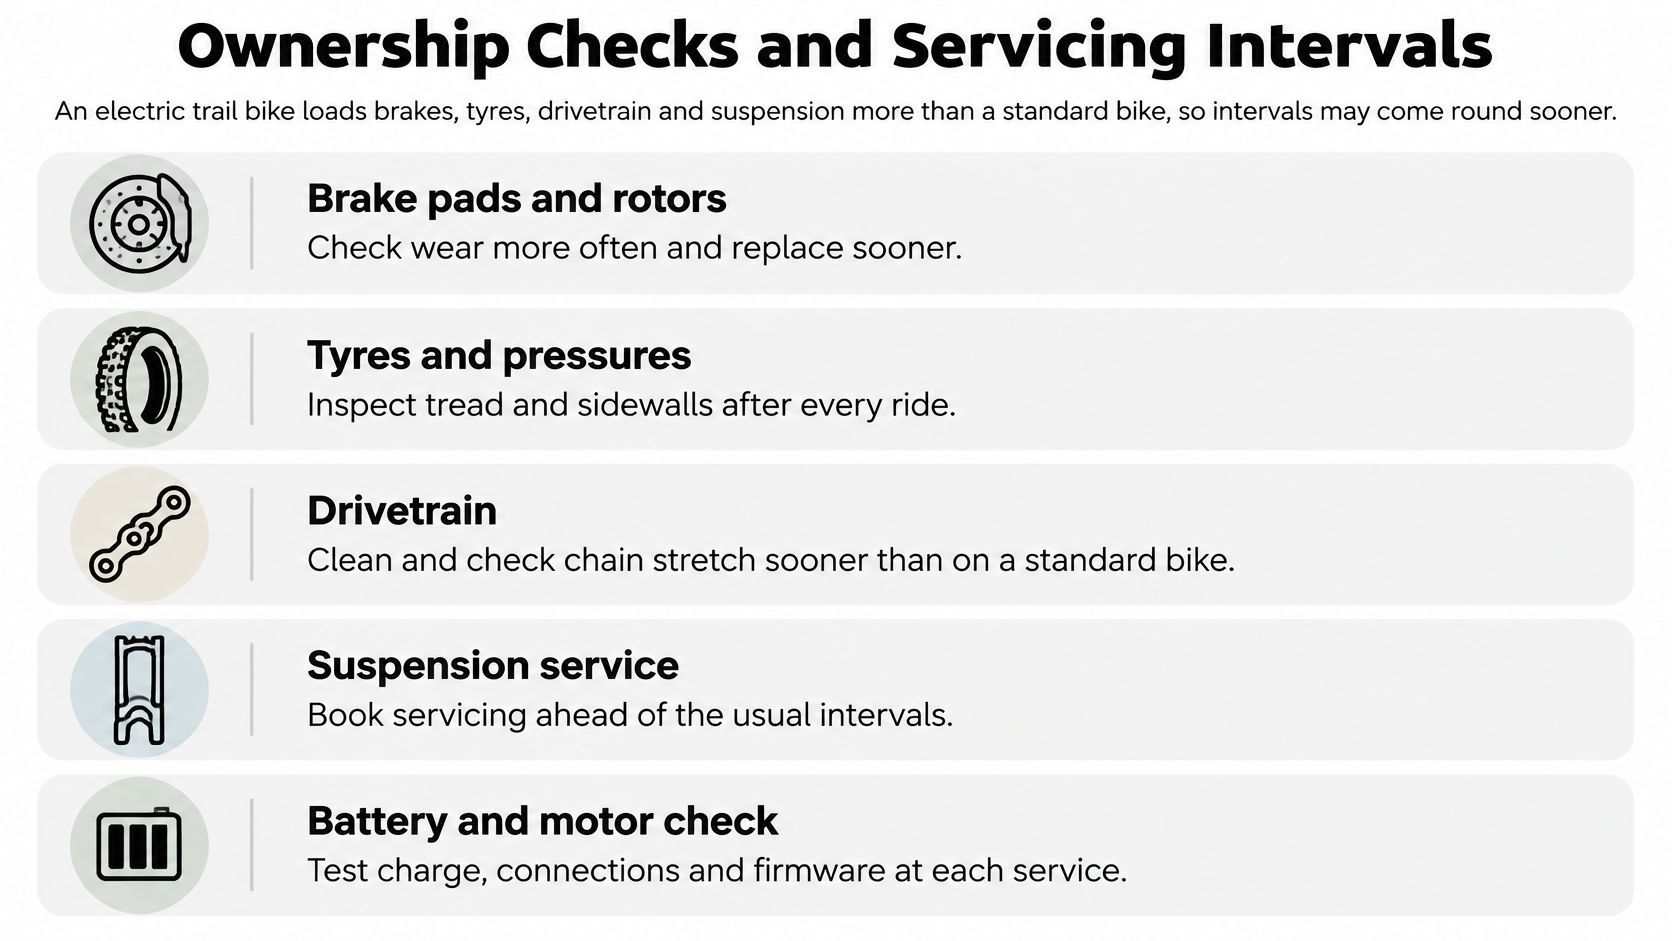
The routine that keeps a bike reliable:
- Brake pads and rotors. Check before every ride. Replace pads when the friction material is worn, and check rotor thickness and straightness at the same time.
- Tyres. Inspect for cuts, tread wear and sidewalls that are starting to burp or weep after a hard cornering session.
- Chain and cassette. Clean and check for stretch more often than on a standard bike, because the motor adds torque through the same chain.
- Suspension. Check seals and oil after wet or muddy rides. Grit past a wiper seal becomes a damper service.
- Bolts and motor mount. Check torque and looseness, especially after a few rough descents.
- Battery. Keep connectors dry and clean, and store the pack at a moderate charge rather than full or empty.
Some faults mean the bike goes to a workshop rather than getting fixed trailside. Unusual motor noise, sudden loss of assist, a battery that swells or gets hot, and brakes that fade on a long descent all belong in those categories. Stop riding and book it in.
Before each season: confirm the motor firmware and the classification settings are current. Both affect how the bike performs and what it's legally allowed to do.
Choose the Right Electric Trail Bike for Your Riding
Three choices decide the purchase, and they're worth settling in this order.
First, pick a type that matches the terrain you ride most weekends. Second, choose a motor that stays within the 300 W New Zealand classification while still suiting your trails. Third, build a battery plan around your longest or most remote route, not your average one. The order matters because the legal class shapes the system weight, and that weight shapes everything downstream: suspension settings, tyre pressure, brake choice, and how much range you get per charge.
Then work through this sequence before you pay:
- Shortlist a type using the comparison table.
- Confirm the declared motor output and the assist type in writing.
- Check geometry and fit with a test ride that includes a climb and a loose corner.
- Ask how the suspension and tyres are set up for the heavier system.
- Ask what servicing covers and what it costs.
Rider 18 sells mountain and commuter electric bikes, and the shop menu also covers full suspension, hardtail and electric categories, so your shortlist can be discussed against real stock. The E-Health Check costs $59.00 and includes plugging the bike into diagnostics, applying updates where required, checking the error log and components for wear, and a function check and test ride. The Rider 18 Workshop also repairs a wide range of bicycles, from basic models through to high-end competition bikes and e-bikes, so the bike you buy can be serviced by the same people who helped you choose it.
Buy the bike you'll ride this month, on the trails you have access to, with a servicing plan you can keep up.
Rider 18 is a Nelson bike shop that ships nationwide across New Zealand. Visit the shop or contact the team to talk through which e-bike suits your riding, or book an E-Health Check at $59.00 for your current bike before your next big ride. You can also browse the electric range at Rider 18.


