

Step Through Electric Bike Guide for New Zealand Riders
- by Nigel
-

The most repeated advice about step-through electric bikes is that they're the easy option. Low frame, leg swings through, done. That advice is accurate about one small thing and misleading about nearly everything you'll spend money on.
A step-through frame changes how you get on and off. It doesn't change what the law calls your bike, how far it travels on a charge, how heavy it feels pushing up a hill, or how risky its battery is in your hallway. Buy on the low frame alone and you can still end up with a bike that's too heavy to lift onto a rack, short on range for your commute, or outside the motor limit the day someone fits a replacement drive unit.
So this guide separates the one thing frame style decides from the things it doesn't, and puts real numbers and shop-floor tests against the rest.
What a Step Through Electric Bike Is
Stand beside a step-through electric bike and you can step across the frame, not over it. The top tube is dropped low or removed entirely, so mounting the bike asks nothing of your hip flexibility. That is the whole mechanical difference. The motor, battery, brakes and controls work exactly the way they do on any other e-bike.
The frame shape matters because of who rides it. The Ministry of Transport study of import data found electric bicycle imports rose by about 100% in 2018 and another 50% in 2019, with e-bikes making up roughly 12% of all bicycles imported between 2017 and 2019. A fleet growing that fast has to fit riders who were never going to throw a leg over a high bar: commuters in work clothes, parents loading child seats, riders coming back to bikes after years away.
Frame types compared for an electric bike
| Frame type | How you mount | Stand-over height | Frame stiffness |
|---|---|---|---|
| Step through | Step through a low or missing top tube | Lowest | Less stiff under hard motor torque |
| Diamond (classic) | Swing a leg over a raised top tube | Highest | Stiffest |
| Mid-step | Step through a dropped section of frame | Low to mid | Firmer than a full step through, short of a diamond |
The stiffness column matters more than buyers expect. A diamond frame is two triangles, and triangles resist twisting. An open frame carries the same pedalling and motor load across a longer unsupported span, so on a hard start from standstill with a loaded rack you can feel the frame flex under you. A mid-step keeps part of the top triangle intact, which is why it splits the difference: easier to mount than a diamond, steadier under load than a fully open frame.
What the trade-off means in practice: the low step buys you easy mounting and charges you a little frame rigidity. Smooth starts, sensible assist levels and a rack load kept within the limit are how you pay that back.
Riders who notice the low step first are people mounting several times a day, shorter riders, and anyone with hip, knee or balance limits. If you are in that group, the frame shape earns its place. Test it properly in the shop: stand over the frame flat-footed and check both feet reach the ground with a few centimetres to spare, then sit on the saddle and confirm you can reach both brake levers without stretching or leaning.
A low frame is a mounting feature, not a shortcut to an easy bike.
The 300-Watt Rule and Motor Output
New Zealand draws its legal line at 300 watts of combined motor output. At or under that figure, the machine is treated as a bicycle. Above it, the vehicle can be classified as a motor vehicle, which brings different access and regulatory requirements.
| Question | Answer |
|---|---|
| Combined output at or under 300 W | Treated as a bicycle |
| Combined output above 300 W | Can be classified as a motor vehicle |
| Does frame shape change this | No |
| Helmet | An approved helmet is required |
The third row is the point most buyers miss. A step-through commuter and a diamond-framed trekking bike running the same drive system sit on the same side of the line. The frame decides how you mount; the motor decides the category.
What the wattage figure does not tell you is how the bike will ride. Three other numbers do that. Continuous motor power is the output the system can hold on a long climb, as opposed to the peak number a spec sheet shows for a few seconds. Battery watt-hours work like the size of a fuel tank: watts measure how fast the bike can spend energy, watt-hours measure how much it has to spend. Assist levels decide how much of that tank goes out per kilometre.
The sticker rating is not always the road rating. A motor marked at a modest continuous output but driven harder by its controller is not delivering that modest output, and the combined figure is what counts.
Helmets and road code behaviour sit alongside the wattage limit, not outside it. Stop at red lights, ride predictably, and keep your speed sensible around pedestrians on shared paths.
Compliance gets sloppy in the second-hand market. Motors, controllers and battery packs change hands with little paperwork, and a used bike may have had its controller swapped or its settings altered since it left the shop. Neither the frame nor the paint will tell you.
Ask the seller to confirm the combined motor output in writing, not verbally. A label photo and a written figure settle the question faster than any showroom conversation.
A diagnostic check goes further than a label photo. Rider 18's E-Health Check costs $59.00 and includes plugging the bike into diagnostics, applying updates where required, checking the error log and components for wear, and a function check and test ride.
Changing the machine after purchase carries two consequences. A higher-output motor or controller moves a bicycle into the motor-vehicle category, and it also adds torque the frame was never built to carry. If you upgrade, stay within the rating the drive system was designed for.
Who a Step Through Electric Bike Suits Best
Picture four riders. Each one is a real pattern you'll see on any New Zealand cycleway, and each needs something slightly different from the frame.
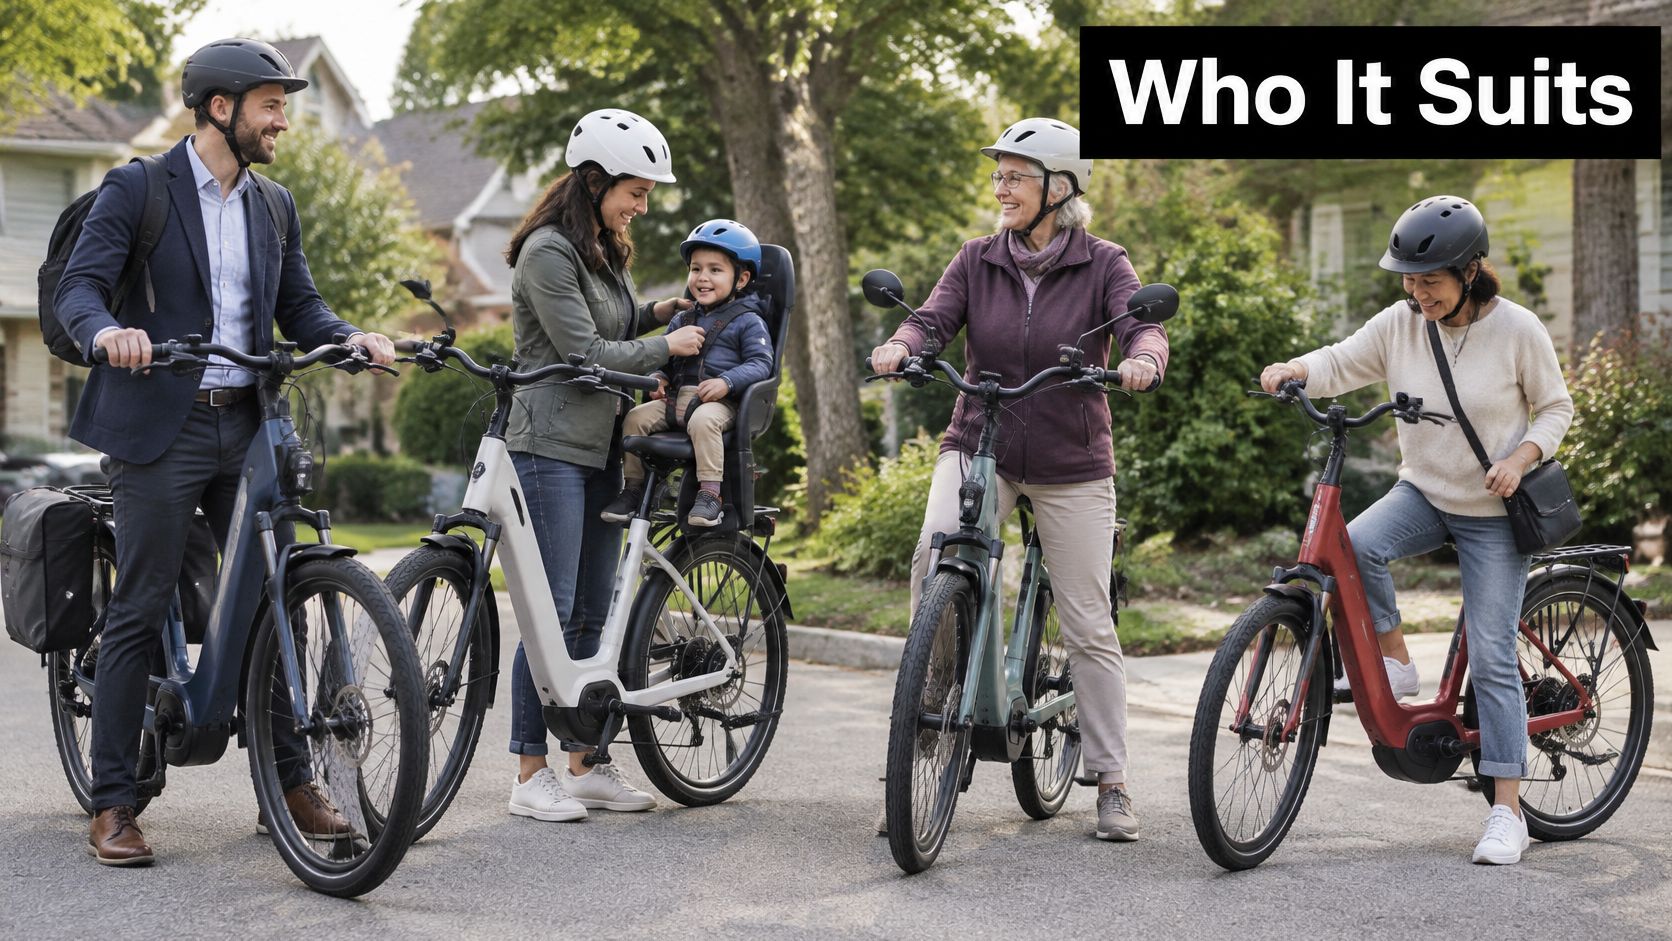
The commuter with panniers rides 6 km each way, in work clothes, and mounts and dismounts at three sets of lights. The low step saves a hip swing every stop. What to watch is the load: panniers plus a laptop plus shopping add up, and that weight sits over the rear wheel where it affects handling most.
The parent fitting a child seat cares about stability at walking pace and a stand that holds the bike while they lift a toddler. A step-through makes that lift easier because there's no top tube in the way, but the frame is now carrying a child seat, a child, and possibly a basket. Check the manufacturer's maximum rider-and-luggage figure before you bolt anything on.
An older rider who wants an upright position and a mirror is often the person the low frame was designed for. Gentle starts and easy low-speed control matter more than top speed. A shorter rider needs a low stand-over height and a saddle that drops far enough, which isn't guaranteed just because a frame is step-through.
There's a survey signal in the pattern. At flat New Zealand survey sites in 2024, women made up 44% of e-bike riders compared with 28% of unpowered cyclists, as ViaStrada's micromobility observation study recorded. That's an observation from flat sites only, not an explanation of why anyone chooses a motor, and it isn't a trend claim. It does suggest electric models are reaching riders who value easy mounting.
Do one honest self-check before you shop. Do you get on and off the bike several times a day? Do you carry things most rides? Do you ride with someone who needs a low step to feel confident? Two yeses and a step-through is a sensible default. No yeses and a diamond frame gives you more stiffness for the same money.
Real-World Range and Weight on New Zealand Hills
The number on the box is not a commuting figure. The NZTA safe use guide for e-bikes puts workplace riding at about 80 km in Eco mode but only about 25 km on full power over hills. Same bike, same battery, less than a third of the distance.
Real-world range by riding condition
| Riding condition | Expected range | Source or method |
|---|---|---|
| Eco mode, workplace use | About 80 km | NZTA workplace e-bike guidance |
| Full power over hills | About 25 km | NZTA workplace e-bike guidance |
| Heavy rider and luggage on a hilly route | Shorter than the full-power figure | Measure your own route |
| Cold weather or low tyre pressure | Below your own baseline | Test on your usual route |
The way to get your own number is dull and reliable. Ride your normal round trip once in the assist mode you'll use, note the battery percentage you started and finished on, and scale that to your daily distance. If you used 40% of the pack on a 10 km loop with two climbs, a 20 km commute in the same conditions takes most of the battery. Allow extra for a headwind home.
The factors that move the result are rider weight, cargo, wind, tyre pressure, temperature and assist mode. Cold mornings cost you range before you've turned a pedal. Under-inflated tyres cost you range and comfort at the same time.
Weight is the other half of the planning, and it's the part buyers skip. E-bikes are heavier than ordinary bikes, and the low step doesn't make them lighter. Before you buy, decide how the bike gets onto a rack, up a stairwell or into a shed, and check that the frame's rider-and-luggage limit covers your body weight plus the child seat, panniers and shopping. If shaving kilos matters more than cargo capacity, a lightweight e-bike changes the arithmetic on every climb and every lift.
Estimate range once, with your own legs and your own hills. A brochure figure you can't reproduce is worse than no figure at all.
Common Myths About Step Through E-Bikes
Myth one. A step-through is easy for everyone. The low frame helps riders with limited balance or mobility, and upright geometry, a comfortable saddle and mirrors help too. Stepping through instead of swinging a leg over still leaves you with traffic, rough surfaces, punctures and the daily job of moving the bike around. Real accessibility is a system: stand-over clearance, bike weight, wheel stability, handlebar reach, braking effort, starting technique, and whether you can shift the bike with the motor off. The frame is one part of that system, the way a low doorstep is one part of a house you can live in.
Myth two. A step-through is automatically safer than other frames. The open frame can flex more under hard motor torque, so a smooth start protects steering and braking stability, particularly with a rear rack, child seat or loaded panniers. Smooth starts and steady loading carry that responsibility.
Myth three. Any step-through frame can take a bigger motor. The combined-output limit and the manufacturer's specification both say otherwise, and the dealer cannot waive either one at the fitting stage.
Myth four. A lower step means a longer range or a lighter bike. Geometry decides how you get on and off. Battery capacity, charging behaviour and total weight come from the pack and the build kit, and a low tube changes none of them.
A bike you can mount easily but can't stop confidently hasn't solved your problem. It has moved it.
Step-through frames earn their reputation on access: they lower the barrier for riders who struggle to mount a high top tube, which is why fleets aimed at new and returning riders favour them. The frame was never the whole answer. Weight, brakes, tyres, motor output and your own habits decide the rest, so judge the shape by how it fits into that system rather than by what it looks like it promises.
How to Choose the Right Step Through Model
Work through the criteria in order. Each one either passes or fails your everyday use, and a fail is a fail no matter how good the discount looks.
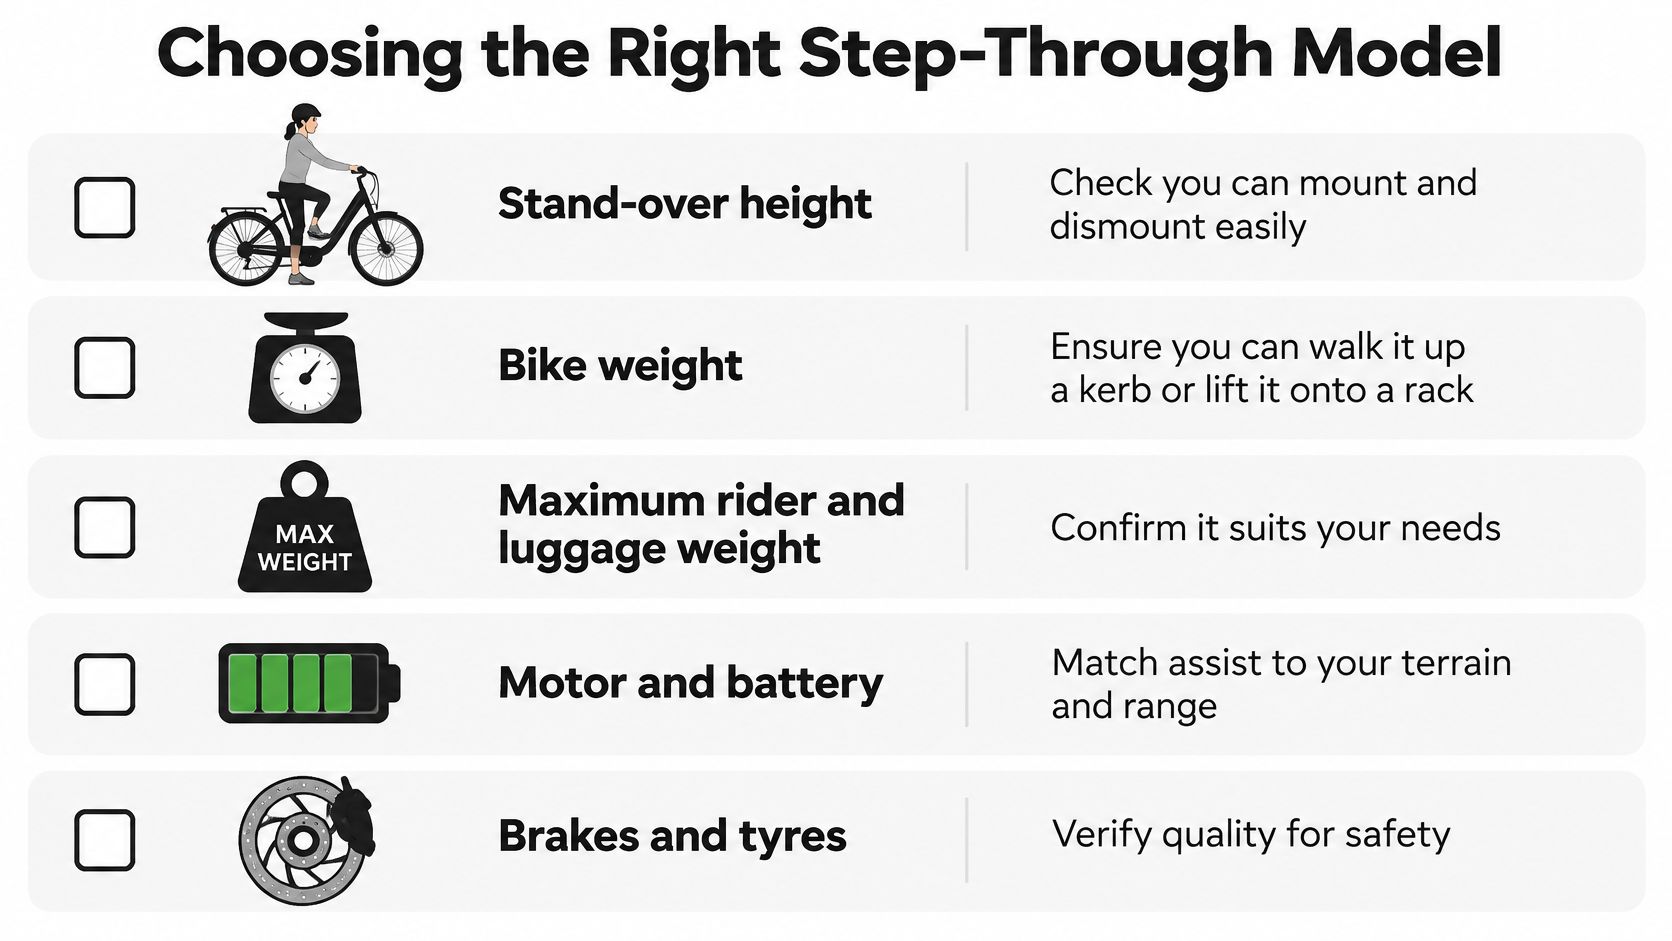
Buying criteria for a step through e-bike
| Criterion | What to check | Why it matters |
|---|---|---|
| Stand-over height | Both feet flat with a few centimetres spare | Safe stops and mounting |
| Bike weight | Can you walk or lift it unpowered | Carrying, racks and stairs |
| Rider and luggage limit | Manufacturer's maximum load | Child seats and panniers |
| Brakes | Brake type and rotor size | Control on hills |
| Battery and charger | Capacity and charger match | Range and battery life |
| Mounts | Rack and mudguard attachment points | Commuting and wet weather |
| Tyres | Width and puncture protection | Comfort and flat repairs |
Brakes deserve their own paragraph. On a steep Nelson street with a loaded rear rack, you want hydraulic discs with a decent rotor size rather than a rim brake asked to do work it wasn't designed for. Ask what rotor diameter the bike runs and whether the frame and fork are rated for it.
Tyres are the other specification people skim. A wider tyre at lower pressure gives comfort and grip on rough chip seal and gravel path sections, and it can feel slower and heavier on smooth tarmac. Puncture protection matters more in a bike you commute on than a soft compound does.
Mounts sound boring until you need them. Rack eyelets, mudguard mounts and a kickstand plate turn a bike into transport. Without them you're fitting adapters and zip ties.
Priority checklist by rider type
- Commuter: rack, mudguards, a battery with margin for the return trip, and brakes that work loaded in the rain.
- Family: a stable stand, generous rider-and-luggage limit, and a low step that still feels planted at walking pace with a child aboard.
- Rider with mobility limits: lowest manageable weight, simple controls, easy reach to both levers, and a walk-assist or low gear you can push in.
- Shorter rider: stand-over height that clears you comfortably and a saddle range that drops far enough for a flat-footed stop.
If one criterion fails your real riding, walk away. A bike that's wrong in one everyday detail is wrong in that detail every single day.
How to Ride a Step Through E-Bike Safely
Your first rides set the habits. Run these in order, and give each one its reason.
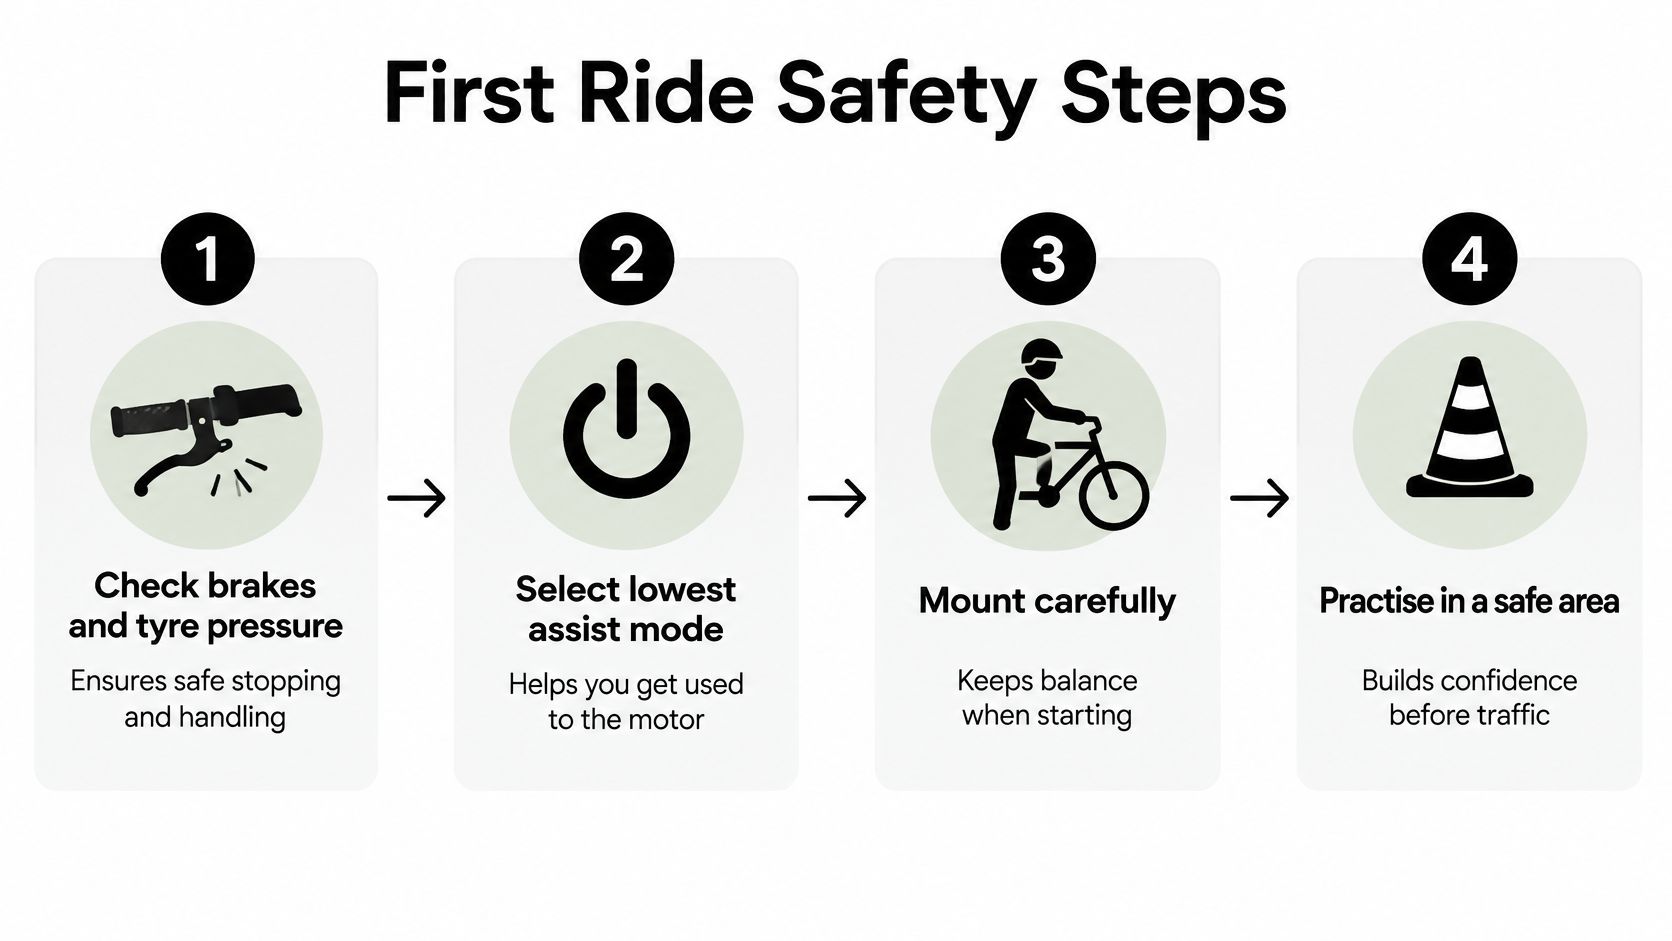
- Check brakes and tyre pressure before every ride. A soft tyre changes steering and eats range, and a spongy lever tells you something before a hill does.
- Select the lowest assist mode for the first few hundred metres. It lets you feel the motor's cutoff point without a surprise.
- Mount with the bike upright, one foot on a pedal and the frame steady. The frame's balance, not the motor, keeps you upright at a standstill.
- Start in a low gear before a light or a hill. Pedal assist can surge, and a low gear gives the motor less to multiply.
- On shared paths, use low power, match the speed of people around you and start gently near pedestrians. This is exactly what the NZTA research on low-powered vehicle regulations recommends, and it identified continuous power and motor-assisted speed as useful safety criteria because they keep acceleration compatible with cycleways, reduce the incentive to defeat speed controls, and discourage fitting high-power systems to frames not built for them.
- Confirm the battery and rack loads stay within the manufacturer's limits. Access and carrying capacity both encourage heavier loads, and the frame carries all of it.
The reason behind the smooth start: an open frame has less torsional stiffness than a closed diamond frame, so an abrupt high-torque start produces more flex and can dull steering or braking response, especially with a rear rack, child seat or loaded panniers in place.
Book a workshop inspection at regular intervals rather than waiting for a noise. The list is short and specific: brake pad wear, rotor condition, headset play, wheel tension and frame fasteners. On a heavy bike with a motor, those five checks catch most of what goes wrong before it becomes a roadside problem. Battery handling is a separate routine, covered next.
Charging and Battery Safety at Home
Where you charge matters more than what you charge with. Pick a dry, ventilated spot away from escape routes and away from anything flammable, and treat that spot as permanent rather than wherever there's a spare socket.
Apartments. Carry the pack, not the bike, if the stairwell is tight. Charge in the room where you can see the battery and stay within sight of it, not in a hallway cupboard behind a closed door. If your building has a shared bike store, ask whether power is available there, because a ground-floor charging point beats hauling a pack up four flights.
Workplaces. A supervised daytime charge at your desk or in a bike room is the safest pattern there is. You're present, the battery is in sight, and the pack gets a top-up rather than a long unattended session.
Family homes. A garage bench with a smoke alarm nearby beats a hallway. Keep the charger on a hard surface, not on carpet or paper.
WorkSafe warns that damaged, crushed, punctured, poor-quality or overcharged lithium-ion batteries can cause fire and toxic smoke, and advises against charging overnight or near flammable materials. That directly contradicts the most convenient habit most owners develop, which is plugging in last thing at night and unplugging in the morning.
Run an inspection every few charges. Look for swelling, cracks in the casing, unusual heat during charging, and a pack that loses charge noticeably faster than it used to. A damaged battery must come out of service, not get replaced with a larger-capacity pack that puts more energy into a compromised system.
When a battery throws a fault, get diagnostics rather than opinions. Our E-Health Check costs $59.00 and includes plugging the bike into diagnostics, applying updates where required, checking the error log and components for wear, plus a function check and a test ride. If you want the background on pack care and lifespan, our guide to electric bike batteries covers what wears and why.
Test Ride and Confirm the Specs Before You Buy
The test ride is the deciding step, not a formality. Use the route you'll ride, with the load you'll carry, in the assist mode you'll leave it in.
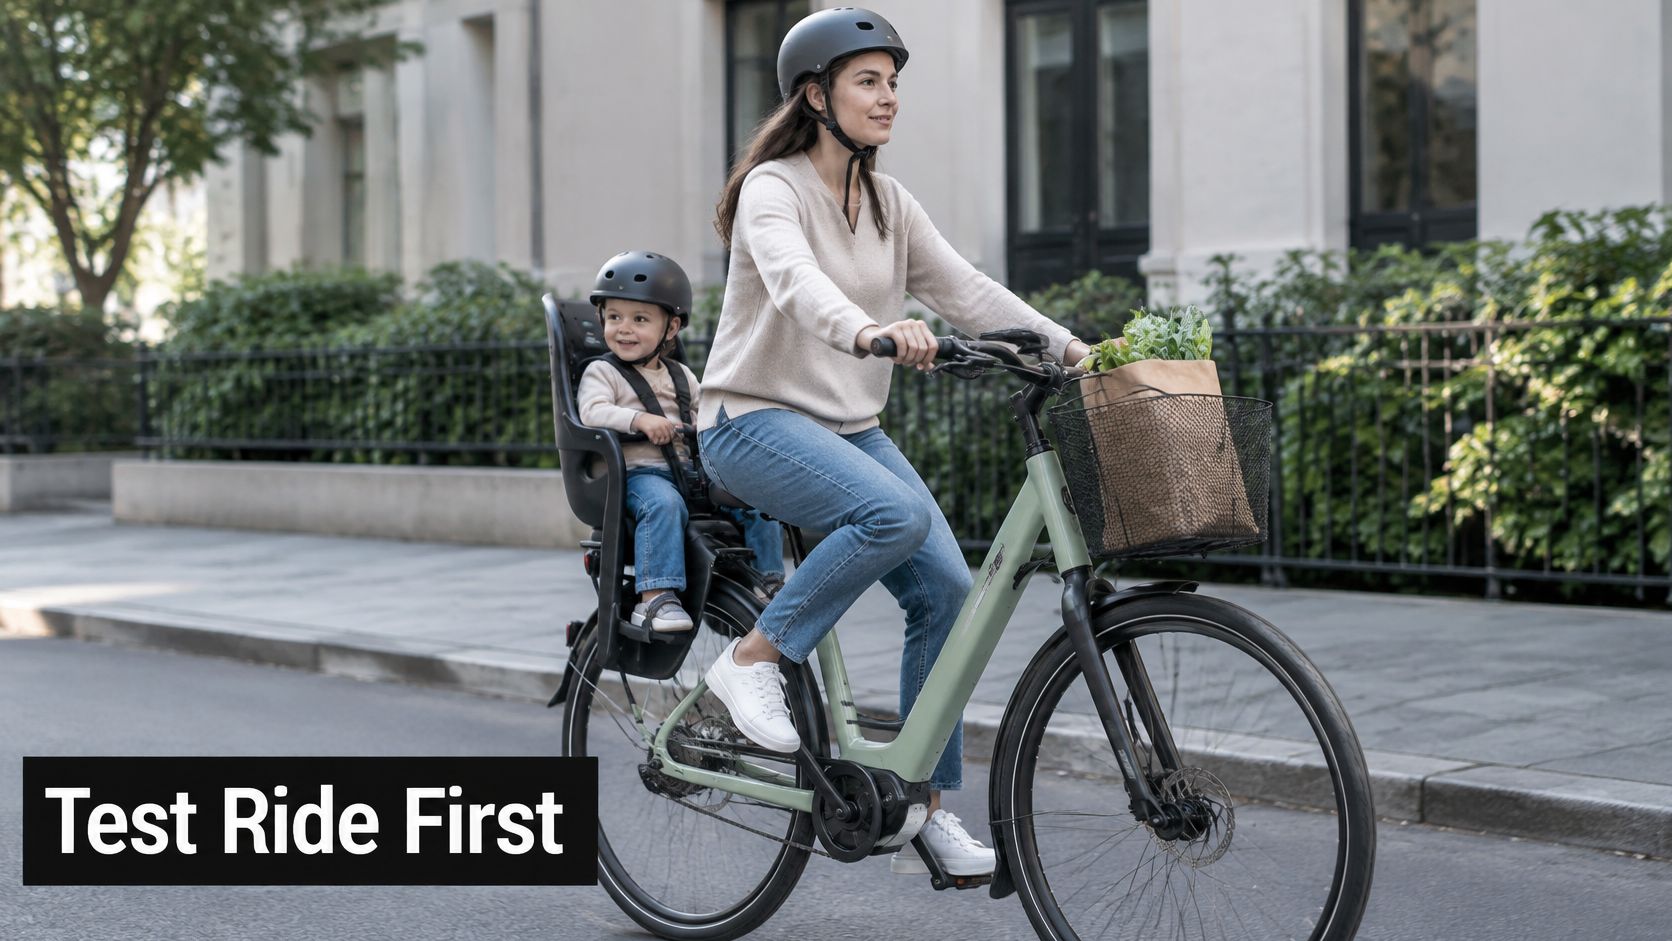
If you'll carry a child seat or a shopping load, bring it or ask for a demo seat to be fitted. A bike that feels nimble empty can feel vague and flexy loaded, and you want to find that out on a quiet street rather than at a busy intersection.
Three checks cover most of what goes wrong. Stand over the frame flat-footed and confirm the clearance. Reverse the bike into a parking space, which exposes weight, steering lock and whether you can move it under your own power. Then brake from a moderate speed on a slight downhill to feel how the discs bite with the load on.
Then walk the bike unpowered up a gentle incline. If you can't push it, you can't push it when the battery dies on a cold evening, and that's the failure mode nobody plans for.
Ask the seller to put four figures in writing: combined motor output, battery capacity in watt-hours, maximum rider-and-luggage weight, and charger specification. Write your test results into a short list so two or three models can be compared side by side rather than from memory.
Browse the e-bikes for sale in NZ range with that checklist open. Buy the model that passes the ride on your real route. A low price never repairs a failed criterion, and a bike you avoid riding because it's awkward is the most expensive purchase in the shed.
Rider 18 stocks step-through electric bikes from brands including NCM, Haro and Velectrix, and our Nelson workshop at 60 Vanguard Street handles the servicing, brake and battery checks this guide keeps pointing back to. If you'd rather try before you commit, we offer bike hire, so you can put a step-through through a full week of your own commute before deciding. Visit Rider 18 to see what's in stock, book a test ride, or ask about hire and servicing.


