

Mountain Bike Size Chart: How to Choose the Right Frame
- by Nigel
-

Two riders the same height can need different frame sizes, and a single average rider doesn't describe New Zealand's market. Sport New Zealand recorded 8.8% of adults aged 16 and over, approximately 292,000 people, as mountain-bike participants in the previous 12 months, while 24.8%, or about 823,000 adults, cycled or mountain biked Sport New Zealand 2013-14 cycling profile data. That mix includes occasional riders, commuters, frequent trail riders and families. Use this mountain bike size chart as a starting range, then confirm it with inseam, reach, standover and control.
Mountain Bike Size Chart by Rider Height and Inseam
This chart gives a starting frame range, not a verdict.
| Frame size | Rider height | Inseam | Approx. reach (mm) | Seat tube (in) |
|---|---|---|---|---|
| XS | 150-162 cm | 68-74 cm | 390-410 | 13-14 |
| S | 160-172 cm | 73-79 cm | 415-435 | 15-16 |
| M | 170-180 cm | 78-84 cm | 440-460 | 17-18 |
| L | 178-188 cm | 83-89 cm | 465-485 | 19-20 |
| XL | 186-196 cm | 88-94 cm | 490-510 | 21-22 |
The ranges overlap on purpose. If you're at the top of one band, compare that size with the next one up rather than forcing a single answer. Height gets you into the neighbourhood, but inseam tells you more about standover and saddle position.
Reach figures are indicative for trail hardtails and full-suspension bikes. They aren't standardised across brands, so the manufacturer's geometry chart overrides this table every time. Treat seat tube length in inches as a rough label, not proof that two bikes fit the same.
Riders under 150 cm or over 196 cm sit outside this table and need brand-specific guidance. Measure yourself first using the method below, keep one or two candidate sizes, then check those candidates against the maker's geometry before you test ride anything.
How to Measure Height and Inseam for Sizing
Use this visual guide before you start measuring.
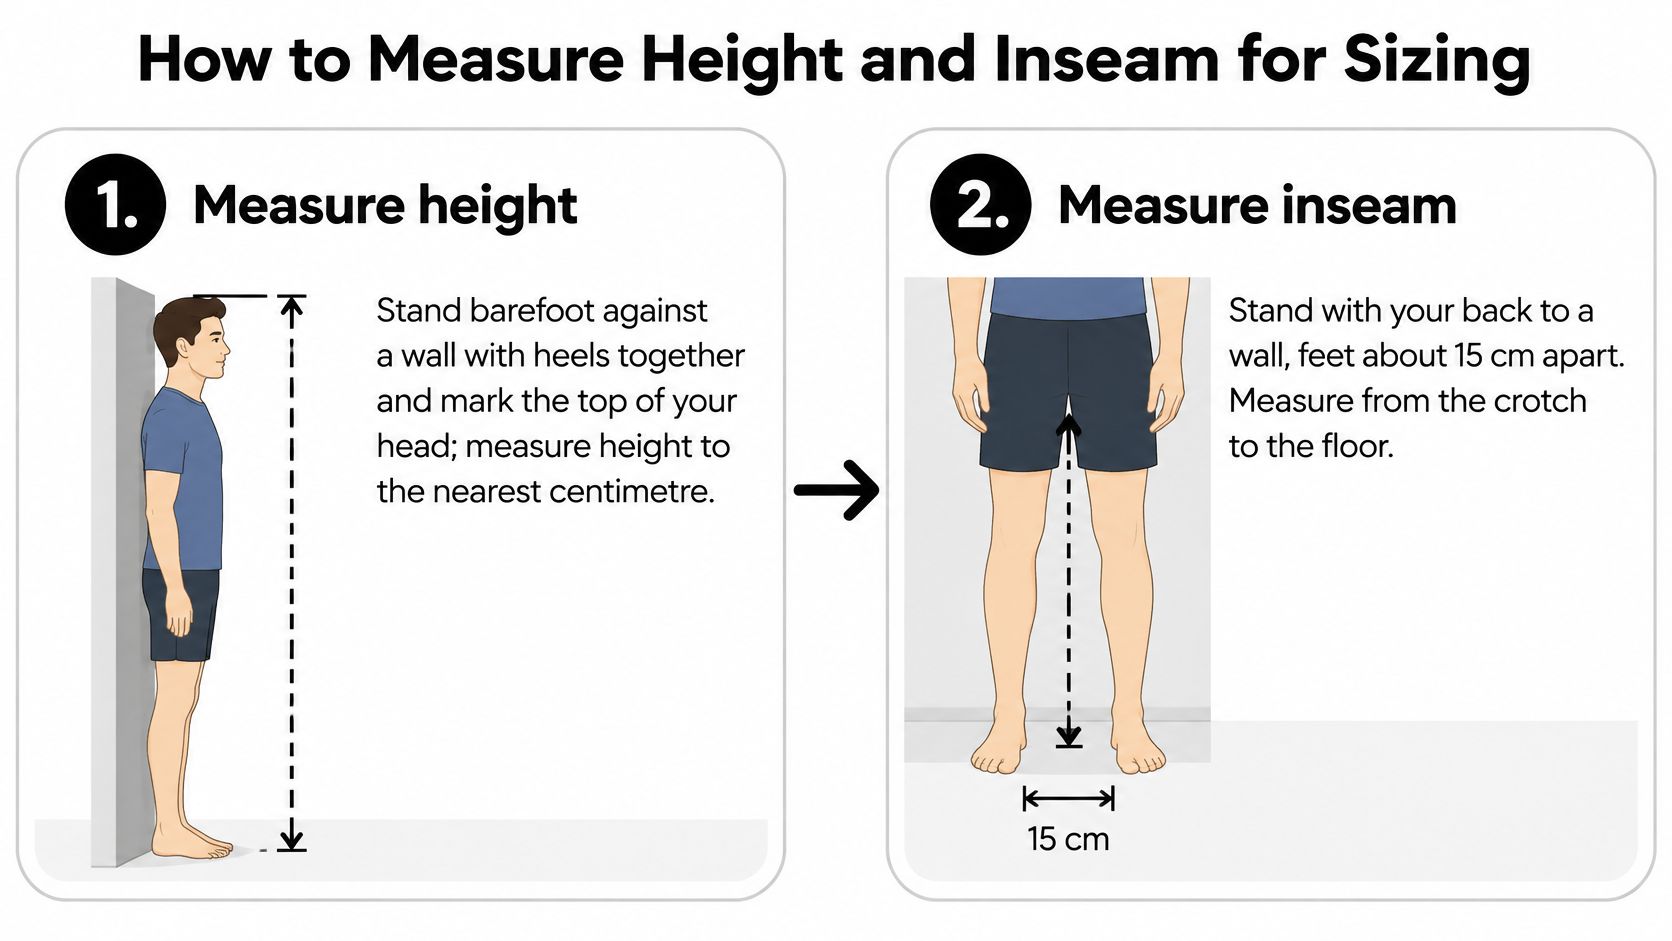
- Measure height barefoot: Stand against a wall with heels together, mark the top of your head, then measure floor to mark. This sets your row in the chart, and shoes inflate the result.
- Set up for inseam: Stand with your back to a wall, feet about 15 cm apart. Place a hardcover book between your legs, spine up, pressed firmly into your crotch. A loose book understates inseam.
- Mark and measure inseam: Mark the book's top edge on the wall and measure floor to mark. That's your inseam. Don't measure in trainers or with a bent knee.
- Repeat twice: Take both measurements twice and use the average. A single rushed reading often slips by a centimetre.
- Note your shoes: Record whether you ride flats or clipless, since sole thickness changes effective inseam slightly.
- Compare with the chart: If you're between sizes, keep both. Don't settle it on height alone.
This short video shows the same measuring positions in practice.
Workshop rule: Inseam matters more than height for standover. Get that number right first.
If your height is under 150 cm or over 196 cm, or inseam is outside 68-94 cm, the table gives no row. Use the manufacturer's chart and wheel guidance instead.
Why Frame Size Labels Differ Between Brands
A Medium can fit like another brand's Small or Large. Frame-size labels are set by each manufacturer, so compare the geometry for the exact model and year rather than relying on the letter or number. Auckland Transport also recommends trying different frame sizes and fine-tuning saddle, handlebar and brake-lever positions Auckland Transport guidance on choosing a bike.
Reach measures the horizontal distance from the bottom bracket to the head tube. It's a useful way to compare cockpit length on modern trail and enduro frames. Standover is the clearance between the top tube and your body when you straddle the bike. Check both against your measurements and riding position.
Seat-tube length is a rough label, so check the figure against the geometry chart. It also affects saddle insertion and dropper-post fit. Stack describes the vertical distance from the bottom bracket to the head tube, while effective top tube length can help compare older frames.
Compare Geometry in This Order
- Compare reach on the exact models and years you're considering.
- Check standover against your inseam and the bike's clearance.
Use the final checklist to confirm the remaining fit details before buying.
27.5-Inch or 29-Inch Wheel Size Choice
Wheel diameter changes axle height and effective fit, not just handling. A rider at the top of S or bottom of M can feel like they're on a different size just by switching wheels.
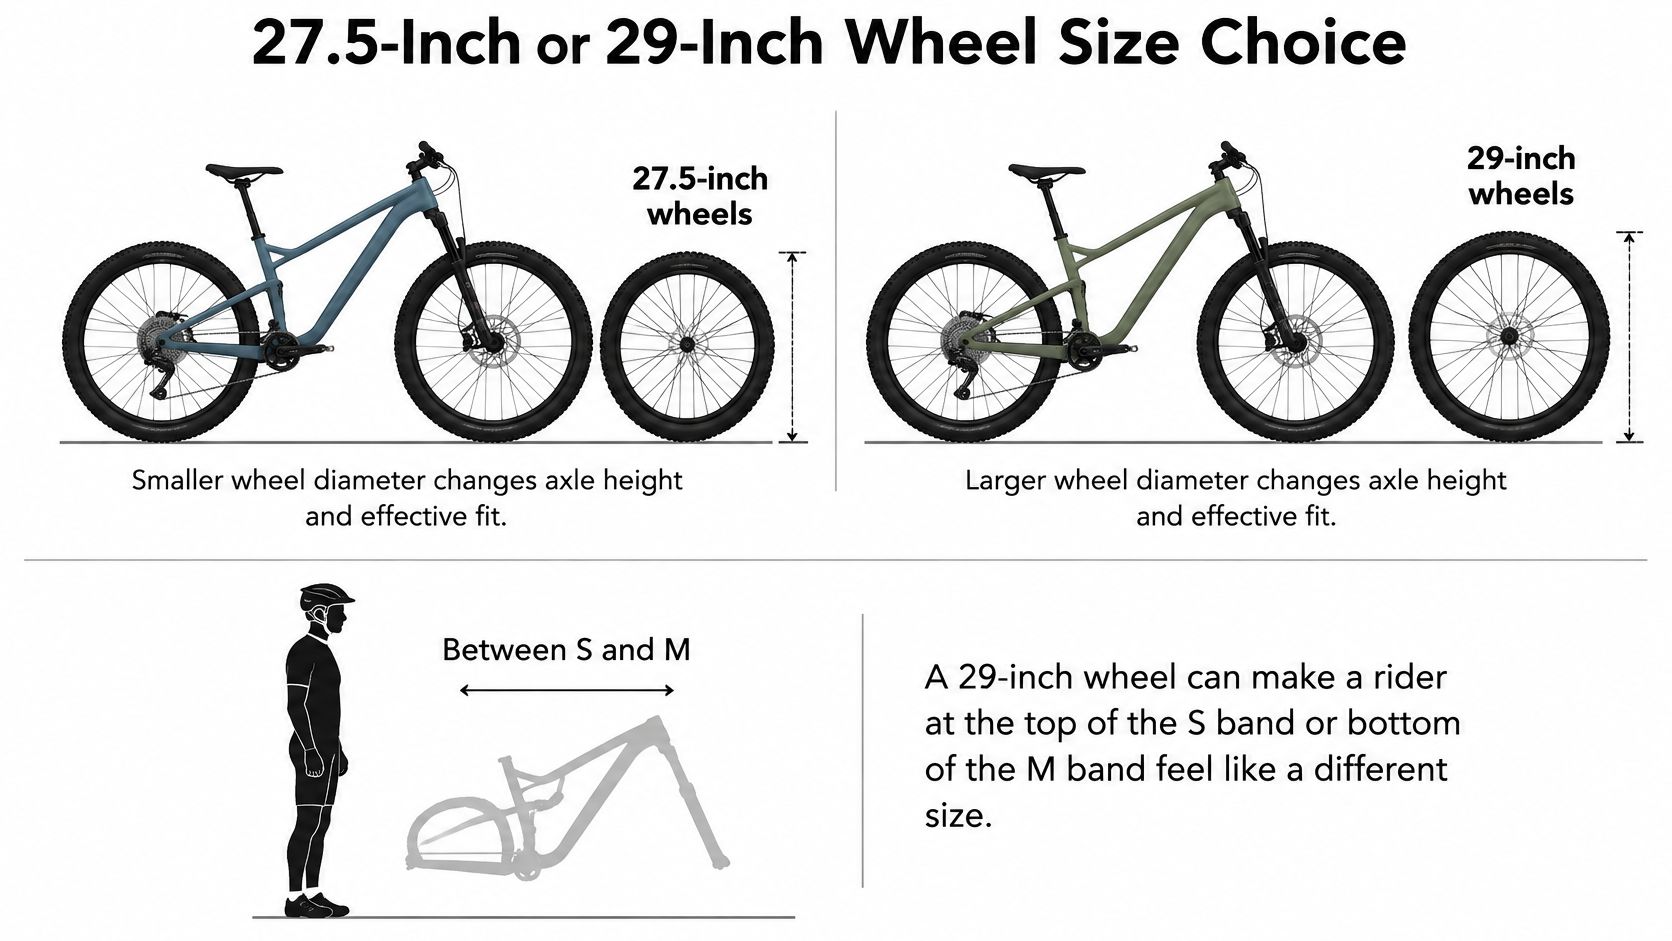
How Each Option Rides
- 29-inch wheels: They roll over roots and rocks more easily and hold momentum well. They also raise axle height and bottom-bracket feel, lengthen the wheelbase, feel stable at speed and steer more slowly.
- 27.5-inch wheels: They steer more quickly and are easier for shorter riders to manoeuvre. They give a lower centre of gravity, and you'll often find more suitable frame options in smaller sizes.
As a rule of thumb, riders under about 165 cm often suit 27.5-inch wheels in trail frames. Taller riders can usually choose either based on terrain and preferred handling. Don't treat that threshold as a hard cut-off, because inseam and reach still matter.
Whichever you choose, confirm there's enough saddle-height adjustment and that the dropper post inserts fully within the frame's minimum-insertion and maximum-saddle limits. E-MTBs need the same check because battery and motor mass change handling. Re-check reach and stack after choosing wheels, since both can shift between versions of the same model.
Sizing Children's Bikes Against NZ Standards Limits
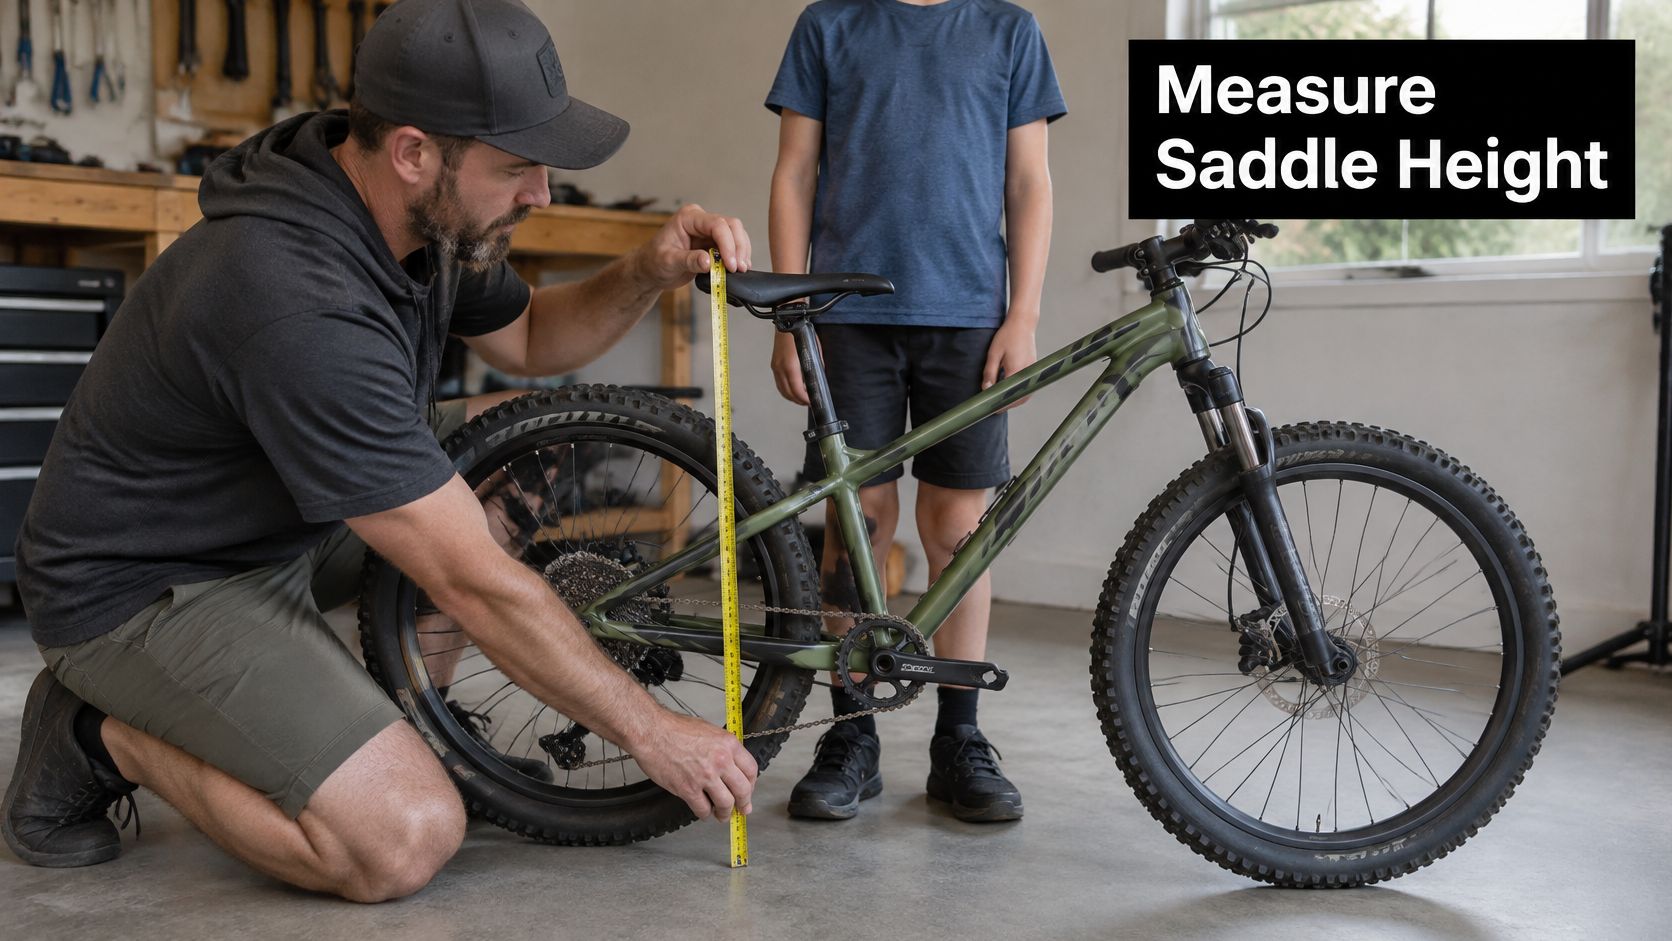
For children, wheel diameter alone is not a valid sizing boundary. Standards use maximum saddle height. Standards New Zealand adopted ISO 4210-2:2023 for mountain bicycles with a maximum saddle height of at least 635 mm, and identifies ISO 8098:2023 for young children's bicycles above 435 mm and below 635 mm Standards New Zealand listing for ISO 4210-2:2023.
| Limit | Standard | Applies to |
|---|---|---|
| Saddle height at or below 435 mm | National ride-on-toy regulations | Balance and ride-on bikes |
| Saddle height above 435 mm and below 635 mm | ISO 8098:2023 | Young children's bicycles |
| Saddle height 635 mm or above | ISO 4210-2:2023, adopted by Standards New Zealand | Adult and young-adult mountain bicycles |
| Wheelbase 640 mm or greater | AS/NZS 1927 | Pedal bicycles, including power-assisted up to 0.2 kW |
Below 435 mm, you're looking at ride-on-toy regulations, so balance bikes aren't sized like pedal bikes. The middle band covers young children's bicycles, while 635 mm and above moves into the adult mountain-bike standard.
Look for published minimum and maximum saddle height, recommended inseam range and intended rider age or height, not just XS or S labels. If you're comparing youth options, read this guide to 24-inch bikes in NZ alongside the limits above.
AS/NZS 1927 is a second NZ and Australian reference for applicable pedal models. Use its wheelbase test as an additional check, not as a replacement for saddle-height limits.
Growing Riders and Control Before Growth
Buying several sizes too big for future growth can reduce braking control and confidence. It looks like value in the shop, but an oversized bike is harder to steer, stop and manoeuvre when the trail tightens or pitches down.
The injury exposure is real. Children aged 10-14 recorded 3,166 cycling-related injury claims between January and July 2025, while children aged 5-9 recorded 1,933 claims NZTA consultation document containing the ACC claim figures. Those figures don't prove one sizing method prevents injuries, but they show why control deserves priority over extra years of theoretical use.
Parent Control Checklist
- Check standing clearance: Measure barefoot inseam and confirm clear space over the top tube.
- Test one-finger braking: Your child should operate both brakes with one finger without shifting their grip.
- Check reach: Bars and levers should sit within comfortable reach, without locked elbows or stretched shoulders.
- Allow for equipment: A suspension fork, wide bars, dropper post or body armour can change effective fit.
Choose a 24-inch, 26-inch or small adult bike based on those controls and the standards limits above, not age alone. A correctly fitting second-hand or ex-demo bike is often safer and more usable than a new bike bought mainly for growth.
E-MTB Sizing for Trail Fit or Touring Fit
Motor and battery mass change handling, mounting and lifting, so the largest frame your height allows isn't always best. Decide first whether you want agility on technical trails or easier access and comfort over distance.
The 2025 Great Rides evaluation recorded almost 2.58 million trips in the year ending June 2025, with cyclist trips up 14% compared with 2021, and reported that 56% of visitors riding e-bikes were primarily visiting to experience the Great Ride 2025 New Zealand Cycle Trail evaluation report. Both fit goals are now common in NZ.
| Criterion | Trail-performance fit | Touring and access fit |
|---|---|---|
| Main priority | Agility and control on steep, technical terrain | Stable handling and comfortable long-distance posture |
| Reach | Often shorter cockpit to steer quickly on trails | Mid-range reach for an upright, relaxed position |
| Standover and mounting | Enough clearance for steep descents | Lower step-through clearance for mounting a heavy bike |
| Frame weight and lifting | Heavier frame accepted for stiffness | Weight considered for lifting and car-rack transport |
| Dropper post | Essential, with full insertion checked | Optional, depending on terrain |
| Tyre clearance | Room for wide tyres for NZ trail conditions | Less critical |
- Check in riding clothes: Confirm handlebar width, brake-lever reach, saddle height and step-through clearance together.
- Allow for longer rides: Assistance encourages more distance and harder terrain, so keep enough stability and tyre clearance for trails.
- Recheck wheel effects: Wheel choice can change how heavy an e-MTB feels to steer and lift.
If you're comparing models, this overview of the best electric bikes in NZ gives useful context before you narrow sizes.
Adjusting Size for Riding Style and Local Terrain
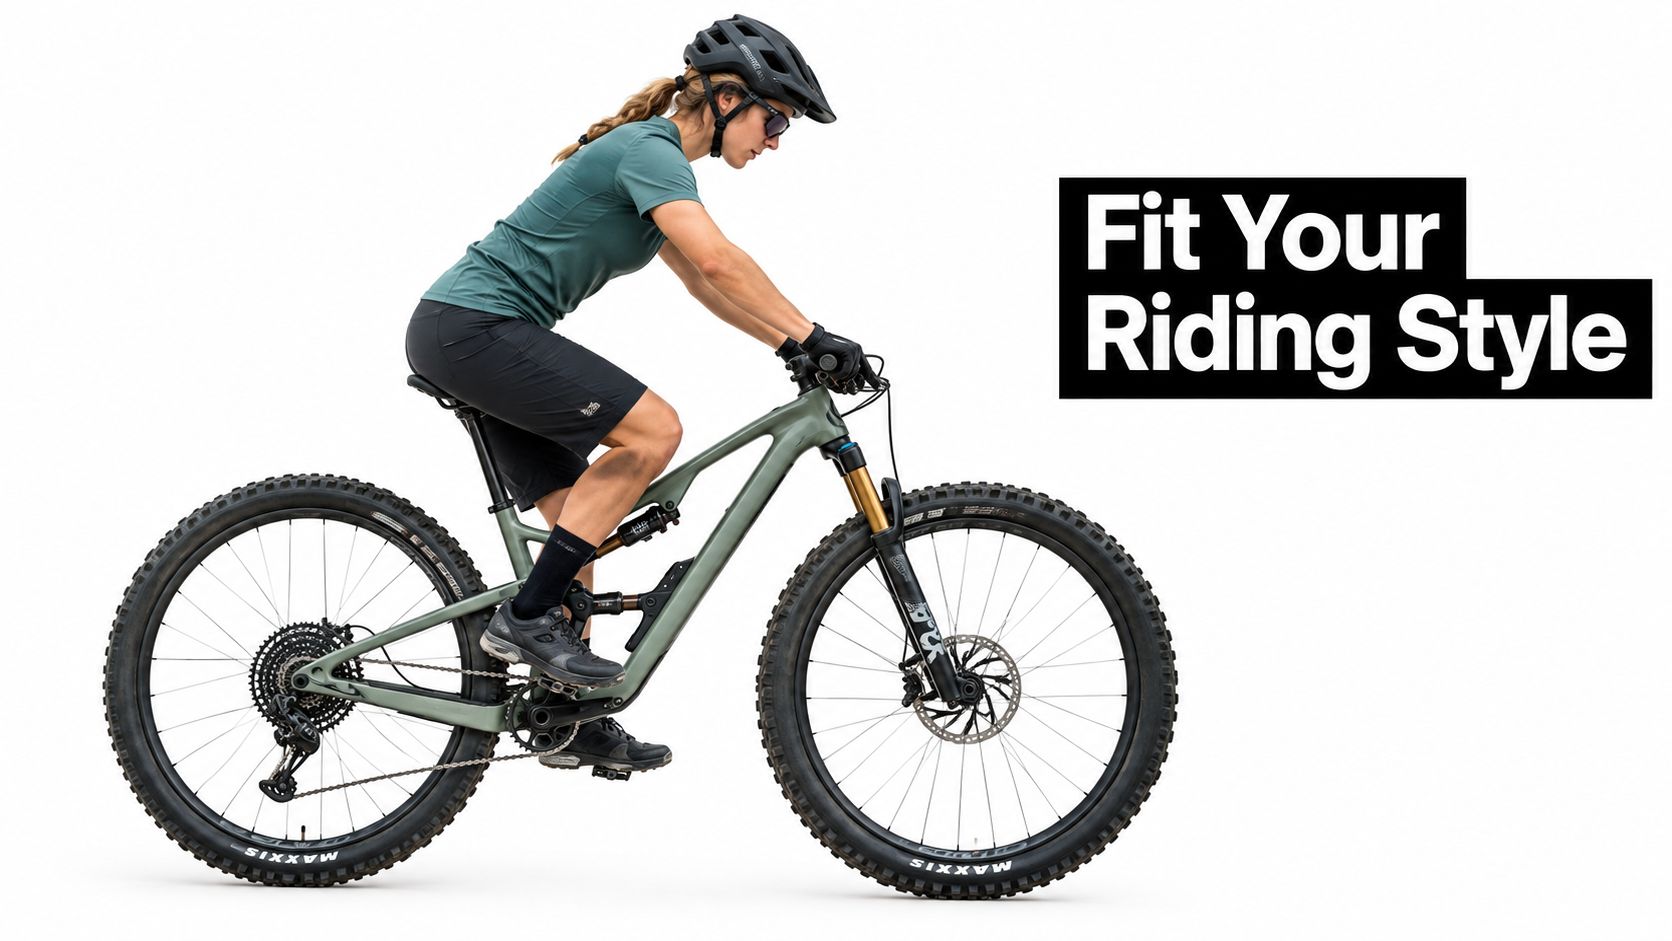
The chart assumes a typical trail rider. Your riding style can move the final answer within the overlap. Cross-country riders often prefer a slightly longer, stable cockpit for efficiency, while trail riders balance reach against quick steering.
Enduro and downhill riders usually size up for stability at speed, provided standover still works on steep ground. That means two riders with identical measurements can sensibly choose neighbouring sizes for different terrain and speeds.
Local demand makes this less theoretical around Nelson. A 2018 study reported mountain-bike participation of 20.5% among Nelson residents and 20.8% in Tasman, compared with 7.7% nationally for people aged 15 and over BERL economic benefits of mountain biking for Nelson report. Shops here size trail, enduro, downhill, youth and e-bike riders side by side.
Take a rider at 179 cm with an 84 cm inseam. They sit in the M and L overlap from the starting chart. A cross-country rider would usually take M for a more compact, efficient position, while a downhill-focused rider may lean toward L for a longer, more planted feel.
Height and inseam identify the likely category. Reach, standover, wheel size, suspension type and riding style confirm the final size.
Don't ignore suspension type. A hardtail and a long-travel full-suspension bike with similar reach can still put your weight in a different place once the trail steepens.
Confirm Your Size Before You Buy
A useful test ride should show whether the bike stays composed when the trail changes. Take both shortlisted sizes on the same climb, descent and tight corner, if possible.
On the climb, check that the front wheel tracks steadily and you can pedal without feeling cramped. On the descent, make sure you can shift your weight behind the saddle without the bike restricting your movement. Through a tight corner, check that the bike responds predictably and you can reach the brakes without moving your hands.
A short car-park loop can confirm the saddle is roughly set, but it won't reveal how the bike handles uneven ground or steep sections.
Recheck After Two Rides
After two rides, review your saddle, bar and brake-lever positions, then check reach and standover again. Confirm the dropper post still inserts fully and allows the saddle to sit at the right height. If bar position remains uncomfortable, follow this guide to adjust mountain bike handlebar height before changing components.
If the bike still feels awkward after those adjustments, try the other shortlisted size. Rider 18's Nelson shop at 60 Vanguard Street offers fit advice, workshop set-up support and ex-demo bikes to compare. Check current bike-hire and returns terms with the shop before relying on them.
Bring your measurements and test both sizes on a suitable trail before you commit. Visit Rider 18 to browse mountain bikes, kids' bikes and e-MTBs, or call into the Nelson store for sizing help.


