

Bike Pump Near Me: Types, Valves & Rider 18 in Nelson
- by Nigel
-

For a local rider, the most useful choice is a floor pump with a pressure gauge and a head that fits both Presta and Schrader valves. New Zealand has approximately 1.3 million working bicycles, so finding a dependable pump nearby is a practical need, not a niche convenience.
You may be searching for “bike pump near me” because you're standing beside a flat tyre on a Nelson trail, or because your bike feels sluggish on the ride home from work. The first nearby result isn't always the right answer. A car-service air hose may overinflate a bicycle tube, while a free public stand may have a damaged head, no readable gauge, or limited access.
A local bike shop gives you something a map pin can't: a chance to match the pump to your valve, tyre, pressure needs, and riding style. That matters even more for mountain bikes, tubeless setups, and heavier e-bikes. At Rider 18 in Nelson, you can ask a mechanic to check the fit before you buy, rather than discovering at home that the pump and valve don't cooperate.
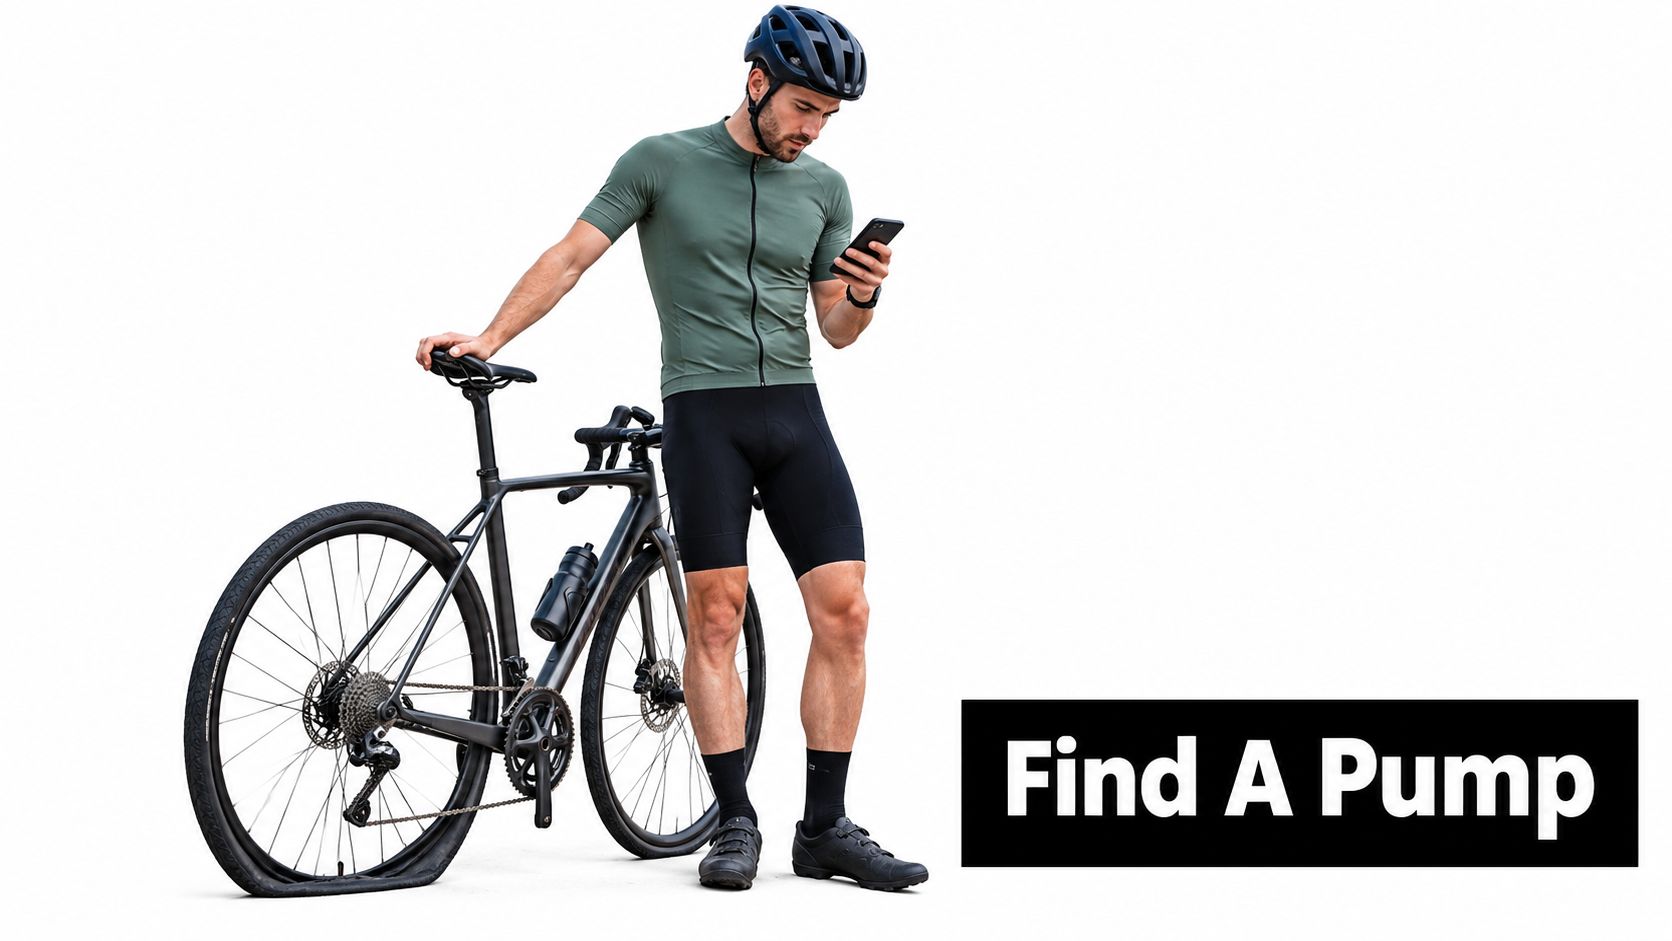
Finding the Right Bike Pump Near Me
The phrase “near me” describes distance, not suitability. A pump can be close enough to walk to and still be useless if it only accepts Schrader valves, lacks a gauge, or cannot provide the controlled pressure your tyre needs.
Start with the bike itself. Look at the valve before you search or visit a shop. A wide valve that resembles the one on a car tyre is a Schrader valve. A slimmer metal valve with a small threaded nut at the tip is a Presta valve. If you're unsure, take a quick photo or bring the bike with you.
What to check before buying
A good everyday pump should have:
- A readable gauge: You need to know when the tyre reaches its intended pressure, rather than judging firmness with your thumb.
- Dual-valve compatibility: A reversible head or selectable connection prevents an avoidable mismatch.
- A stable base: A floor pump should stand securely while you use both hands.
- A locking pump head: The head should grip the valve without constant hand pressure.
- A suitable pressure range: The pump must work comfortably within your tyre manufacturer's recommended range.
New Zealand's cycling demand is broad. Ministry of Transport research found that 18% of people reported cycling during the previous month, while households with children were much more likely to own bicycles in working order than people living alone. The same research recorded around 25 million hours of cycling travel each year, covering roughly 313 million kilometres and 71 million trip legs (Ministry of Transport cycling research).
That volume includes children's bikes, commuter bikes, recreational bikes, mountain bikes, and e-bikes. Your search may begin with a flat tyre, but the smarter purchase is a pump you'll use for regular pre-ride checks. For broader bike maintenance ideas, you can also explore these tools for tracking lifts, especially if you're recording training alongside your rides.
Rider 18's guide to bike pumps in New Zealand is another useful place to compare the basics before visiting a shop. Bring the bike, or at least the valve details, and ask for a pump that suits the actual tyre rather than the cheapest item on the shelf.
Understanding Valve Types and Compatibility
Valve confusion is common because the two main bicycle valves do the same job in different shapes. Think of them as bottle necks. A Schrader valve is like a wide-neck soft-drink bottle, sturdy and familiar. A Presta valve is like a narrow-neck water bottle, slimmer and more delicate at the tip.
Schrader valves are wider and flatter, and you'll often see them on mountain bikes, children's bikes, and practical commuter bikes. Presta valves are narrower, use a small locking nut, and are common on road bikes and many higher-end mountain bikes. The bike category gives you a clue, but looking at the valve is more reliable than guessing from the frame.
How to identify the connection
- Remove the valve cap. The cap protects the valve but doesn't identify the type by itself.
- Look at the stem width. Wide usually means Schrader. Narrow usually means Presta.
- Check the tip. A Presta valve has a small threaded nut that you loosen before inflation.
- Match the pump head. Many modern pumps use a dual head, while others use a reversible insert or adapter.
- Test the connection gently. The head should sit squarely and lock without forcing it.
A dual-head pump removes much of the guesswork, but it doesn't remove the need to connect it correctly. If a Presta valve's small nut remains closed, air won't enter. If a pump head doesn't seal around a Schrader valve, air escapes instead of filling the tube.
The guide to choosing an air pump for your bike can help you compare pump connections and intended uses. For an e-bike or high-pressure road tyre, a secure connection also makes inflation faster and reduces the temptation to pump harder against a poor seal.
Practical rule: If you're buying your first pump, choose one that clearly supports both valve types. It will keep working if you change bikes or help a family member with a different valve.
Comparing Pump Types for Your Riding Style
Pump choice depends on where the pump will live. A large floor pump belongs in a garage or hallway. A compact hand pump belongs in a saddlebag or riding pack. A CO2 inflator is an emergency tool for riders who value speed and understand its limitations.
Pump Comparison for NZ Riders
| Pump Type | Best For | Pressure Gauge | Portability |
|---|---|---|---|
| Floor pump | Home inflation and pre-ride checks | Usually integrated and easy to read | Low |
| Hand pump | Roadside tube repairs and trail rides | May be integrated or absent | High |
| CO2 inflator | Rapid emergency inflation | Usually absent unless paired with a gauge | Very high |
A floor pump is the easiest primary option for most households. Its long barrel moves more air per stroke, its base lets you brace the pump with your feet, and its gauge helps you stop at the intended pressure. It's especially useful when several bikes need attention before a family ride.
A hand pump trades speed for packability. It can rescue you after a puncture, but filling a completely flat mountain-bike tyre takes patience and effort. Some compact models include a pressure gauge, while others ask you to estimate by feel. That estimate becomes less dependable as tyre casing, volume, and riding conditions change.
CO2 is different. A cartridge releases gas quickly, which can be useful when you're cold, late, or dealing with a puncture far from home. The cartridge is consumed during use, so it's better treated as backup equipment than as your only inflation plan. You also need to control the release carefully because rapid inflation leaves less time to check the bead and pressure.
Match the pump to the bike
A normal tyre pump isn't a substitute for a shock pump. Suspension forks and rear shocks use different pressure requirements and fittings, so a mountain-bike rider should ask for the correct suspension tool rather than trying to adapt a floor pump.
For a tubeless mountain bike, the primary pump needs to support accurate routine inflation, while bead seating may require equipment designed for a sudden burst of air. For commuting, a floor pump at home plus a small hand pump on the bike creates a sensible two-tool setup. For an e-bike, choose a stable pump and avoid treating the motor, battery, or extra bike weight as a reason to skip pressure checks.
Why Shop Pumps Beat Public Free Stands
Free infrastructure is useful when it works. It can save a rider who needs a quick adjustment, but “free” doesn't guarantee a good connection, a working gauge, convenient hours, or safe handling for every bike.
Wellington City Council describes its Fix-It stands as free and accessible at all times, while Auckland's community bike hubs can operate on limited schedules. Auckland Transport lists 12 community bike hubs, and some individual locations have hours such as Thursday to Sunday, 10am to 2pm (Wellington bike maintenance information). Availability therefore varies by location, and a search result may combine public pumps, repair hubs, retail shops, and facilities that aren't currently usable.
The hidden checks behind a useful pump
A public stand might have:
- A worn pump head: It may fail to seal around your Presta or Schrader valve.
- An unreadable gauge: Without a gauge, you can't confidently set pressure.
- A poor location: Darkness, rain, or awkward bike access can turn a simple task into a risky one.
- Limited opening times: A staffed hub may not be available when a commuter or trail rider needs it.
- Maintenance issues: Public tools can be damaged or stolen and need ongoing servicing.
NZTA guidance notes that public pumps may require servicing one to four times annually, depending on usage, and that tools can be stolen or damaged (NZTA cycling and micromobility report). That doesn't make public pumps worthless. It means you should inspect the equipment before trusting it with an expensive tyre, rim, or e-bike.
A shop gives you a second layer of protection: human help. A mechanic can confirm the valve type, show you how to lock the head, check whether the gauge reads sensibly, and explain when your setup needs a different tool. That advice matters for riders who use tubeless tyres, suspension systems, or heavier e-bikes.
Pressure is part of the safety decision
Under-inflation raises rolling resistance and can increase the risk of punctures, rim damage, and poor handling. Excessive pressure creates its own safety and equipment risks. Michelin recommends using the tyre manufacturer's range and accounting for rider mass, tyre width, casing design, and load rather than copying a generic road or mountain-bike number (Michelin's bicycle tyre pressure guide).
That is why a staffed local shop can be the smarter “near me” result. The nearest pump only solves the problem if it is available, compatible, accurate, and suitable for your bike.
Safe Inflation Tips and Maintenance Checklists
A tyre can look fine and still feel vague on a wet corner. Before attaching the pump, read the pressure range on the sidewall and compare it with the tyre or bike manufacturer's guidance. The maximum is a ceiling, not an automatic target, particularly for heavy e-bikes and mountain bikes.
A calm inflation routine
- Inspect first. Check for cuts, cracks, bulges, embedded glass, or a tyre that has moved on the rim.
- Prepare the valve. Remove the cap. With a Presta valve, loosen the small tip nut without taking it off.
- Attach squarely. Push the pump head straight onto the valve, then lock it.
- Inflate steadily. Use smooth strokes and watch the gauge. A gauge is more dependable than squeezing the tyre.
- Stop within the range. Stay below the marked maximum and choose pressure suited to the bike, tyre, rider, and load.
- Check the bead. If the tyre was fully flat, confirm that it sits evenly around the rim.
- Disconnect promptly. Release the head before removing it to limit air loss.
- Finish the valve. Tighten the Presta nut and replace the cap.
Michelin recommends checking pressure before riding and following the tyre maker's range, rather than treating a generic number as suitable for every bike (Auckland Transport cycling safety guidance). A hand or foot pump gives controlled airflow. An unregulated compressed-air hose can fill a bicycle tube too quickly and cause a rupture.
Before you roll: Squeeze the tyre only as a quick warning check. Let the gauge decide whether the pressure is right.
Visit a workshop if the valve leaks, the bead will not seat evenly, a bulge appears, or pressure drops quickly. Those symptoms may point to damage in the tube, rim tape, tyre, or valve. A nearby bike shop can check the cause and show you the correct pump head and pressure routine, which is safer than relying on an unattended public stand for a powerful e-bike or trail bike.
Visit Rider 18 for Expert Pump Advice in Nelson
A search for “bike pump near me” becomes much easier when you know what to take to the shop. Bring the bike if possible. If that isn't practical, take a clear photo of the valve, note whether the bike is tubeless, and explain where you ride.
At 60 Vanguard Street, Nelson, Rider 18 serves riders across mountain biking, e-bikes, family cycling, commuting, gravel, and trail riding. The team can help compare a floor pump for home use with a compact pump for a saddlebag, while also pointing out when a suspension fork or shock needs a dedicated shock pump.
Questions worth asking in the shop
- “Will this head fit my valve?” Ask the staff member to demonstrate the connection.
- “Is this suitable for my tyre pressure?” Mention whether you ride a commuter, e-bike, road bike, or MTB.
- “Do I need a separate hand pump?” A home pump won't help if you get a flat on the trail.
- “Is my suspension system different?” A shock pump may be required for fork or shock pressure.
- “Can you check the tyre and valve?” A workshop inspection can reveal damage that inflation would hide.
Rider 18 offers bikes, components, tools, accessories, and workshop support, including products such as the Lezyne Pocket Drive High Pressure Pump, Ryder Pump Rival Pro 2.0 Floor, and Ryder Pump Flex Air. Its Nelson bike shop information provides further details for local riders who need advice, servicing, or equipment.
The right result isn't just the closest pump on a map. It's the place where someone can help you leave with compatible equipment and a clear understanding of how to use it. That is particularly valuable when your bike carries more weight, uses tubeless tyres, or combines a suspension system with an e-bike drivetrain.
Visit Rider 18 at 60 Vanguard Street, Nelson, with your bike or a photo of its valve, and ask the team to match you with a gauge-equipped pump for your riding. You can also arrange workshop help if the tyre, valve, or suspension needs more than a simple top-up.


