

Carrier for Bike: Types, Fit and Safe Loading
- by Nigel
-

Around 1.7 million combined cycle and public-transport trips a year were forecast across six New Zealand urban areas in a Waka Kotahi bicycle-carriage report. Transporting a bike isn't just a weekend convenience. It can be the connection that makes a longer journey practical.
For car owners, choosing a carrier for bike transport means considering more than just the rack's ticket price. The total cost includes suitable mounting, legal lighting and plate equipment, and enough capacity for your actual bikes. A cheap rack that needs substantial extras or can't carry your e-bike isn't a bargain.
Carrier Types Compared at a Glance
Bike carrier types compared by mounting, capacity and handling
| Carrier type | Mounts to | Typical bikes | Loading effort | Security note |
|---|---|---|---|---|
| Roof-mounted (fork or frame clamp) | Compatible roof bars | Label-rated positions, subject to roof load | Lift overhead | Lockable clamps on suitable models; check overhead clearance |
| Towbar hanging | Compatible towball or hitch receiver | Rated hanging positions, subject to weight and frame fit | Lift onto supporting arms | Bikes can obscure plate and lights; secure against swinging |
| Towbar platform | Compatible towball or hitch receiver | Rated tray positions, subject to per-bike limits | Low lift, or roll up a compatible ramp | Can obstruct boot access; check locks and loaded tilt operation |
| Boot or hatch strap | Approved boot lid or hatch mounting points | Manufacturer-approved positions for the vehicle | Lift onto rack | Straps and contact pads need careful fitting to protect paint |
Advertised bike counts describe available positions, not guaranteed usable capacity. Read the carrier label rather than assuming every tray or hook can accept any bicycle.
There's a substantial audience for practical bike transport: Waka Kotahi's cycling planning guidance reports that 48% of New Zealand households own at least one bicycle. Those households don't all need the same rack.
Roof carriers keep equipment away from the rear hatch, but overhead lifting can make them awkward for heavy bikes. Fork mounts also require the right axle adaptor, while frame-clamping models need an approved contact point.
Hanging carriers can be straightforward for conventional frames, but small children's frames and step-through bikes may need approved adaptors. Platforms support the wheels and make positioning easier, although a tray alone doesn't eliminate lifting. You'll need a compatible ramp to roll a heavy bike aboard.
Start with vehicle fit, then bike count. Price matters only after a carrier passes both tests.
A strap-mounted rack deserves particular scrutiny around spoilers, glass and hatch edges. Buy it only where the manufacturer explicitly approves your vehicle, not because the hooks appear to fit.
Check Vehicle and Carrier Ratings First
The vehicle, mounting system and carrier each have limits. A stronger rack doesn't increase the car's permitted loading, and a towbar's trailer towing capacity isn't its permitted downward load.
Waka Kotahi's safe loading and towing guide advises checking the vehicle's roof capacity and securing loads within the relevant vehicle and equipment limits. Work through the checks before ordering hardware.
- Find the roof allowance. Read the vehicle handbook and account for roof bars, fittings and the carrier itself, not just the bikes.
- Identify the towbar limits. Check the vehicle and towbar documentation for permitted download and any restrictions on rear-mounted carriers.
- Read the carrier label. Record both the individual-bike allowance and total payload; passing one doesn't establish the other.
- Establish the travelling mass. Include fitted batteries, child seats, luggage racks and accessories unless they'll be removed.
- Check vehicle loading. Confirm maximum laden mass and axle limits using manufacturer information and available identification plates, allowing for passengers and luggage.
- Inspect rear clearances. Load the intended bikes and check the number plate, lights, bodywork and exhaust area.
Ratings and clearances to check before loading
| Check | Where to find it | Why it matters |
|---|---|---|
| Maximum roof load | Vehicle handbook | Limits roof bars, rack and bikes combined |
| Towbar tow rating and download | Vehicle handbook and towbar plate | Download and carrier-specific restrictions govern rear-mounted loading |
| Carrier rated load per bike and total | Carrier label or manual | A bike can exceed its individual allowance even when total payload passes |
| Maximum laden weight and axle limits | Vehicle compliance plate where stated, handbook or manufacturer | Rear loading must remain within vehicle and axle limits |
| Clearance to plate and tail-lights | Inspect and measure at the rear | Obstruction requires an appropriate visibility solution |
Don't treat a marginal result as permission to round down. Choose a more suitable carrier where the rack is the limiting component, or reduce the load where the vehicle is limiting it. Tighten restraints before departure and recheck them during the journey.
Count Bikes and Weigh E-bikes Properly
Two empty slots do not equal capacity for two e-bikes. NZTA's electric-bike guidance notes that e-bikes are typically heavier than conventional bicycles and handle differently, so start from weighed travelling mass and carrier limits, not the count of arms on the rack.
The contrast with purpose-built transport is sharp. The New Zealand urban-bus requirements specify front racks for at least two standard bicycles, accommodating an individual bicycle up to 25 kg and wheel diameters from 40.5 cm to 75 cm, while excluding cargo and fat-tyre bikes. Bus hardware is engineered around that defined load. Your car carrier needs the same discipline.
Use this capacity-first approach when planning transport.
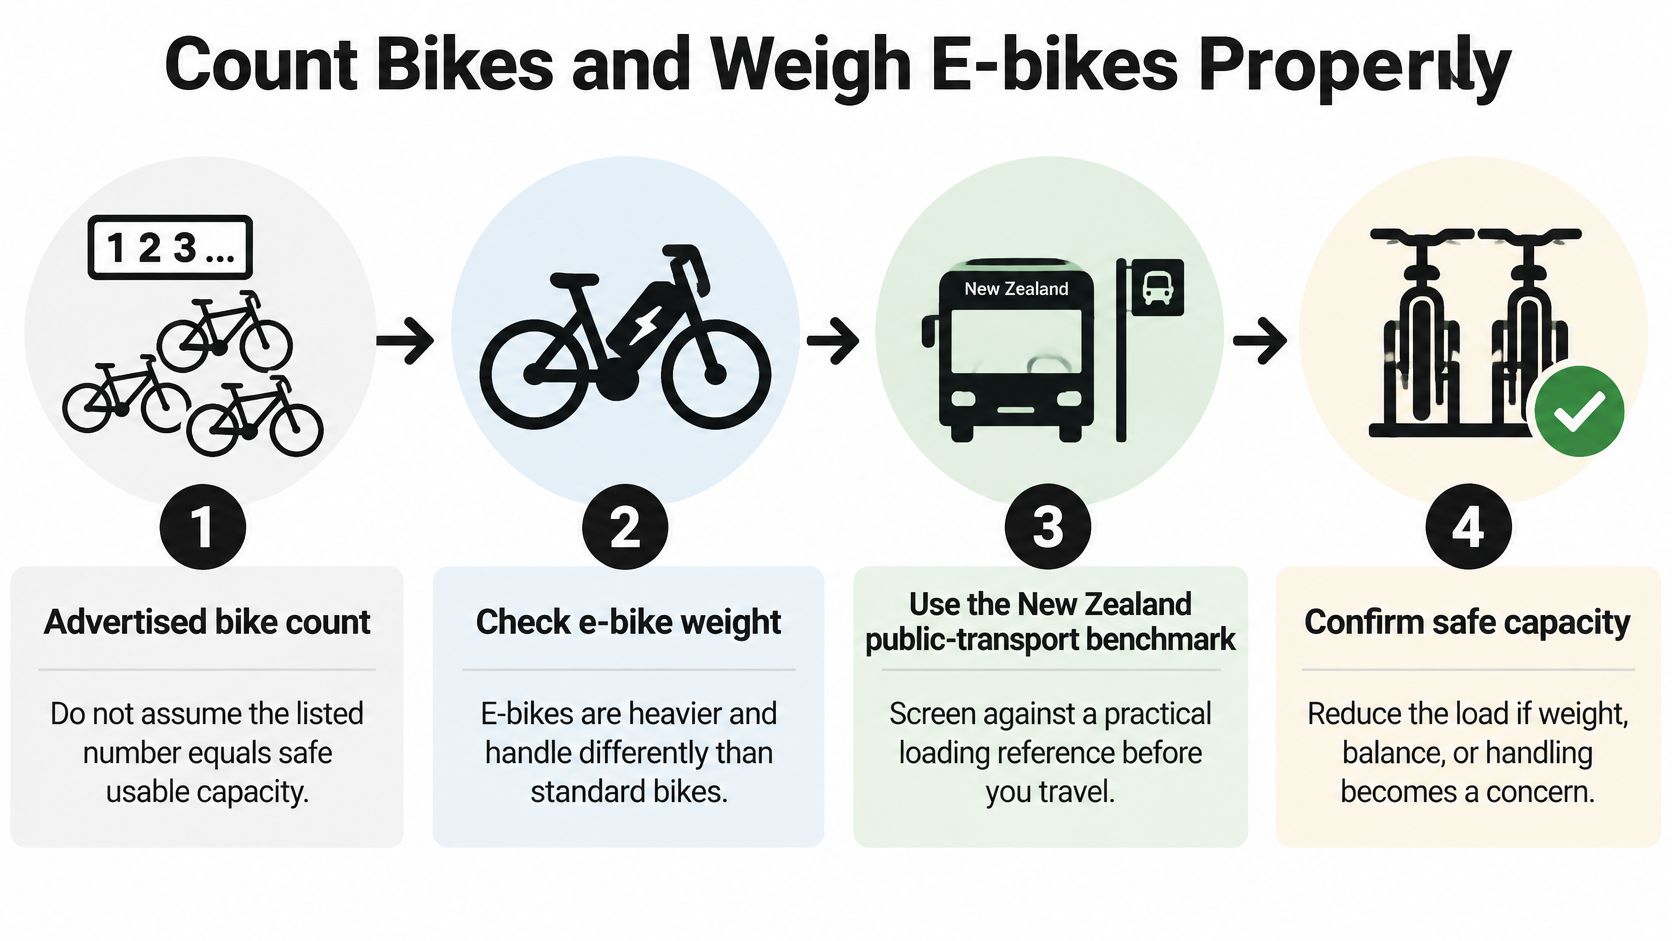
Build your own load calculation
A cheap rack that forces you to buy a light board, a supplementary plate holder and then a higher-rated replacement was never cheap. Weigh first.
- Weigh each bike as transported. Use a suitable hanging scale, or weigh yourself holding the bike on bathroom scales and subtract your weight.
- Record carrier and hardware mass. Include mounting adaptors and attached equipment.
- Separate payload from assembly weight. Compare bikes and carried accessories with the rack's individual and total payload limits.
- Check the hitch loading. Compare the complete rear-mounted assembly with the applicable vehicle, towbar and carrier instructions.
- Measure physical fit. Check wheel diameter, tyre width, wheelbase, mudguards and approved frame-contact areas against the chosen carrier's specification.
- Follow the loading order. Put the heaviest bike nearest the vehicle where the manufacturer instructs, then secure each restraint.
Worked load check for two e-bikes on a towbar carrier
The following weights are hypothetical inputs, not product specifications.
| Item | Weight |
|---|---|
| E-bike 1 with battery (example) | 24 kg, hypothetical |
| E-bike 2 with battery (example) | 22 kg, hypothetical |
| Subtotal, two e-bikes before extras | 46 kg, calculated from the hypothetical inputs |
| Child seat or accessories (your figure) | Add their measured travelling weight |
| Carrier and mounting hardware | Add the weight from the carrier label, for example 14 kg for rack plus adaptors |
| Running total against limits | 46 kg plus the measured weights of any child seat, accessories and hardware, to compare with the carrier's total payload and the towbar limit |
I recommend treating battery removal as a weight reduction only where the bike maker allows it. The lighter figure still has to pass every check for per-bike allowance, total payload and towbar download. Even when considering a lightweight e-bike for easier carrying, use measured travelling weight rather than a brochure figure.
Plates, Lights and Legal Loading in New Zealand
A towbar doesn't automatically make a bike rack legal. According to NZTA's safe loading and towing guide, towbar-mounted cycle racks can cover the tail-lights, number plate or both; when that happens, the driver must fit additional lights and/or a supplementary number plate at the back of the load.
Check the assembled load, not the empty rack. A wheel, handlebar or child's bike can obstruct something that remained visible during installation.
Use this visibility check before setting off.
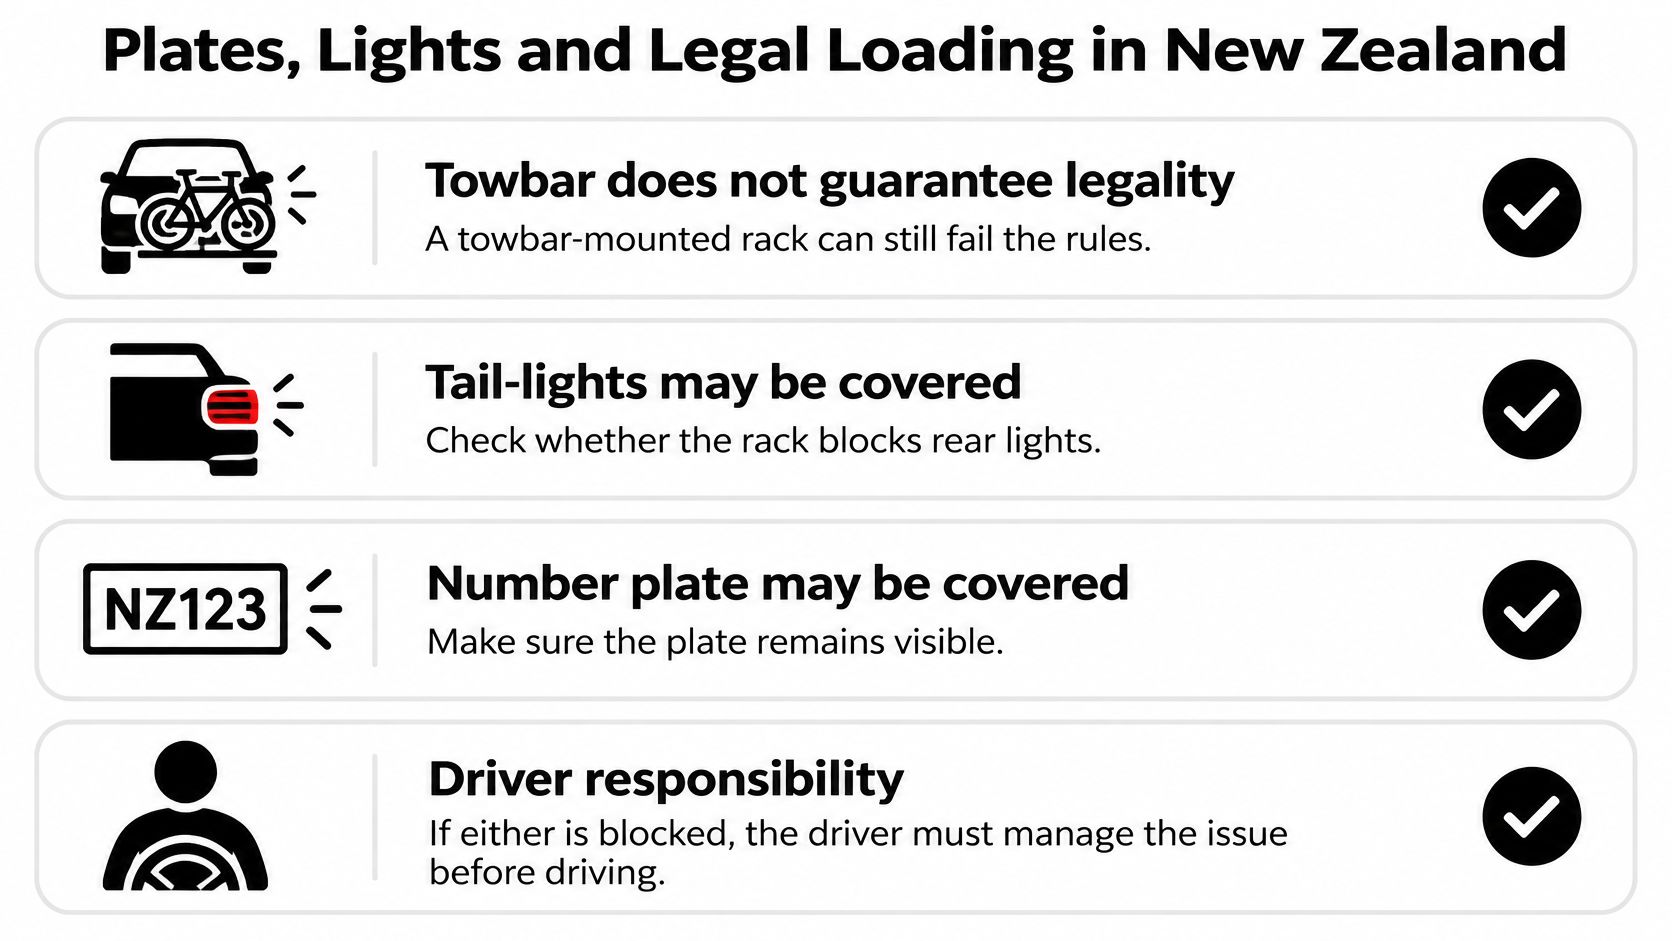
A tilt mechanism provides access, not legal lighting. Likewise, a plate holder without the necessary lighting equipment may leave the problem unresolved. Bicycle lamps serve a different purpose, so don't confuse advice about cycle lights in New Zealand with a compliant rear vehicle-lighting arrangement.
Check the loaded arrangement
- Plate readability: Check that the rear plate remains unobstructed.
- Light visibility: Test the required rear lights with someone standing behind the vehicle.
- Secure attachment: Confirm mounting locks, pins, clamps and straps are engaged.
- Tyre clearance: Keep tyres away from bodywork, exhaust heat and neighbouring bikes.
- Boot operation: Test access only as the carrier instructions permit; never force a hatch against the load.
- Rear projection: Keep the arrangement compact and check applicable load-projection requirements before travelling.
Compare the cost of a road-ready installation, not the price of an empty rack.
Write down the carrier price, required lighting board, supplementary plate, towbar installation, wiring and any approved adaptors. Include the cost of choosing a higher-capacity model if your bikes rule out the cheaper option.
Obtain complete quotes for shortlisted carriers. Repeat the visibility checklist whenever you change the bike arrangement, rather than assuming the previous result still applies.
Protect Frames and Lock Bikes in Transit
Rubbed paint on a top tube usually starts with two bikes touching at 100 km/h. Carrier security therefore covers restraint, damage prevention and theft deterrence together. A lock alone does not stop movement.
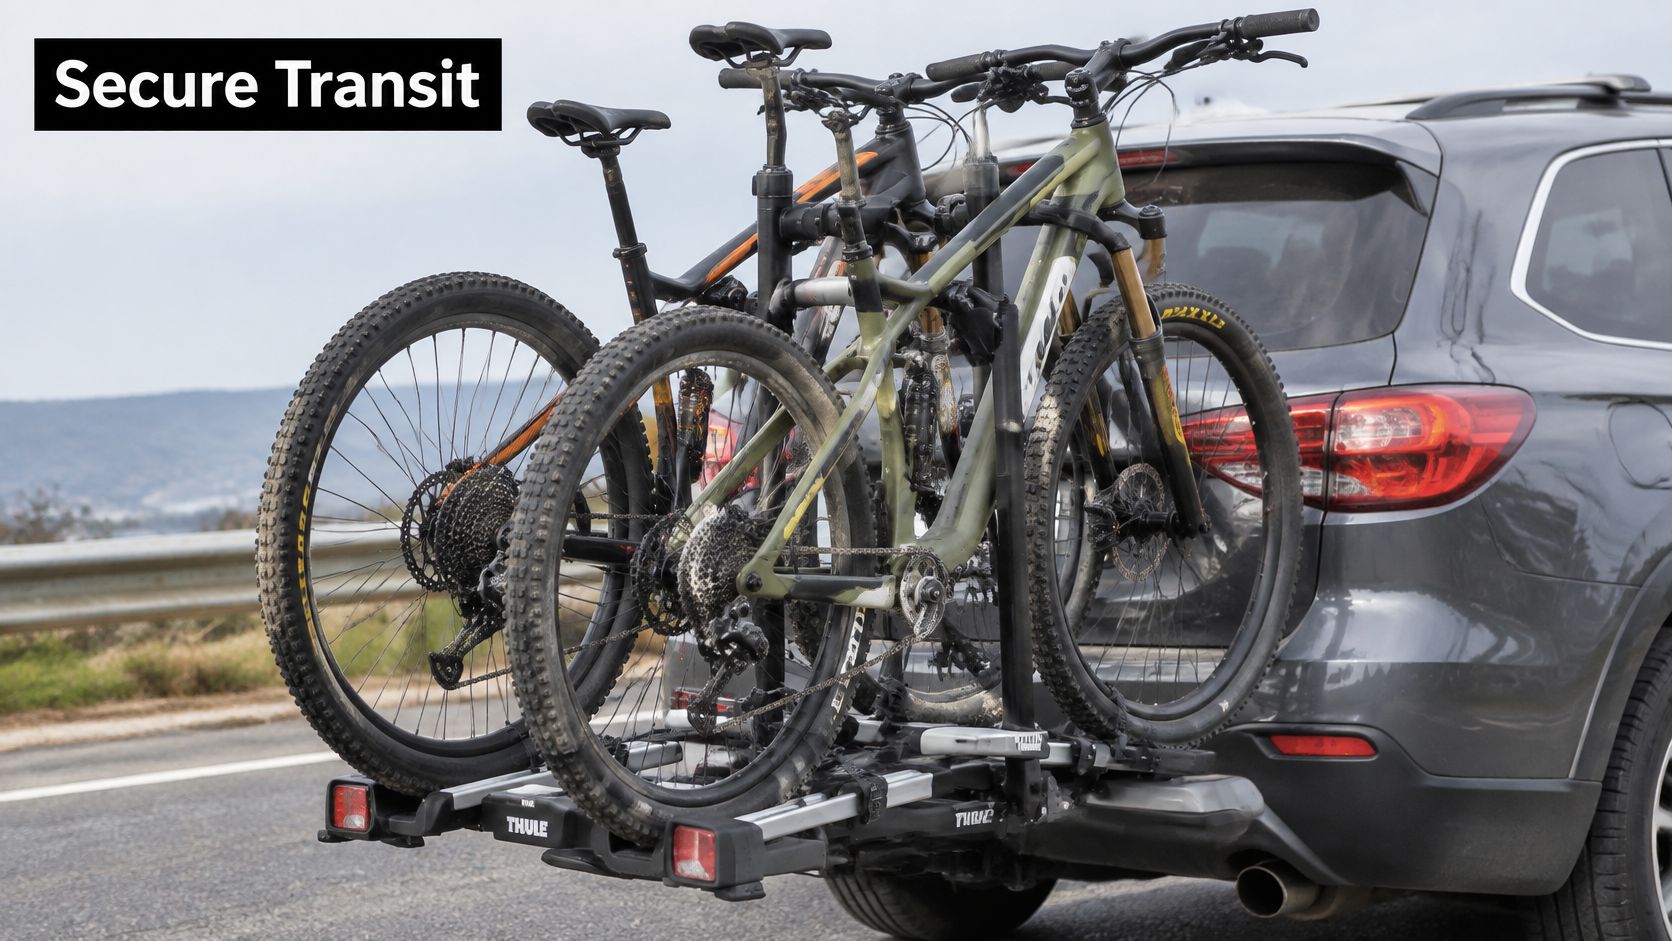
Fork mounts hold the fork through the correct axle interface, so confirm axle standard and torque before loading. Frame clamps press on a tube. Check bike and carrier approval for that contact, take extra care with carbon, and use the stated tightening method. Stop at the click or mark. Extra force will not fix a poor fit and it risks the frame.
Wheel-retaining designs avoid frame contact. They still fail when mudguards block the arm, fat tyres overflow the tray, or grit sits under pads. Clean contact pads, set spacing so bars, pedals and stays cannot meet, and fit secured separators where rub is likely. Kevin R. describes EziGrip Bike Bones as “An excellent and simple way of keeping the bikes separate when transporting them.”
Padding needs the same discipline. For padding materials, Storage & Removal Boxes Ltd's Padded Removal Blankets Protection shows the fabric type, but blankets are not load restraints. Any padding must be tied or strapped tight, with ends kept clear of wheels, exhausts, lights and the plate. Loose cloth melts, tears or covers lighting.
Use a repeatable locking routine
- Lock each frame to an appropriate carrier anchor. Use our guide to choosing a bike lock in New Zealand to weigh lock types for transit stops.
- Lock the carrier to the hitch or roof bars where its design allows.
- Remove loose equipment, including detachable lights and accessories that could shake free.
- Recheck movement after an early safe stop, checking restraints and contact points.
Check any demonstration against the instructions for your particular equipment.
A locked rack still needs acceptable loading and visibility. Theft deterrence cannot correct either problem. I recommend pricing the separators, spare straps and locks with the carrier, since that full cost decides which setup is usable.
Which Carrier Suits Your Setup
For a family carrying children's bikes on a hatchback, frame fit and rear access deserve a trial loading. A platform may simplify positioning, while a hanging rack needs arms that accommodate the small frames. Neither choice should be confirmed without checking the loaded plate view.
A commuter transporting heavy e-bikes should shortlist platforms with suitable individual-bike ratings and manageable loading. The deciding issue is the complete assembly's permitted loading, not whether the packaging shows an electric bike.
Match the choice to the constraint
Likely carrier by setup and deciding constraint
| Setup | Likely carrier | Deciding constraint |
|---|---|---|
| Family with two kids' bikes on a hatchback | Towbar platform or hanging carrier | Boot access and plate visibility |
| Commuter with two heavy e-bikes | Towbar platform with a rated capacity | Total download and rated load |
| Weekend rider, one mountain bike, no towbar | Roof-mounted fork clamp | Roof load limit and overhead lifting |
| Mixed bikes with a child seat | Towbar platform with lighting board where required | Clearance and legal lighting |
For a weekend mountain biker without a towbar, a roof-mounted fork carrier can avoid installing rear mounting equipment. Test whether you can lift and position the bike without leaning it against the car, and confirm axle compatibility before buying.
A mixed-bike household with a child seat needs a physical clearance trial. The seat may prevent close spacing or interfere with access, so removal for transport may be more practical than selecting a wider arrangement.
Write your shopping brief as setup, likely carrier, deciding constraint.
That short description keeps recommendations specific. It also prevents a convenient feature, such as folding storage, from outweighing a failed compatibility check.
Confirm Your Carrier Before You Buy
A suitable carrier should pass these questions without guesswork:
- Does it suit my vehicle? Confirm the exact mounting approval, not just a general claim that it fits hatchbacks or SUVs.
- Can it carry my real bikes? Record travelling weights and check individual, total and vehicle limits.
- Will the loaded arrangement remain legal? Confirm plate visibility and required rear-light operation with every bike aboard.
If an answer is uncertain, resolve that uncertainty before paying. Missing vehicle figures require manufacturer information; unknown bike mass requires weighing; doubtful visibility requires a loaded inspection and an appropriate equipment solution.
Keep a useful fit record
Save the carrier model, relevant handbook pages, bike weights, mounting instructions and photographs of the loaded arrangement. This gives you something concrete to check when changing vehicles, adding accessories or discussing suitability.
Complete all stationary safety checks before a short test drive. Stop somewhere safe to inspect the restraints, then repeat the process whenever the arrangement changes.
We supply riders nationwide within New Zealand, so clear vehicle and bike details make remote enquiries more useful. The carrier label, mounting instructions and vehicle handbook govern, even when general buying advice suggests a particular design.
Rider 18 offers bicycles, gear, maintenance and bike hire to help you organise your riding setup. Visit Rider 18 with your vehicle details, bike weights and transport requirements, or use the website's enquiry form to request bike hire before planning how you'll carry it.


