

Mountain Biking Shorts Guide: How to Choose the Right Pair
- by Nigel
-

Have you ever chosen mountain biking shorts by checking the padding and pocket count, then discovered on the trail that the waistband slips, the hem clashes with your knee pads, and the fabric is too hot for the climb?
That's the gap in most buying advice. Shorts aren't an isolated item. They sit between your body, saddle, armour, weather, and riding style. A pair that feels perfect for a short summer loop may be a poor choice for wet enduro laps, a long e-bike ride, or exposed Nelson trails.
New Zealand's riding population justifies taking that choice seriously. Sport New Zealand recorded mountain-bike participation among 8.8% of adults aged 16 and over, approximately 292,000 people, in its 2013/14 survey. Combined cycling and mountain biking reached 24.8%, or about 823,000 adults during the same period. The survey also found riding was most common from October to March, with lower participation during June to August (Sport New Zealand's cycling and mountain-biking profile).
In Nelson, the case is even stronger. A BERL study for Nelson City Council reported mountain-biking participation of 20.5% in Nelson, compared with 7.7% nationally among people aged 15 and over, although the report notes that estimates vary by survey method and definition (BERL report on the economic benefits of mountain biking for Nelson). That mix of frequent local riding and changing conditions calls for a decision framework, not a brand popularity contest.
Why Mountain Biking Shorts Are a System, Not Just Apparel
Most riders compare mountain biking shorts by pockets, padding, or price. The more useful question is: what system must those shorts work inside? On Nelson trails, that system includes your riding position, liner, armour, discipline, and the weather you are willing to ride through.
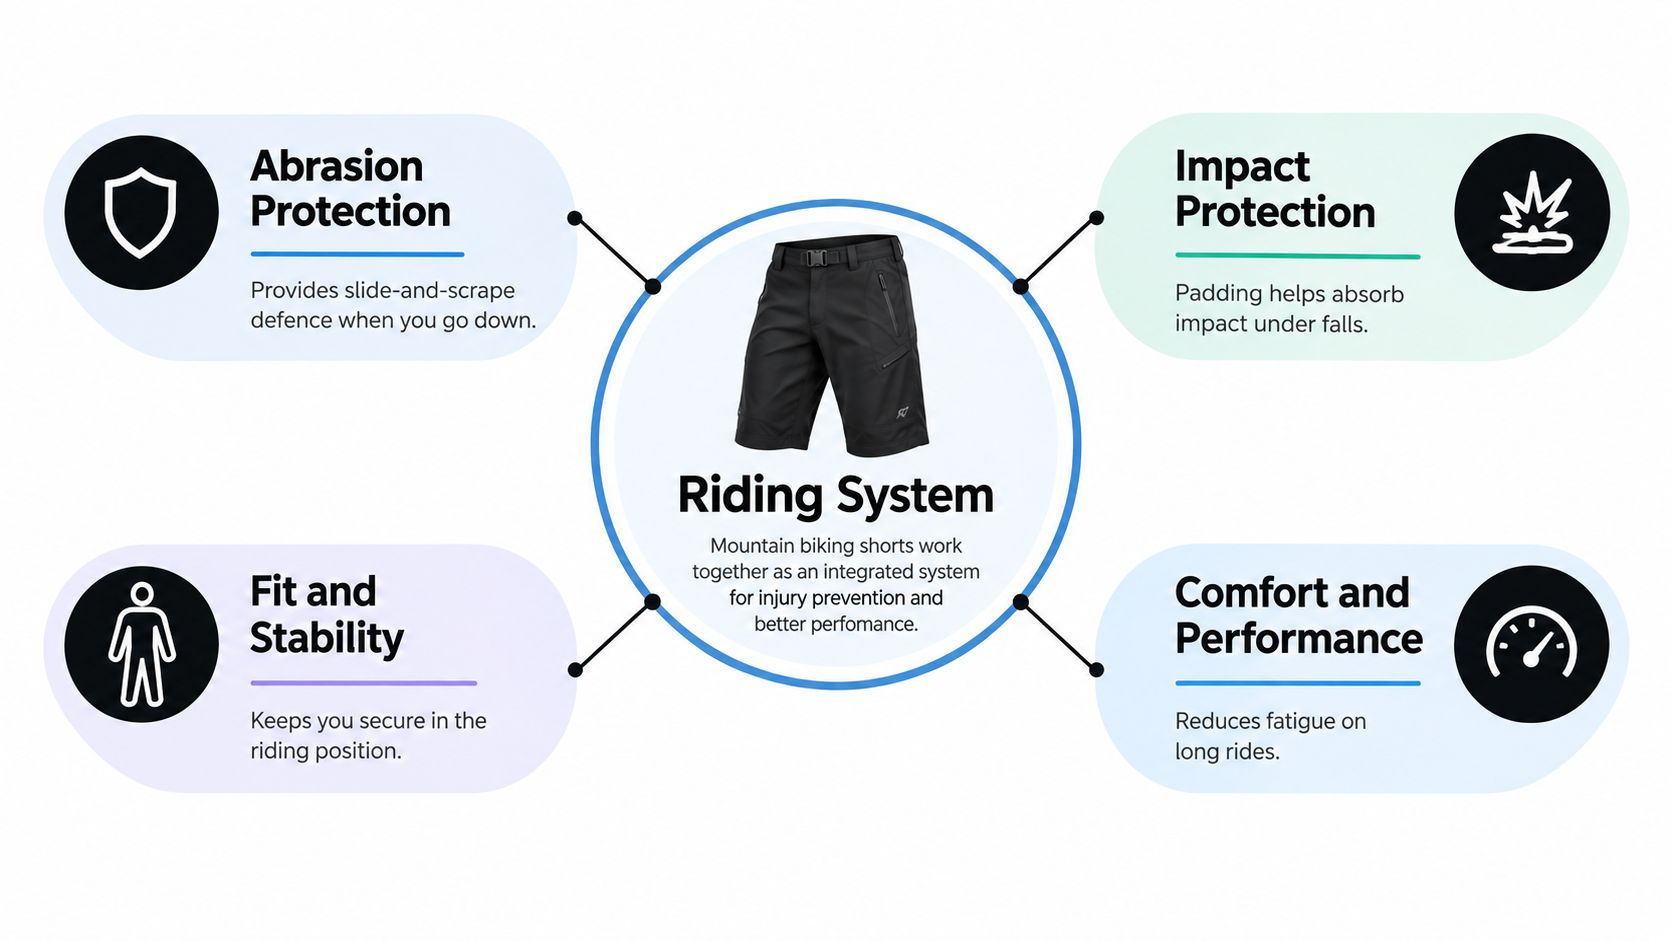
A pair can look good on a hanger yet fail on the first steep section. The waistband may shift as you lean forward, loose fabric can catch the saddle, and a tight hem may press into knee pads. If those problems keep distracting you, you may eventually leave the armour at home. The best shorts reduce those small reasons to compromise.
Treat mountain biking shorts as part of a riding system. They should suit your position on the bike, liner or chamois, knee or hip protection, and expected conditions. A breathable shell helps keep a long climb manageable. A tougher outer can reduce discomfort after contact with scrub or the ground. Neither benefit matters much if the shorts move around.
Weather makes the decision less obvious. Lightweight trail shorts can feel right on a warm loop, then become a poor choice for repeated bike-park crashes or wet, exposed riding. A thick downhill shell may provide better abrasion resistance on descents but feel unnecessarily hot during a long climb. Water resistance helps with showers and trail spray, though it does not replace waterproof overtrousers in prolonged rain.
The safety connection is practical. A New Zealand Medical Journal study found that perceived equipment benefits, comfort, cost, cues, and the possible severity of injury were strongly associated with protective-equipment use among mountain bikers (New Zealand Medical Journal study on protective-equipment use). For shorts, the practical lesson is clear: comfort and stable fit make protective habits easier to maintain.
Before buying, check four things:
- Where will you ride? Wet forest, exposed tracks, bike parks, and commuting routes place different demands on fabric and storage.
- How will you ride? Long trail and e-bike rides favour efficient pedalling, while enduro and downhill riding place more emphasis on abrasion resistance.
- What will you wear underneath? Knee pads, hip armour, and liner options need room without creating bulk.
- What weather will you accept? Choose protection for the conditions you regularly encounter.
Practical rule: Choose the least bulky short that covers your real protection, storage, and weather needs. Extra fabric does not automatically provide extra safety.
Main Types of Mountain Biking Shorts Compared
The three common formats overlap, but they don't behave the same way on a Nelson trail. A trail rider who values airflow and pedalling freedom may dislike the restrictive feel of a heavy gravity short. A bike-park rider may find a lightweight race short too fragile for regular crashes.
| Short type | Best for | Durability | Ventilation | Storage |
|---|---|---|---|---|
| Baggy trail shorts | General trail riding, recreational loops, and warm-weather use | Light to moderate, depending on fabric | Usually strong | Often moderate |
| Liner plus outer short | Riders wanting separate chamois and shell choices | Moderate to strong | Flexible, because the liner and shell can be changed | Moderate to high |
| Downhill or gravity shorts | Bike parks, enduro descents, and technical terrain | Usually strongest | Can be lower if the fabric is heavy | Often secure and generous |
Baggy trail shorts suit riders who want a casual profile and low weight. Look for a shaped crotch, enough thigh room for pedalling, and a hem that doesn't interfere with pads. The compromise is that very light fabric may offer less abrasion resistance and fewer secure storage options.
Liner plus outer systems are the most adaptable. You can choose a chamois liner for a long saddle day, swap to a different liner, or ride the outer short over close-fitting armour. This arrangement works well for people who use one bike for commuting, trail riding, and recreational trips. The outer still needs a stable waistband, because the liner won't correct a shell that shifts.
Downhill shorts favour durable fabric, longer coverage, and compatibility with protection. They make sense for repeated descents, rougher terrain, and riders who expect more contact with the ground. They can feel excessive on a hot climb, though, particularly if ventilation is limited.
For a broader look at how cycling shorts differ by use, compare the practical guidance in this guide to men's cycling shorts. The important distinction is not whether one type is universally best. It's whether the construction matches the proportion of climbing, descending, weather exposure, and protection in your normal ride.
How to Evaluate Fabric, Stretch, Pockets, Ventilation, and Water Resistance
Which short suits a Nelson ride that starts with a cool climb, crosses exposed trail, and ends on a rough descent? Start with fabric, then judge every feature against your usual weather, terrain, and effort.
A dense woven shell can resist abrasion, while lighter fabric may feel better on a long climb. Stretch recovery matters as much as stretch itself. Material that gives easily but remains bagged out after repeated movement can make the shorts less stable over time. Check whether the fabric returns to shape after you pull it across the hips and thighs.
Test the crotch and upper thigh in a deep riding position. Lift one knee, hinge at the hips, and step over the bike. The fabric should move without pulling across the seat or twisting around the leg. A gusseted crotch often helps, although the pattern still needs to suit your body and riding position.
Pockets earn their place only if they stay stable. Sit on the bike with your phone or multitool inside. Check for pressure against the pelvis, swinging against the thigh, or contact with the saddle. Storage capacity matters less than whether the pocket remains quiet while climbing and descending.
Ventilation should release heat without weakening high-wear areas. Mesh-lined pockets, small vents near the rear waistband, and breathable panels can improve airflow during climbs. They cannot make a shell comfortable in a climate where the overall fabric is too heavy.
Water resistance has a limited job. A treated outer fabric can shed light rain and trail spray, helping the shorts dry sooner. It will not replace waterproof trousers in sustained wet weather, and repeated washing can reduce a water-repellent finish.
Look for features you can test: stretch under load, pocket stability while seated, and airflow during movement. Marketing language matters less than what the garment does in the riding position.
On sun-exposed routes, check UV performance as a specification. AS/NZS 4399:2020 classifies clothing materials at UPF 15 for minimum protection, UPF 30 for good protection, and UPF 50/50+ for excellent protection (Standards New Zealand information on AS/NZS 4399:2020). A verified UPF 50/50+ fabric gives clearer guidance than judging density by eye, although stretching, wetness, wear, and abrasion can affect coverage.
Fit and Sizing Tips for Trail Comfort and Safety
The correct size is the one that stays stable when your body is in the riding position, not the one that feels best while standing upright in front of a mirror.
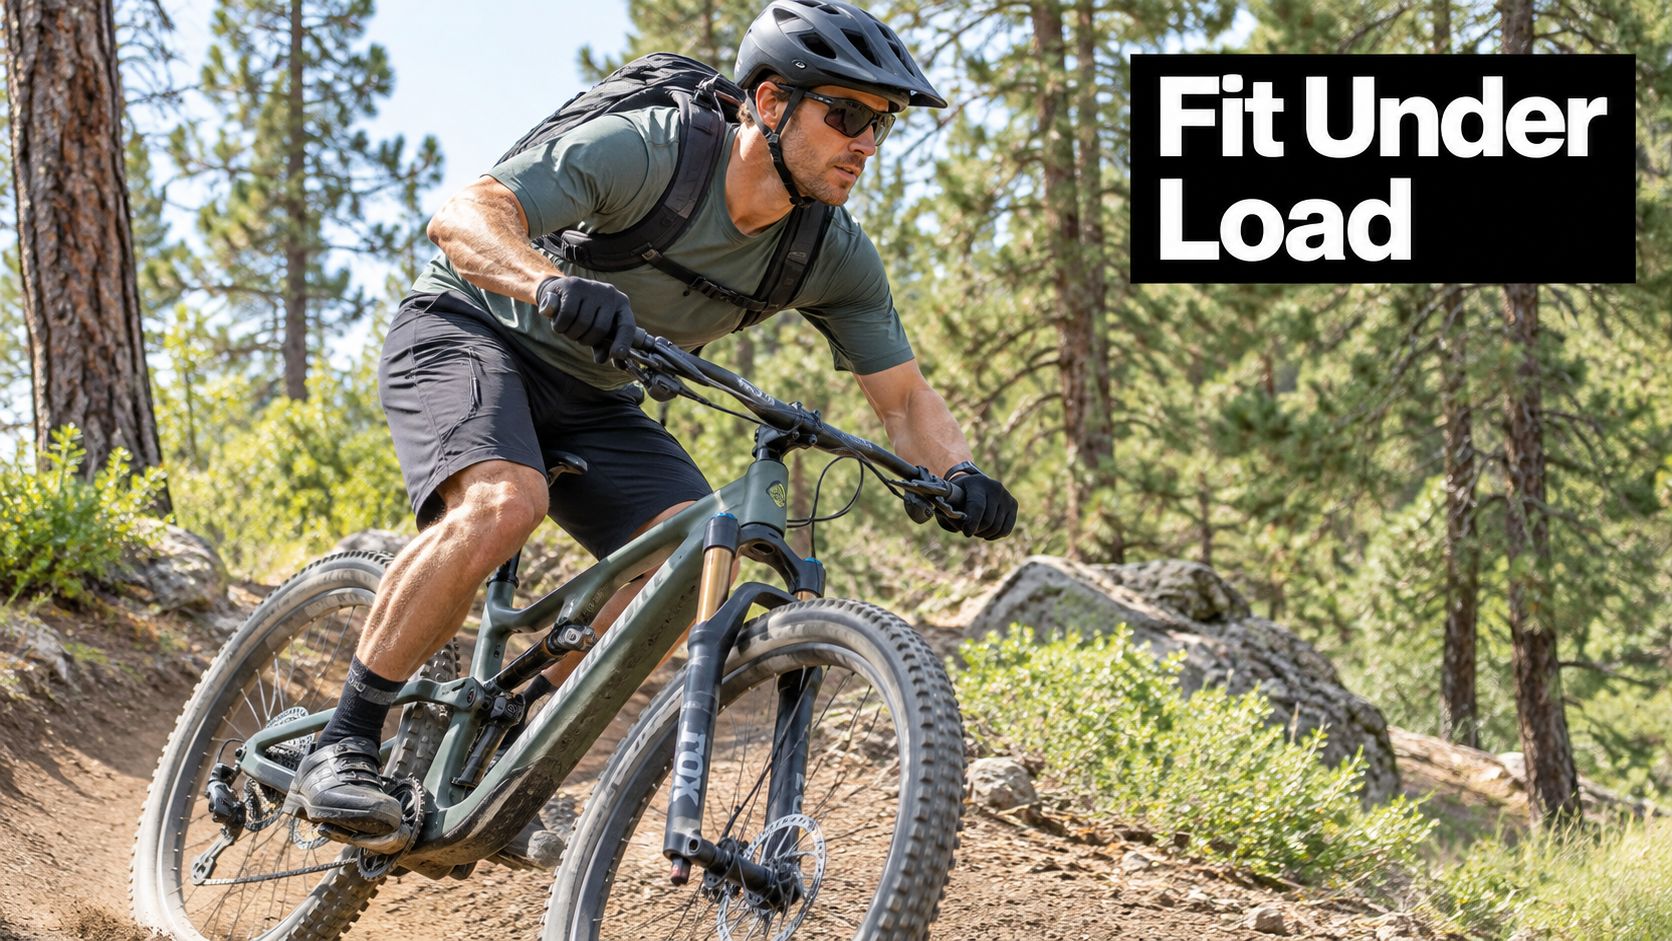
Try this routine before buying:
- Set the waistband normally. Don't overtighten it to hide a poor fit. Lean forward as if you're descending and check whether the rear remains covered.
- Raise each knee. The fabric should follow your hip without pulling across the crotch or twisting the waistband.
- Add your usual protection. Wear or simulate your knee pads and check that the hem covers the intended pad zone without bunching.
- Sit down and load the pockets. Use a phone or multitool. If the contents press into your pelvis, choose a different pocket position.
- Move off the bike. Walk, squat, and step over the top tube. A short that works only while seated will become irritating during hike-a-bike sections.
At home, repeat the movements in front of a mirror. Watch the waistband from the side, especially if you ride an e-bike or carry a pack. The shell should remain secure without compressing your hips or limiting flexion.
A relaxed technical cut usually gives better coverage than an extremely tight shell, particularly if UV protection is important. The guidance attached to UPF clothing claims includes minimum coverage requirements, with coverage extending to halfway between the crotch and knee. Coverage, fit, and mobility have to work together, not compete.
The video below shows the sort of movement and riding position worth checking when assessing fit.
Choosing Shorts by Riding Discipline and Rider Type
What will your ride demand from the shorts? Pedalling, descending, changing weather, and crash exposure all point to different priorities. Matching those demands matters more than choosing the most heavily padded or pocketed option.
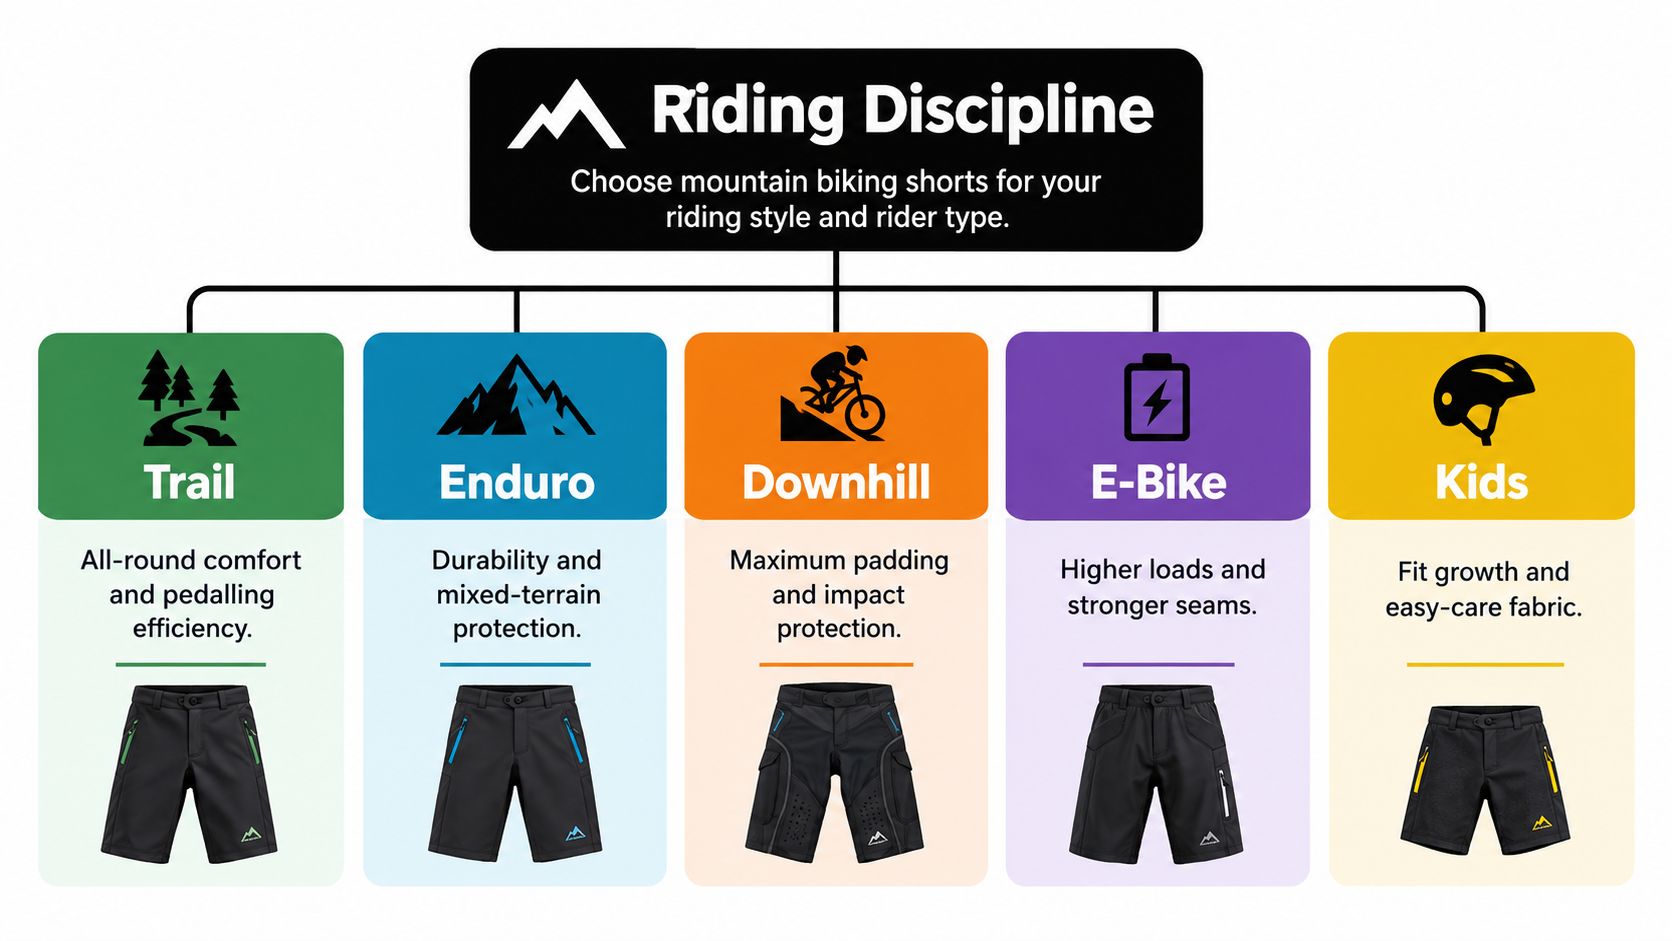
Trail riders generally need a breathable shell, useful stretch, and moderate abrasion resistance. On exposed Nelson tracks, airflow helps on climbs, while a stable waistband and secure hem prevent distractions during descents. A lighter short can also suit riders who regularly move between shaded forest and open, warmer sections.
Enduro riders need a practical compromise between climbing comfort and descending protection. Look for tougher outer panels, room for knee pads, and enough flexibility for repeated uphill sections. Overbuilt shorts may offer more abrasion resistance, but they can feel tiring during long transfers.
Downhill and bike-park riders can place greater emphasis on durability, coverage, and compatibility with armour. Longer hems may sit more reliably over knee pads, while secure closures keep the shorts in place during aggressive movement. A tough shell still provides no impact protection, so do not treat visual bulk as a substitute for pads.
E-bike riders may spend longer riding or combine trails with roads and errands. Secure pockets suit small essentials, while reinforced seams and a comfortable waistband handle repeated use. A removable liner can make one shell practical for trail riding and everyday travel.
Kids need easy-care fabric, a forgiving cut, and room to move. Growth changes fit quickly, but a waistband that is already loose can slip on the bike. Choose a stable waist, durable seat area, and a hem that stays clear of pedals and protective equipment.
Seasonal flexibility also matters in New Zealand. National participation data shows riding is most common from October to March and least common from June to August (the national cycling participation data). Winter riding still happens, so a useful rotation should cover warm, dry efforts alongside cooler, wetter days. One pair rarely handles every combination of ventilation, coverage, and drying time well.
Care and Maintenance Routines That Extend Short Lifespan
Trail grit works into seams, zips, and waistband components. A simple cleaning routine protects the parts that make shorts useful.
- Rinse promptly: Remove mud and fine dust before they dry into the weave. Use cool or lukewarm water rather than aggressive scrubbing.
- Wash gently: Follow the care label and use a mild detergent. Avoid fabric softener, which can affect technical fibres and finishes.
- Close every fastener: Zip pockets and secure hook-and-loop adjustments before washing so they don't damage other fabric.
- Air dry: Hang the shorts away from direct high heat. A dryer can shorten the life of elastic, stretch panels, and waist components.
- Inspect high-stress areas: Check the crotch seam, pocket corners, waistband, and hem after hard rides or crashes.
If the waistband no longer holds its adjustment, the fabric stays stretched, or a seam begins separating, address it before the next technical ride. A small repair can preserve fit and prevent a pocket or panel from failing when loaded.
Liner shorts need separate attention. Wash them after each sweaty ride, avoid harsh chemicals, and inspect the chamois for compression, tearing, or permanent odour. A degraded liner may still look intact while providing less comfort.
Water-repellent finishes also need realistic expectations. Cleaning preserves the fabric, but it won't make an old treatment permanent. If light rain stops beading and the care label permits it, use a compatible technical reproofing product rather than applying household waterproofing.
What Mountain Biking Shorts Can and Cannot Do for Injury Prevention
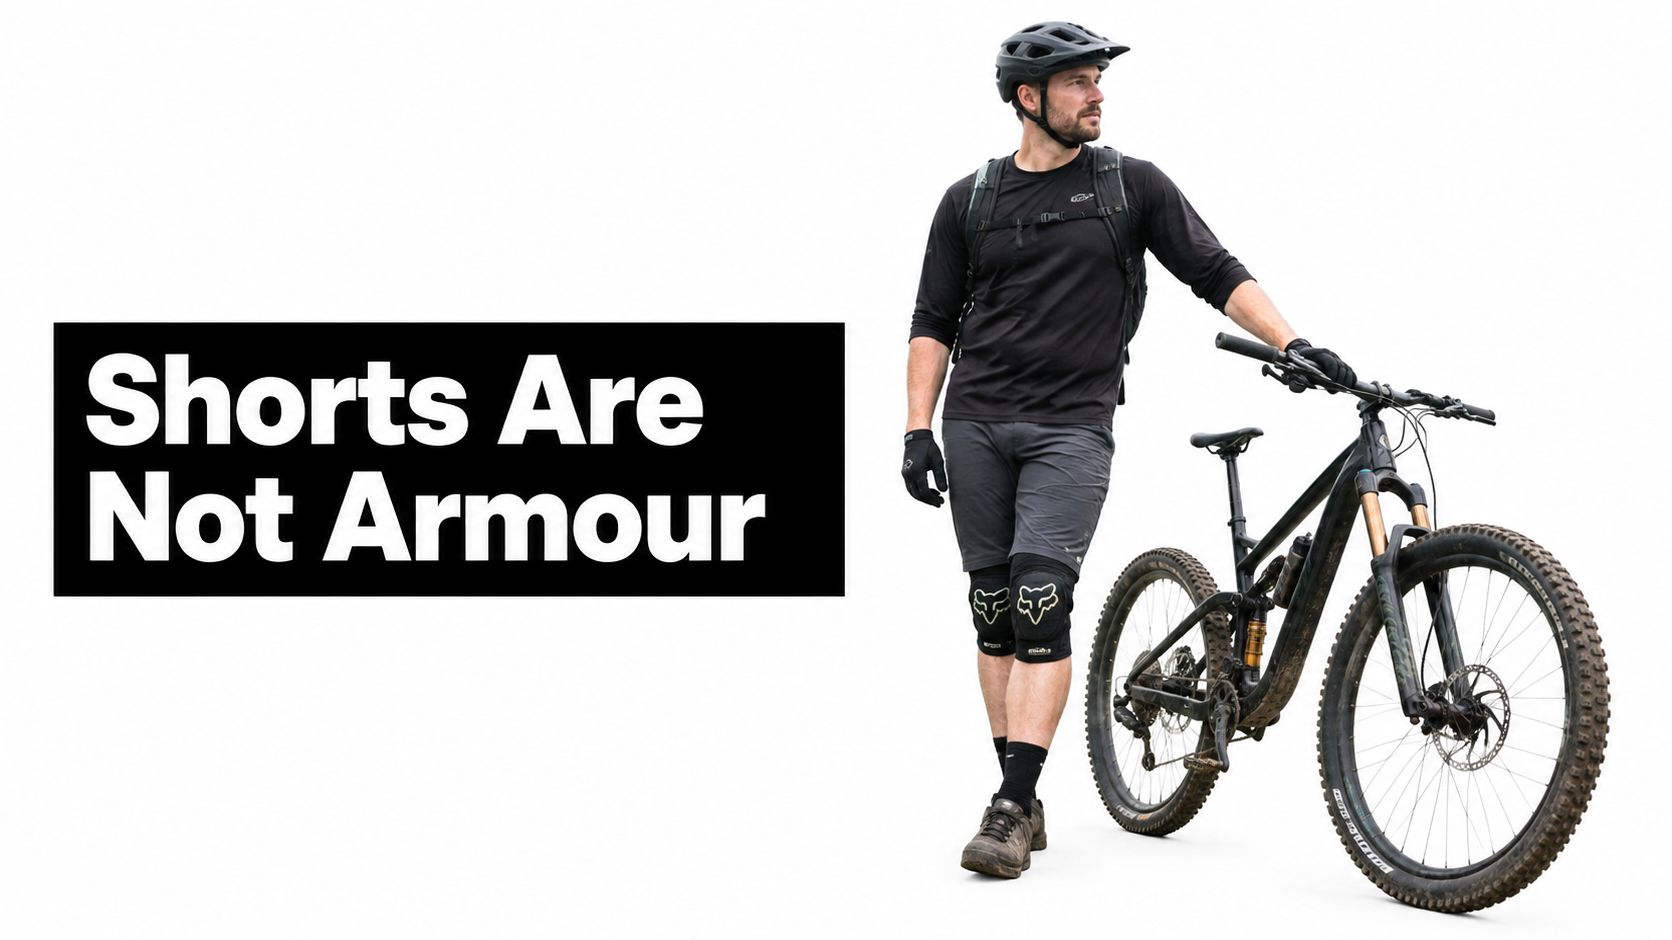
Reinforced shorts can help with abrasion, minor scrapes, chafing, and weather exposure. They can also keep a liner or separate armour in the correct position. They cannot turn ordinary fabric into certified impact protection.
That distinction matters because mountain biking injuries don't come from one mechanism. A tough outer may slide better across a surface, while a properly fitted hip or thigh protector is intended to manage impact. A padded chamois exists mainly for comfort and pressure management, not for absorbing a hard fall.
New Zealand Mountain Safety Council monitoring tracks mountain biking and reports that total injury claims have increased over the past decade, while the injury rate relative to participation has been increasing faster than participation growth (Mountain Safety Council outdoor safety monitoring). That information doesn't prove that a particular pair of shorts prevents injury. It does support matching protection to the actual risk of the ride.
The local equipment-use research points to adherence. Riders are more likely to use protective equipment when they perceive a benefit and can wear it comfortably. A waistband that digs in, a liner that shifts, or a hem that fights with knee pads can make protection less appealing. For broader principles around preparation, technique, and reducing avoidable sports injuries, this guide to how athletes avoid sports injuries offers useful general context.
Use standard shorts for comfort and abrasion management. Add dedicated, appropriately rated hip or thigh protection when the terrain, speed, discipline, or personal risk tolerance justifies it. Knee protection deserves the same separate decision, and this guide to knee pads in New Zealand can help clarify how pad choice fits into the wider kit.
Tough fabric is useful. It isn't a substitute for impact-rated armour, good technique, sensible trail choices, or a helmet.
Where to Buy, Try On, and Get Service Support Near You
Buying online gives you range, but trying shorts on with your actual liner and pads gives you information that a size chart cannot. Take the riding position seriously. Bend forward, raise your knees, sit down, and load the pockets before deciding that a pair fits.
Local shops are also useful when you need advice across more than apparel. A workshop team can help identify whether an uncomfortable short is exposing a saddle-height, riding-position, or protection-compatibility problem. For Nelson riders, this local bike-shop guide is a practical starting point for finding retail and service support.
Check the return policy before ordering, especially if you need to test shorts with armour. Keep tags attached until you've completed your movement checks, and avoid assuming that a familiar waist size will fit the same way across different cuts.
A sensible purchase starts with the ride rather than the logo. Choose breathable stretch for long trail work, stronger panels for repeated technical use, secure pockets for mixed riding, and enough hem length for your protection. If one pair cannot cover your conditions comfortably, a lighter trail short and a tougher gravity option may serve you better than a compromised all-rounder.
Rider 18 helps New Zealand riders choose mountain biking shorts, armour, apparel, and riding equipment with practical advice from its Nelson team. Visit Rider 18 to explore gear for trail riding, e-bikes, family cycling, and local workshop support, with nationwide delivery available.


