

Bicycle Tyres NZ: The Complete Buying Guide
- by Nigel
-

There is no single best bicycle tyre for New Zealand, and the right choice depends on your terrain, riding style, and bike rather than on race credentials. Around 6.5 million tyres enter New Zealand each year, but your own choice still comes down to a much smaller question, what rubber will keep you safe, comfortable, and rolling on the roads and tracks you ride?
You're halfway along a gravel road outside Nelson when the rear tyre gives a familiar thud. The bike goes vague, the ride stops, and you're standing beside a patch of sharp stones with a pump in one hand and an increasingly dirty inner tube in the other. That flat may not have been bad luck. It may have been the wrong tyre, the wrong pressure, or a casing that was built for fast race laps instead of rough local roads.
For most NZ riders, puncture protection, wet-weather grip, sidewall strength, and sensible compatibility matter more than shaving rolling resistance. A commuter crossing broken glass, an e-bike carrying extra weight, and a trail rider on rocky singletrack need very different tyres. Buy for the worst surface you regularly ride, not the smoothest one in the brochure.
Why Tyre Choice Is Your Biggest Ride Updater
A tyre is the only part of your bicycle touching the ground. Change that contact patch and you change the bike's comfort, steering, braking, traction, and resistance to punctures in one job. That's why a sensible tyre upgrade often makes a more noticeable difference than an expensive component swap.
The difference is obvious on a Nelson ridge ride. A lightly treaded gravel tyre can roll easily along sealed roads and still give you useful grip when the surface turns loose. A narrow road tyre may feel quick on clean tarmac but become nervous over corrugations, gravel, and broken edges. A heavily knobbled mountain bike tyre gives control on rough tracks, yet it can feel slow and noisy during a long commute.
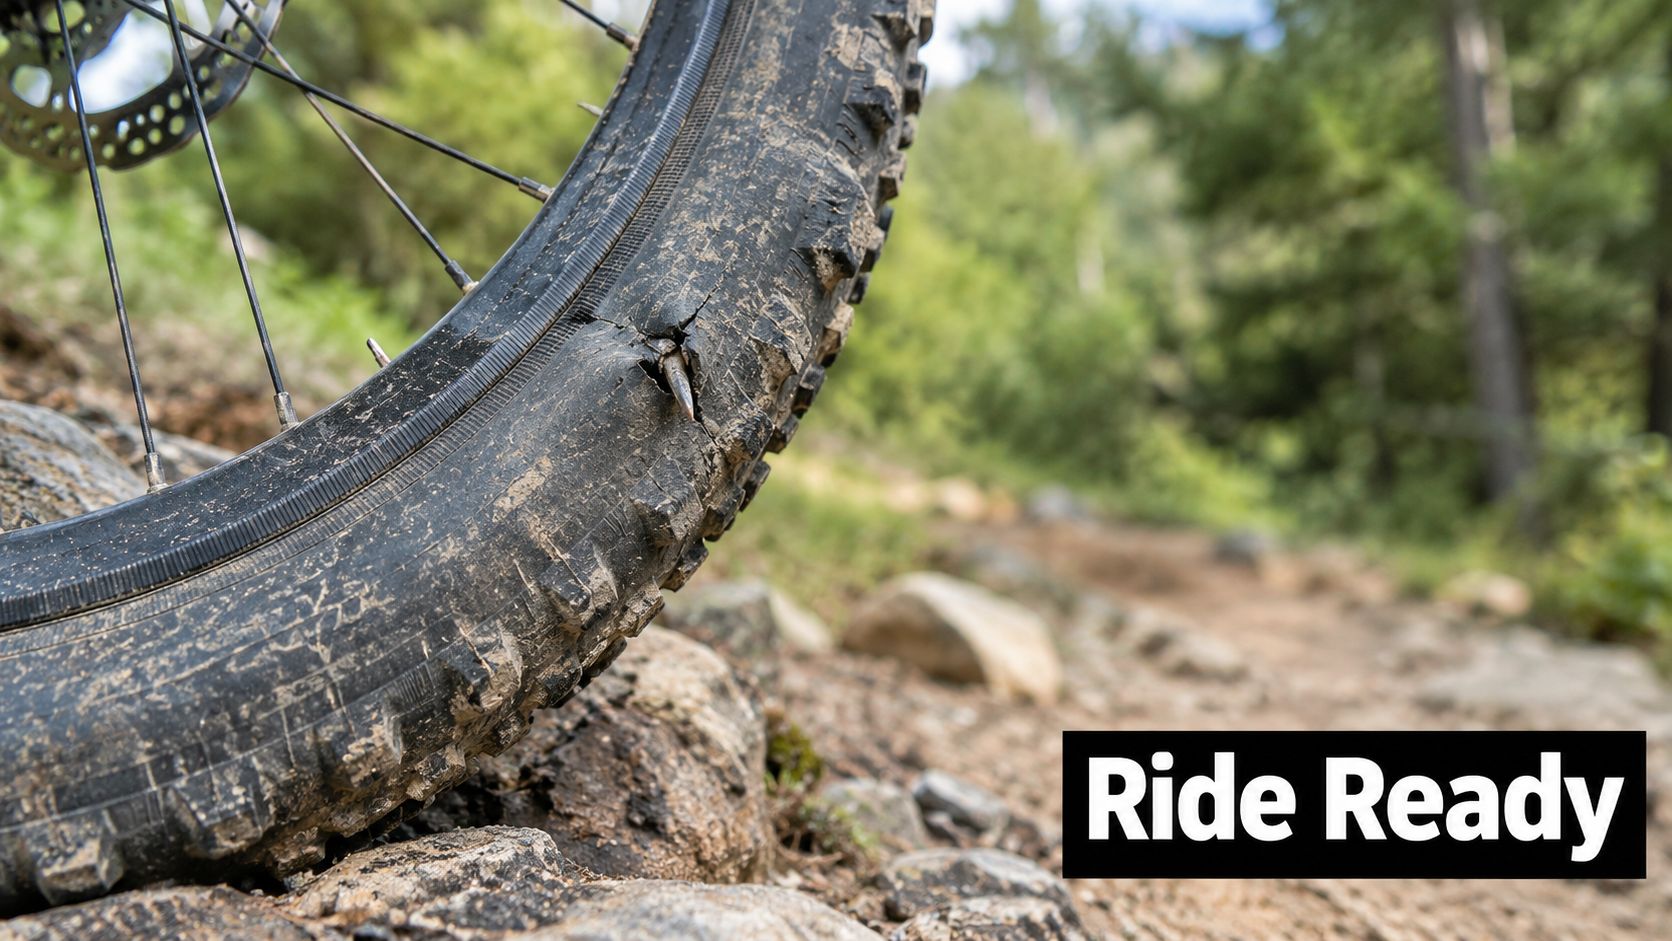
Start with the surface under your wheels
Ask yourself where the bike spends most of its time:
- Sealed commuting: Choose a medium-width commuter or fast gravel tyre with a protective casing. A completely slick tread can work on clean roads, but a modest shoulder pattern gives more confidence when the surface is wet or gritty.
- Mixed road and gravel: Pick a gravel tyre with a firm centre strip and defined shoulder tread. It'll roll reasonably on tarmac while keeping the bike composed on loose corners.
- Trail riding: Use a wider mountain bike tyre with open knobs that can clear mud and bite into uneven ground. The extra drag is a fair trade for control.
- Heavy e-bike use: Favour a reinforced casing, dependable sidewalls, and a tread suited to your route. Extra motor torque and bike weight make fragile, race-focused rubber a poor choice for everyday riding.
Your pressures matter just as much as the casing. Auckland Transport and BikeReady advise using the pressure printed on the tyre sidewall, because correct inflation supports rim protection, control, and puncture resistance on NZ roads and paths. Their cycling safety guidance is a useful reference for riders and workshops.
Workshop rule: If a tyre feels harsh, vague, or constantly bottoms out, check pressure and sizing before blaming the bike.
A good tyre doesn't eliminate punctures. It gives you a more suitable contact patch, stronger protection, and more predictable handling for the surfaces you ride. For mountain bike tread and casing options, compare the practical differences in this guide to Maxxis mountain bike tyres, then choose around your trails rather than a professional rider's priorities.
Understanding Bicycle Tyre Types for NZ Riders
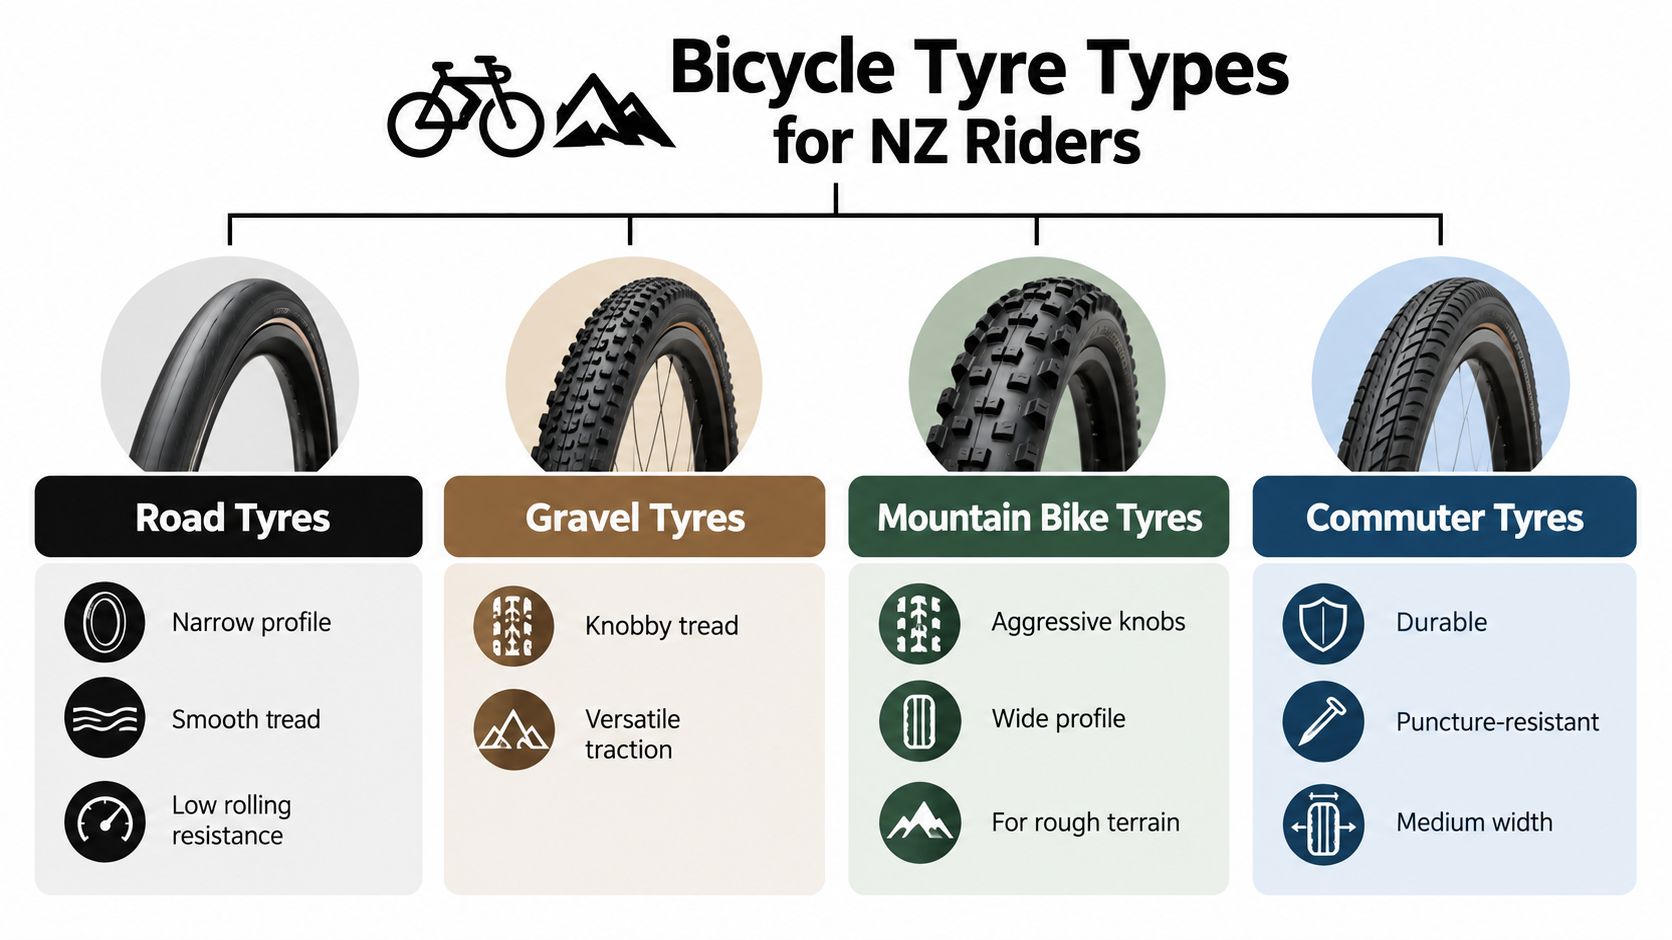
Tyre categories are useful only if you treat them as starting points. Manufacturers blur the boundaries, and a fast gravel tyre may suit a commuter better than a traditional road tyre. Choose in this order: surface, weather, load, puncture risk, then speed.
Road tyres
Road tyres generally use a smooth or lightly textured tread and a narrower profile. They make sense for clean sealed roads, club rides, and riders who value low resistance above rough-surface comfort. They're a poor match for regular gravel, sharp shoulders, or routes where glass and potholes are part of the daily scenery.
A durable endurance road tyre is usually a better commuter choice than the lightest racing casing. You'll give up a little responsiveness, but you'll gain a more useful balance of comfort and protection.
Gravel tyres
Gravel tyres bridge sealed roads and unsealed tracks. Their centre tread often rolls efficiently while the shoulders add support during loose cornering. Width, casing protection, and tread depth vary widely, so don't buy one only because the sidewall says gravel.
Choose a faster, tighter tread for hard-packed paths and mostly-road riding. Pick more open knobs when mud, loose stones, and wet grass are regular features. If your route includes long sealed sections, an aggressive tread can create more drag than you need.
Mountain bike tyres
Mountain bike tyres use larger knobs and a wider profile to create grip on roots, rocks, mud, and steep terrain. Front and rear tyres often have different priorities. A front tyre needs cornering control and braking grip, while a rear tyre needs dependable drive and braking without excessive drag.
For trail and enduro riding, casing strength is as important as knob shape. A light tyre can feel lively, but a cut sidewall several kilometres from the trailhead is not a performance upgrade.
E-bike and commuter tyres
E-bike tyres should be chosen around load, speed, motor assistance, and braking, not just wheel diameter. A reinforced casing and puncture layer make sense for a bike that carries a battery, rider, luggage, or child seat over long commuting distances.
Legal compliance matters too. NZ standards guidance covers safe and roadworthy pedal bicycles and recognises formats including clincher, tubeless, tubeless-ready, and tube-type tyres. Check the bike's documentation, rim requirements, tyre markings, and any e-bike system limits before fitting a replacement. The NZ bicycle tyre standards information explains why compatibility is more involved than matching a brand name.
Tubeless Versus Tubed Tyres Explained
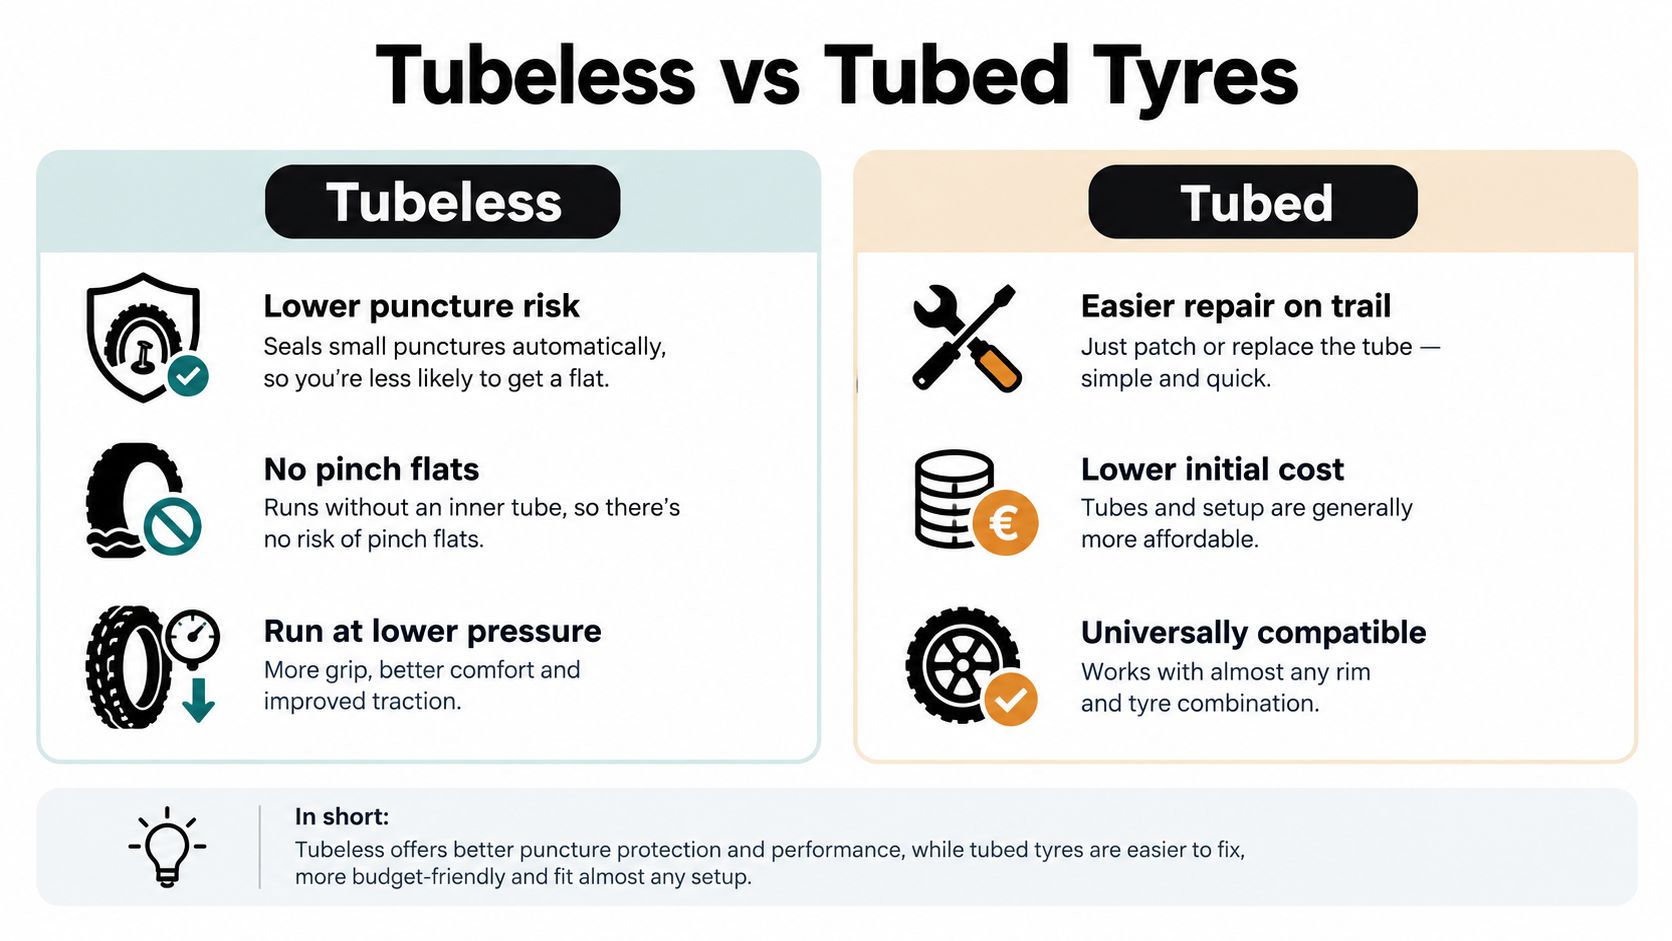
Tubeless isn't automatically better. It's a system that can suit rough gravel and mountain biking, but it asks more from the rider during setup and maintenance.
A tubeless tyre seals directly against a compatible rim, with sealant helping close small punctures. Without an inner tube, the system can be run at lower pressures without the same pinch-flat mechanism caused by a tube being trapped between the rim and the tyre. That can improve grip and control on loose gravel, washouts, and rocky trails.
A tubed setup uses a separate inner tube inside the tyre. It's familiar, easy to understand, and simple to repair beside the road. Carry a spare tube, tyre levers, and a pump, and most riders can get moving again without dealing with sealant or an awkward bead.
Choose the system you'll maintain
| Priority | Tubeless | Tubed |
|---|---|---|
| Loose-surface grip | Lower pressure can improve traction | Pressure must balance grip and pinch-flat protection |
| Small punctures | Sealant may close some holes while riding | Usually requires a patch or replacement tube |
| Trail repair | Large cuts can be messy and awkward | Spare tubes make roadside repairs straightforward |
| Setup | Requires compatible rims, valves, tape, and sealant | Works with a broad range of conventional wheels |
| Best fit | Regular gravel, trail, and aggressive riding | Commuting, family bikes, touring, and simple maintenance |
Don't convert a wheel just because tubeless is fashionable. First confirm that the rim and tyre are compatible, then decide whether you're prepared to inspect sealant and deal with occasional setup work. For a family bike used around town, a strong tubed tyre may be the more reliable system because repairs are quick and familiar.
Tubeless makes more sense when you regularly ride rough surfaces, suffer pinch flats, or want the extra grip of lower pressures. It doesn't make a weak tyre casing uncuttable, and it won't seal every puncture. A serious slash can still require a plug, boot, or tube.
Before buying valves and sealant, follow a proper tubeless tyre setup guide and check the wheel manufacturer's instructions. The goal is a dependable system, not just removing the tube.
For a practical visual explanation of the setup and repair trade-offs, this video is useful:
Matching Tyre Tread and Compound to Terrain
Tread is a control decision, not decoration. Smooth rubber puts more continuous contact on sealed roads, while knobs create edges that can press into loose or soft surfaces. The more uneven and unpredictable the ground, the more useful those edges become.
For a wet Auckland commute, I'd rather fit a reliable medium-width tyre with a protective casing than a delicate slick made for fast, dry-road riding. Broken glass, drain covers, paint, and rough shoulders punish thin sidewalls. A lightly textured centre with supported shoulders gives a better everyday balance.
On a coastal gravel path, a fast-rolling gravel tread usually makes more sense than a full mountain bike pattern. It will still offer some braking and cornering support while avoiding the drag and noise of large knobs on sealed sections. If the route turns into loose rock, deep gravel, or muddy farm access, move towards more open tread and more volume.
Compound changes the trade-off
A softer rubber compound generally gives more grip on wet roots, rocks, and hard corners, but it wears sooner. A harder compound lasts longer and rolls freely on firm surfaces, but it can feel less planted when the ground is wet or polished. Don't choose the softest rubber just because it promises traction. Match it to the part of the tyre doing the work and the conditions you meet most often.
| Riding situation | Sensible direction |
|---|---|
| Mostly sealed commuting | Durable casing, close tread, moderate width |
| Wet gravel and farm roads | More volume, defined shoulders, supportive casing |
| Rocky South Island trails | Strong sidewalls, open knobs, grippy compound |
| Alpine or rough adventure riding | High-volume casing with confident braking and cornering tread |
| Family and utility riding | Puncture protection, predictable handling, easy servicing |
Pressure joins tread and compound as part of the same decision. Official NZ cycling advice recommends using the sidewall pressure, while technical guidance for local conditions notes that lower pressure can suit imperfect or wet surfaces. That guidance also warns that a hookless rim can impose a maximum of 5 bar, around 72 psi, so never assume a tyre can safely take the pressure printed on a different wheel system. The Cycling South technical guidance sets out these pressure and terrain considerations.
Use the sidewall limits as the boundary, then tune within the safe range for rider weight, luggage, terrain, and rim design. If you're unsure, ask a mechanic to check the complete wheel and bike rather than guessing from tyre width alone.
Reading Tyre Sizes and Sizing Charts
Tyre sizing becomes much easier once you stop relying on a single naming system. A sidewall may show an inch measurement, a millimetre-based description, and an ETRTO-style marking. Those labels can look different while describing a compatible tyre, or look similar while fitting different rims.
The most important part is the bead seat diameter, the number that confirms whether the tyre physically locks into the rim. Width comes next. A wider tyre may improve comfort and grip, but the frame, fork, mudguards, brake hardware, and rim must all provide enough room.
Decode the sidewall first
Look for markings such as:
- ETRTO format: A measurement such as 40-622 identifies approximate tyre width in millimetres followed by the bead seat diameter in millimetres. Treat the bead seat figure as the critical compatibility check.
- Inch format: Common mountain bike descriptions use a wheel diameter and width, but different standards and actual casing sizes mean the printed inch label isn't enough on its own.
- Millimetre format: Road and gravel tyres often use a width paired with a wheel standard. Confirm the full marking rather than matching width alone.
- Tubeless labels: “TL”, “tubeless”, or “tubeless-ready” describe the tyre system, not a guarantee that it works with every rim. The wheel must also be compatible.
Use this quick process before ordering:
- Photograph the current tyre sidewall and copy every marking.
- Check the rim manufacturer's recommended tyre range.
- Measure or inspect clearance at the fork, stays, and mudguards.
- Allow for the fact that tyres of the same printed width can measure differently on different rims.
- Confirm the replacement's tube, tubeless, or hookless requirements.
A tyre that fits the rim can still foul the frame. Mud and stones need practical clearance, especially on gravel and mountain bikes. E-bike riders should also check load and compatibility information supplied with the bike.
The bike tyre selection guide can help you work through the choice, but take the actual sidewall and wheel markings to a shop if they're unclear. Standards recognise several tyre formats, so a product page that says only “fits gravel bikes” hasn't answered the compatibility question.
Price also varies widely in the NZ market, from budget options costing tens of dollars to premium tyres priced well above $100, as reflected in the verified NZ market guidance. That spread is why casing quality, puncture protection, and installation requirements deserve more attention than a brand badge.
Where to Buy Bicycle Tyres in New Zealand
Buy the tyre from the seller who can help you get the complete system right. A specialist local bike shop can check the rim, frame clearance, valve type, pressure limits, and intended use before you hand over money. That matters more than saving a small amount on a grey import that turns out to be the wrong diameter or incompatible with your e-bike wheel.
Online shopping works well when you already know the exact tyre marking and need a replacement. Look for clear product specifications, a real NZ returns process, warranty support, and delivery information. Don't rely on a photograph or a vague title. Ask whether the listed width, casing, and system are suitable for your rim.
What local support adds
A Nelson workshop can also fit the tyre, inspect the rim tape, replace a damaged tube, seat a tubeless bead, and set a usable starting pressure. That service is valuable when a bike carries extra e-bike weight or when the rider depends on it for commuting. It also gives you somewhere to return when the tyre choice needs adjusting after real riding.
New Zealand's tyre waste problem gives this buying decision a wider context. Government policy estimated that around 6.5 million tyres, weighing about 93,000 tonnes, entered the country annually in 2019, with about 40% recycled, reprocessed, or exported at the time. The same policy includes bicycle tyres and other non-motorised equipment within tyre stewardship planning. Read the government tyre stewardship proposals for the wider recovery context.
Choose durable rubber that matches your route, maintain it properly, and dispose of worn tyres responsibly. For local riders, Rider 18's tyre and tube range, workshop support, and nationwide delivery provide one route to buying the right component with fitting advice available when needed.
Rider 18 can help you choose bicycle tyres for commuting, gravel, mountain biking, family cycling, and e-bike use, with products, workshop support, and nationwide shipping available. Visit Rider 18 with your current sidewall markings or bike details, and get the right rubber fitted for the roads and trails you ride.


