

Bike Chain Cleaner Guide for NZ Riders
- by Nigel
-

After a wet weekend ride, the warning signs usually appear before the bike reaches the workshop. The chain sounds gritty, the shifting feels slow, and a black paste has worked its way across the cassette and jockey wheels. Add coastal air, road spray, or dusty trail mud, and a drivetrain that looked clean before the ride can become abrasive surprisingly quickly.
A good bike chain cleaner routine isn't about making the bicycle look showroom-ready. It removes the grit that interferes with shifting, helps limit corrosion, and gives fresh lubricant a clean surface to work into. The right method also matters. A harsh solvent, a high-pressure rinse, or too much lube can create new problems while appearing to solve the old ones.
Why Drivetrain Hygiene Matters For Local Riders
New Zealand riding conditions are hard on exposed metal. A coastal commute can leave salt and moisture around the chain, while a backcountry ride can pack dust and mud into the rollers, plates, cassette, and derailleur pulleys. Rain doesn't need to be heavy to wash contamination into places a dry cloth can't reach.
A dirty chain often tells you what it needs. Squeaking, sluggish gear changes, rough pedal feedback, and visible black grime all point towards contamination or poor lubrication. Soudal's New Zealand bike chain cleaning guide recommends cleaning every 150 to 200 km of riding, or sooner in muddy or dusty conditions. It also recommends cleaning after wet or coastal rides, where salt and moisture can speed up rust.
That interval is short enough to make chain cleaner a normal consumable, not an occasional workshop purchase. A rider covering 3,000 km in a year could clean the chain roughly 15 to 20 times if following the 150 to 200 km guideline, as calculated from the same Soudal recommendation.
Read the conditions, not just the odometer
Distance gives you a useful baseline, but conditions should overrule it. A clean, dry road ride creates a different contamination load from a wet gravel trip or a muddy trail session. The chain should be cleaned earlier if it feels gritty, looks wet with road film, or carries a visible layer of dust.
Use this as a practical decision guide:
- Dry road riding: Wipe the chain after rides and clean it when the surface becomes dirty or the shifting loses its crisp feel.
- Muddy or dusty trails: Clean soon after the ride, before the contamination dries into a hard abrasive layer.
- Rain and coastal routes: Treat the chain as exposed to corrosion risk and clean it promptly, then lubricate it after the chain has dried.
- Year-round commuting: Keep a simple repeatable routine rather than waiting for obvious rust or severe noise.
Workshop rule: If the chain sounds rough, cleaning is already overdue. Lubricant alone won't turn embedded grit into harmless dirt.
Cleaning protects more than the chain itself. Dirt carried through the rollers transfers onto the cassette and chainrings, while a contaminated chain can shift poorly and increase friction. Soudal links cleaning with drivetrain performance and recommends re-lubricating after degreasing to help prevent wear, corrosion, and friction. Riders working on bicycles and other exposed metal surfaces can also learn from this practical resource on degreasing wheels without damage, particularly the principle of matching cleaning strength to the material and contamination.
Selecting Your Tools And Degreaser Chemistry
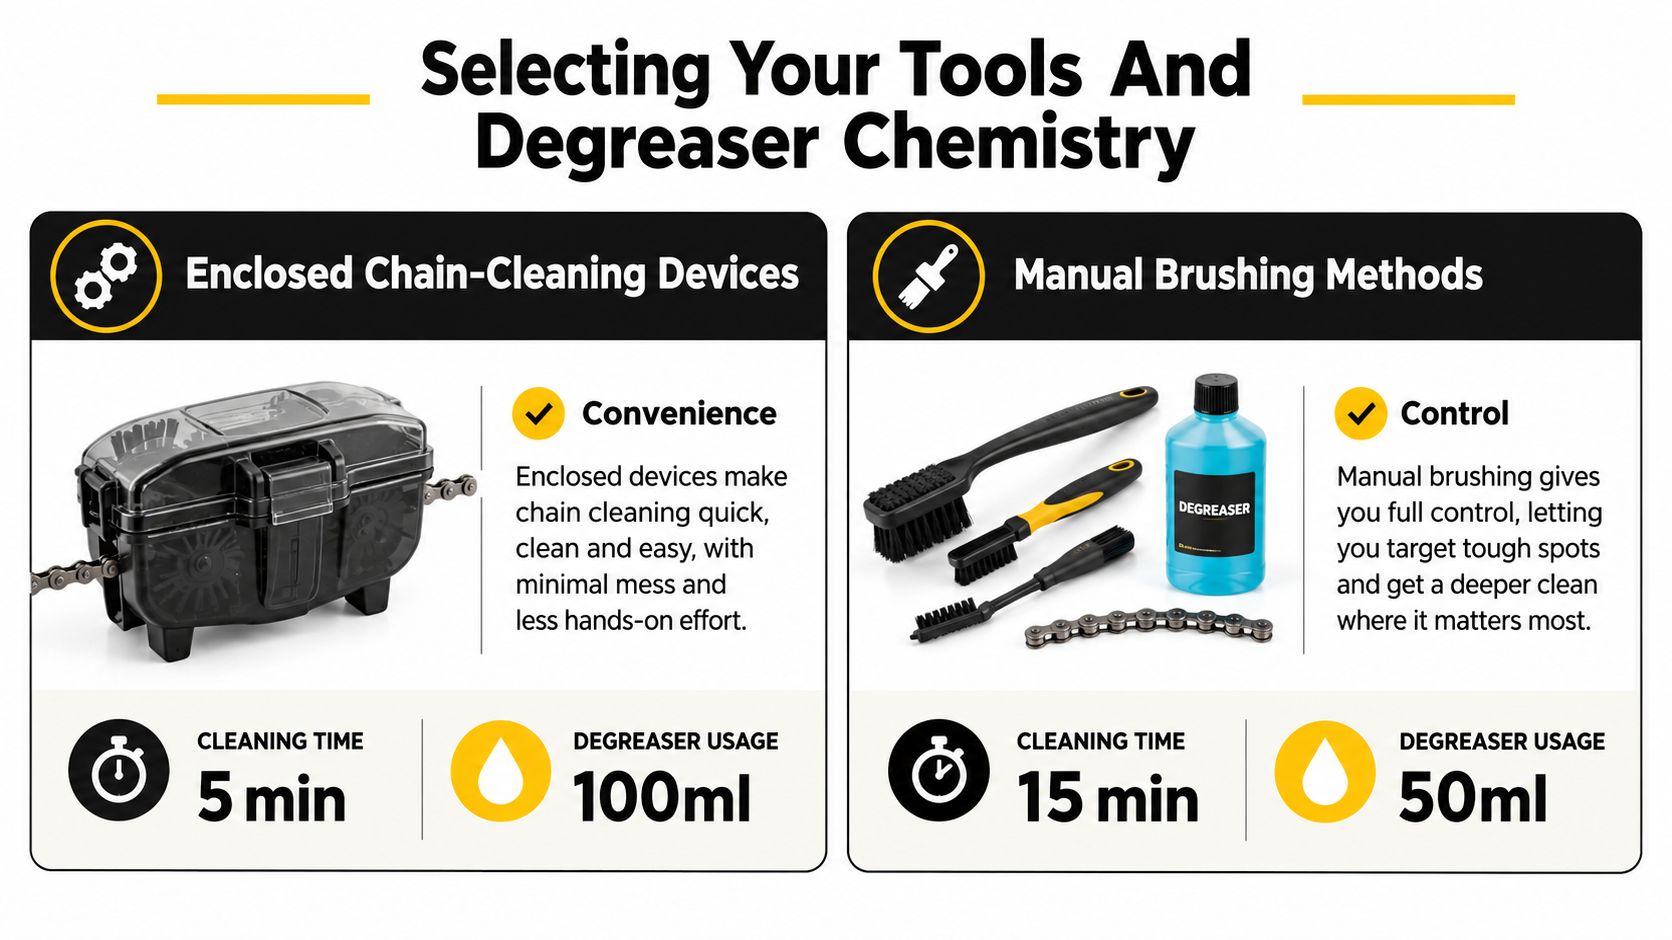
There are two useful ways to clean a chain on the bike. An enclosed chain-cleaning device holds brushes and fluid around the chain, while the traditional method uses a stiff nylon brush, a rag, and controlled wheel rotation. Neither is automatically better. The right choice depends on the grime, the space available, and how closely you need to inspect the drivetrain.
Enclosed cleaners versus manual control
An enclosed device is convenient for a lightly or moderately dirty chain. Its rotating brushes reach several sides of the chain at once, and the reservoir helps contain some of the spray and runoff. That makes it useful for a commuter who wants a repeatable clean without removing the chain.
The trade-off is limited visibility. You can't always see whether packed mud has left the inner plates, and dirty fluid can circulate around the chain unless you change or rinse the device properly. An enclosed tool also doesn't replace cleaning the cassette, chainrings, and jockey wheels.
Manual brushing is slower, messier, and more precise. A stiff nylon brush lets you work into the rollers and plates, while a separate narrow brush can reach the cassette and derailleur pulleys. You can also stop at each section and inspect for rust, damaged links, or a chain that no longer moves freely.
| Method | Main advantage | Main limitation |
|---|---|---|
| Enclosed chain cleaner | Quick, contained agitation for routine cleaning | Less visibility and less control over individual components |
| Stiff nylon brush and rag | Thorough contact and better inspection | More hands-on work and more runoff |
| Small detail brush | Reaches cassette teeth and jockey wheels | Not efficient as the only chain-cleaning tool |
| Clean cloth | Removes suspended grime and residue | Won't remove contamination packed inside links by itself |
Match the chemistry to the contamination
Bicycle-care products now include foaming degreasers, drivetrain cleaners, chain-cleaning kits, and water-soluble formulas. New Zealand retail catalogues list dedicated products in 400 ml, 500 ml, and 750 ml formats, alongside kits designed for particular maintenance jobs, as shown in Evo Cycles' bike maintenance range. That product segmentation reflects a useful distinction: a chain cleaner is formulated for a drivetrain, not just borrowed from a general household cleaning shelf.
Foaming products cling to vertical surfaces and help you see where the cleaner has been applied. Water-soluble formulas can make rinsing and waste handling easier, but they still need to be kept away from areas where water or solvent could compromise seals, bearings, or electronic components. Strong generic solvents may cut through grease quickly, yet they can also strip useful lubricant from places you didn't intend to clean and leave a difficult disposal problem.
For caked-on trail grime, use controlled dwell time and mechanical agitation rather than reaching immediately for the most aggressive product. Guidance on heavy duty degreaser picks is useful for comparing cleaning strength, but the same principle applies to bicycles: stronger doesn't mean safer, and more product doesn't compensate for poor brushing.
The Complete Cleaning And Drying Workflow
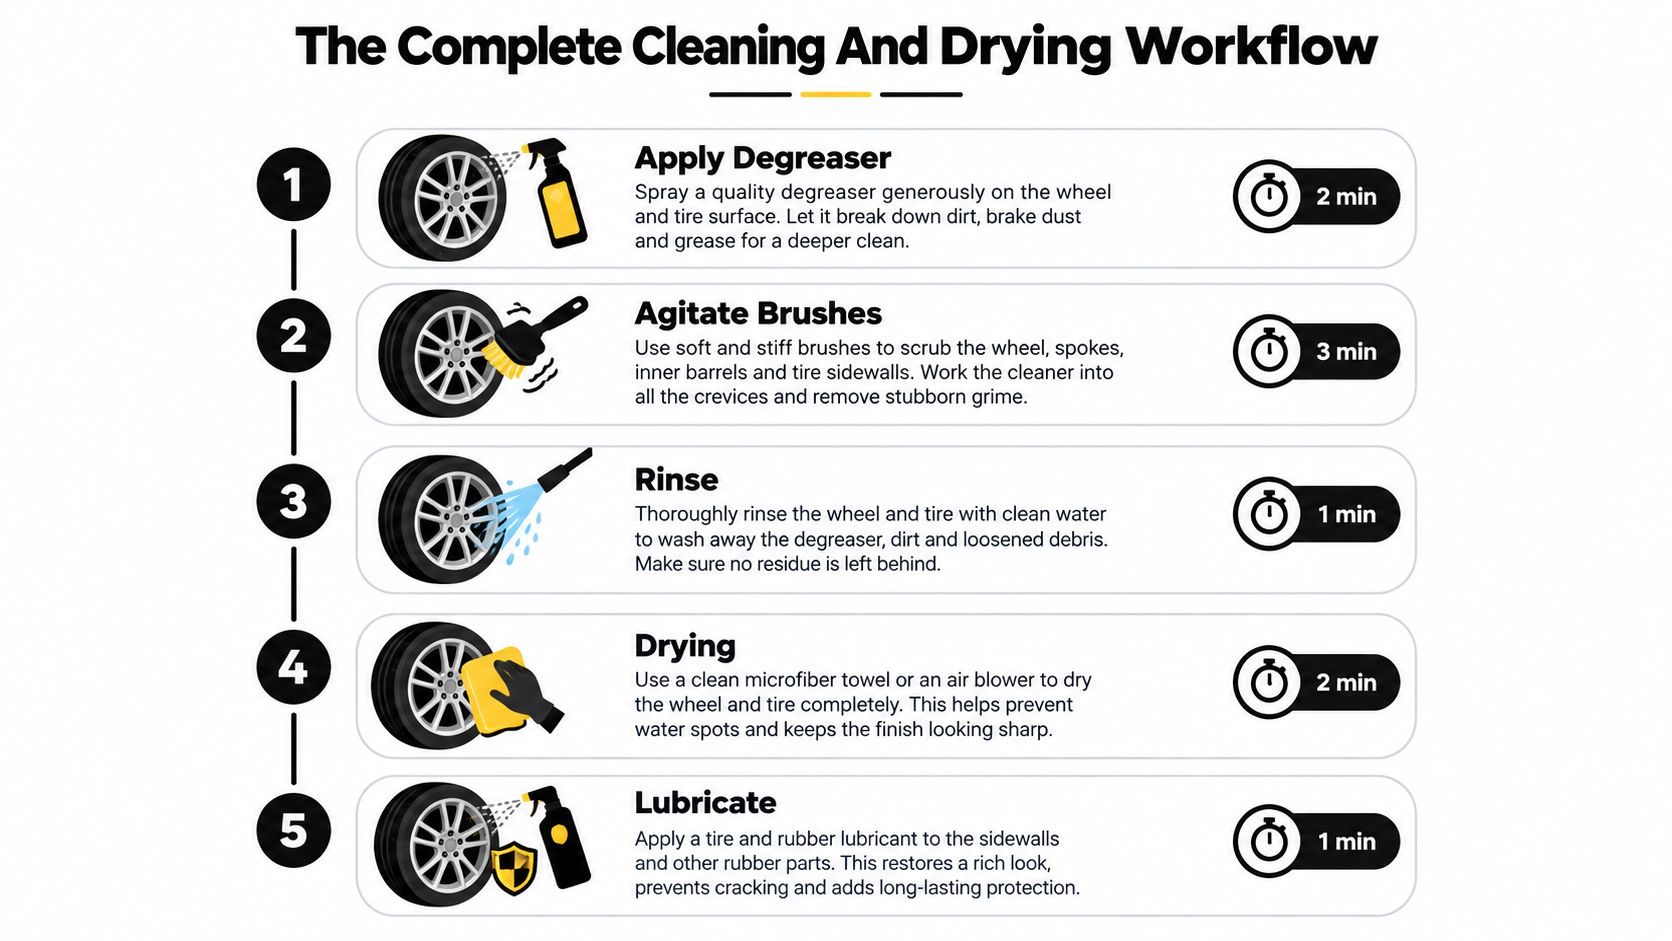
A reliable clean follows a simple order: remove loose dirt, apply cleaner, agitate the chain, wipe away the suspended grime, dry everything fully, and then lubricate. Most drivetrain problems I see after a “clean” bike come from skipping the drying stage or applying lubricant over residue.
Start by placing the bike where the drivetrain can turn freely. Shift to a useful gear for access, support the bike securely, and protect brake rotors and braking surfaces from overspray. Put on gloves, lay down something to catch runoff, and keep a clean cloth separate from the one used for dirty solvent.
Prepare the drivetrain
Brush or wipe loose mud from the chain, cassette, chainrings, and derailleur pulleys before applying liquid cleaner. If you wet a thick layer of dry grit immediately, you can turn it into a paste that spreads across more of the drivetrain.
Apply the bike chain cleaner to the chain and the areas that need it. Don't flood the bottom bracket, hub bearings, headset, brake callipers, motor housing, or electrical connections. Let the product work on the contamination according to its instructions, then use a stiff nylon brush to agitate the chain.
The chain must not move under power. New Zealand cycling guidance recommends rotating the rear wheel by hand or rolling the bike, rather than cleaning while the drivetrain is moving under pedal force. That keeps your fingers away from a powered drivetrain and gives the brush consistent contact.
Work methodically
Hold the brush against the lower run of chain and rotate the rear wheel slowly by hand. Work across the outer plates, inner plates, and rollers, then brush the chainrings and cassette separately. A toothbrush-sized brush can reach tight spaces, but it shouldn't be so stiff that it damages finishes or forces contamination deeper into seals.
Keep changing to a clean part of the rag as the grime lifts. Wiping isn't a cosmetic final step. It removes the dirty cleaner that would otherwise remain between the plates and rollers, where fresh lubricant can't form a clean film.
For a moderately dirty chain, repeat the application and brushing rather than scrubbing harder. Heavy mud may need a second pass. A chain that remains visibly rusty, stiff, or damaged after cleaning needs inspection, not endless solvent.
Rinse carefully, then dry completely
Rinse according to the cleaner's instructions, using controlled water rather than a pressure washer aimed at bearings or seals. The objective is to remove cleaner and suspended grit without forcing water into protected areas.
The New Zealand chain maintenance guidance from Ride Forever sets out a practical benchmark of cleaning the chain and rear sprocket every 1,000 to 1,500 km with a chain-cleaning spray and stiff nylon brush. It advises wiping residue away, allowing the chain to dry fully, and applying lube only after drying. This is a useful benchmark for riders who need a deeper service interval, while weather and contamination can justify cleaning sooner.
Dry the chain with a clean cloth, then leave it until no moisture or solvent remains. Residual water or solvent reduces lubricant adhesion. The chain can look bright on the outside and still be under-lubricated internally if you rush this stage.
The cleanest-looking chain can still be the least protected if you apply lube over moisture. Drying is part of cleaning, not an optional extra.
Matching Chain Lube To The Conditions
A clean chain needs the right lubricant for the next ride, not just the most expensive bottle on the shelf. New Zealand conditions change quickly between dry dusty trails, wet roads, humid coastal air, and muddy forest tracks. The lube has to stay in place without turning the chain's exterior into a grit collector.
Wet lube is generally the better choice for persistent rain, damp trails, and humid conditions because it leaves a more tenacious protective film. That film can resist being displaced by water, but it also attracts dirt when applied excessively. A wet lubricant needs a careful wipe after application, especially before riding dusty gravel or dry trails.
Dry lube suits cleaner, drier conditions where airborne dust is the main contamination. It usually leaves a less sticky surface, which can help limit dust pickup, but it won't be the first choice for a long wet ride or a chain exposed to salt spray. Coastal riders may need to prioritise corrosion protection and more frequent cleaning rather than relying on a dry formula to handle moisture.
For a broader comparison of application approaches, see this guide to bike chain lube. The important point is to choose based on the conditions the chain will face next, not the weather on the day you cleaned it.
Apply lubricant where it works
After cleaning and drying, place the lubricant on the inside of the chain while rotating the pedals backwards. Shimano's New Zealand maintenance guidance recommends allowing each link to receive lubricant, then wiping away excess. The Shimano maintenance guidance for chain lubrication also supports the same controlled approach through its cleaning and relubrication advice.
Apply one controlled drop at a time rather than spraying the whole drivetrain. Aim for the rollers and link interfaces, where the lubricant can move into the working surfaces. Rotate the chain backwards for several revolutions to distribute it, then pause briefly so it can penetrate.
The final wipe matters as much as the application. Wipe the outside plates and rollers until the chain feels lubricated but not wet with excess product. Lube sitting on the exterior collects grit, and that contaminated film works through the drivetrain as the chain moves across the cassette and chainrings.
Don't mix a fresh application with a visibly dirty chain and expect the lube to clean it. Lubricant can quiet a noisy drivetrain temporarily, but it won't remove abrasive contamination or undo corrosion.
Adapting Maintenance For E-Bikes And Family Rigs
E-bikes and cargo bikes deserve a more deliberate maintenance routine because the drivetrain may operate under greater combined load. Motor assistance, a heavier bicycle, a rider carrying children or equipment, and repeated starts from intersections all place more demand on the chain and sprockets than a lightly loaded recreational ride.
That doesn't mean every e-bike needs the same cleaning schedule. It means the rider should watch the conditions and symptoms more closely. Consumer NZ recommends relubricating an e-bike chain at about every 200 km, or more often in wet or dirty conditions, in its e-bike maintenance guidance. The same guidance notes that kerosene in a spray bottle used with a chain brush can remove grease and dirt effectively.
Protect the electrical system
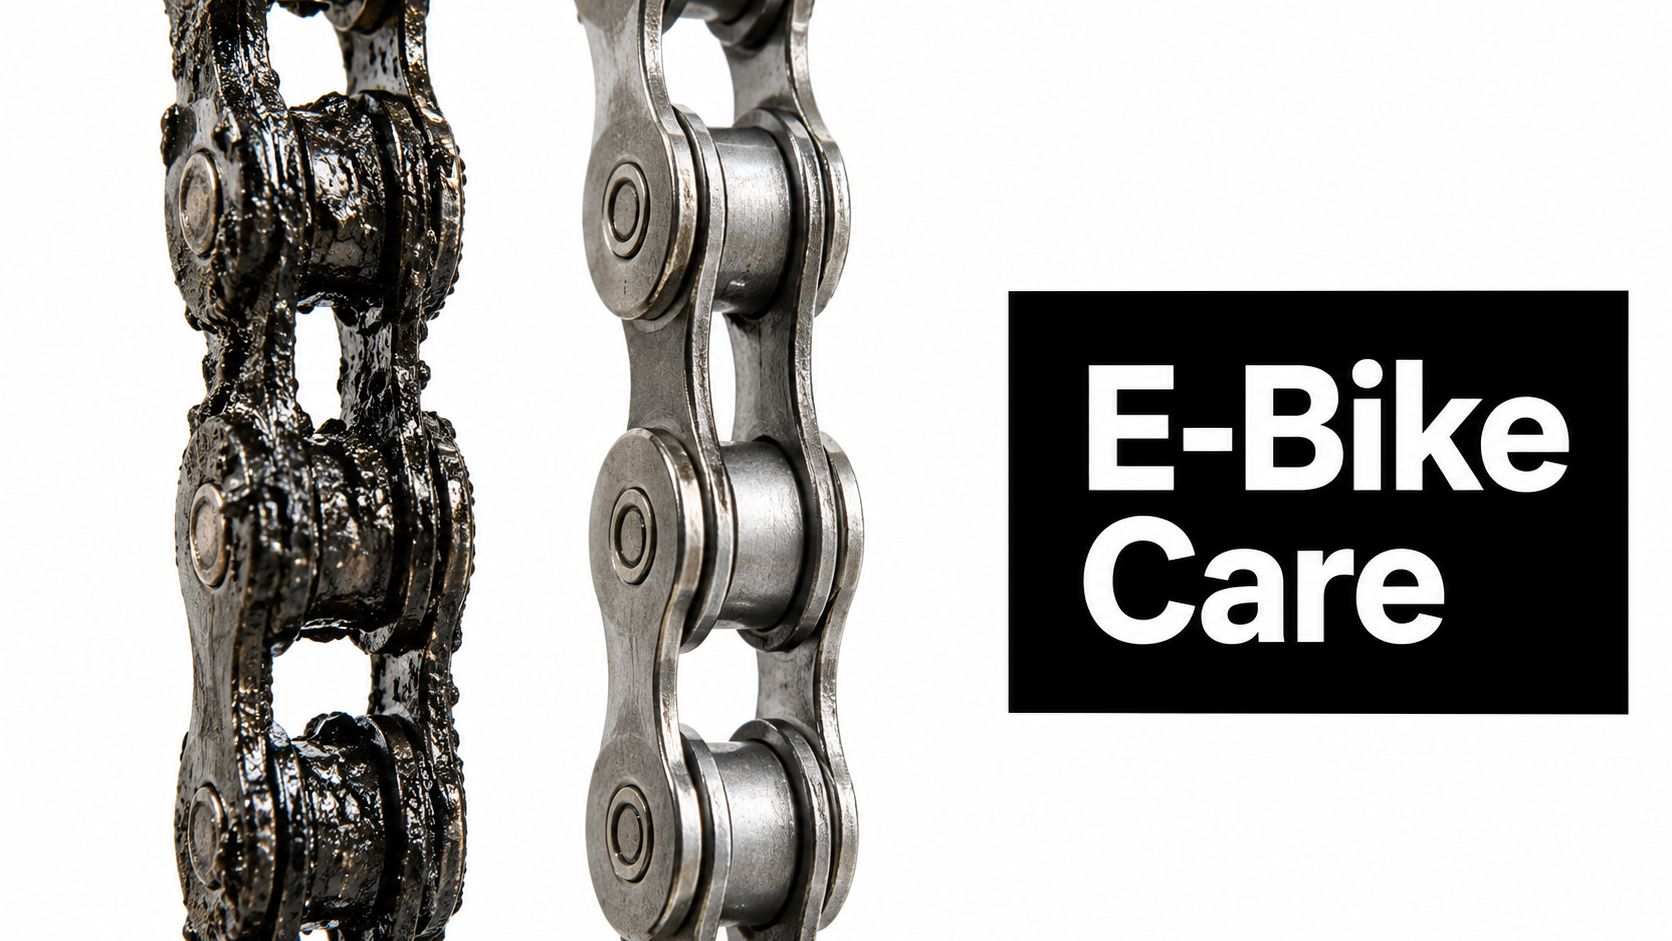
A chain cleaner belongs on the drivetrain, not everywhere on the bicycle. Avoid spraying directly towards the motor, battery contacts, speed sensors, cable entries, seals, and display connections. Don't use a pressure washer to blast grime away from an e-bike drivetrain, because forced water can reach places a normal rinse won't.
Use a cloth or brush to control the product near sensitive areas. Foam and water-soluble cleaners can reduce mess, but “water-soluble” doesn't mean harmless when sprayed into a bearing or electrical connection. Apply to the brush or rag when you need extra control.
Family rigs often carry more road film because they operate in traffic, collect splash from trailers, and may be stored after a wet school run. A quick wipe and inspection after use can prevent contamination from drying into the chain. The job doesn't need to become a full bicycle wash every time, but the chain shouldn't be left wet and salty overnight as a routine.
Adjust the inspection habit
Look at the chain from several angles. Check for stiff links, orange corrosion, damaged plates, and grime around the cassette and jockey wheels. Listen for changes under load, but don't diagnose every noise as a lubrication problem. A skipping chain can indicate worn or incompatible drivetrain parts, not merely a dirty surface.
For owners building a repeatable routine, an e-bike maintenance checklist can help separate drivetrain cleaning from checks that involve the motor, battery, brakes, and tyres. Keeping those jobs distinct reduces the chance of spraying a drivetrain product onto an electrical component or assuming that a clean chain means the whole e-bike is ready to ride.
E-bike practice: Use more control around sensitive hardware, not more force. A brush, cloth, and measured cleaner application are safer than a powerful spray.
Troubleshooting Wear And Avoiding Common Mistakes
More lubricant doesn't make a chain cleaner. A stronger solvent doesn't guarantee a better result. The common failures come from using the wrong amount, moving the drivetrain unsafely, leaving residue behind, or ignoring wear that cleaning can't repair.
Diagnose the symptom before reaching for another product
If the chain still squeaks after cleaning, check whether it is dry, whether lubricant reached the rollers, and whether the cassette and jockey wheels are also contaminated. If it becomes black immediately after lubrication, the outside is probably carrying too much product or the drivetrain still contains suspended grime.
Use this troubleshooting guide:
- Persistent squeak: Recheck drying and apply lubricant to the inside of the chain. If the noise remains, inspect for stiff or corroded links.
- Slow shifting: Clean the cassette, chainrings, and derailleur pulleys as well as the chain. Check that grime isn't restricting derailleur movement.
- Chain skip: Don't assume cleaner will solve it. Inspect the chain, cassette, chainrings, and shifting setup for wear or damage.
- Rapid black buildup: Wipe off excess lube and use a clean cloth to remove residue before the next application.
- Rust spots: Clean promptly and assess whether corrosion has damaged the chain. Surface discolouration isn't the same as a structurally sound chain.
Five habits that quietly shorten drivetrain life
Over-lubricating leaves a sticky exterior that collects trail dust and road grit. Apply enough to reach the working surfaces, then wipe the outside.
Using the wrong brush can either fail to shift embedded mud or cause unnecessary damage to delicate finishes. Stiff nylon suits chain grime, while smaller brushes give better control around the cassette and pulleys.
Skipping drying leaves solvent or water between surfaces where lubricant needs to adhere. The chain may look clean but remain poorly protected.
Cleaning under power creates an avoidable hand injury risk and makes brush contact inconsistent. Rotate the rear wheel by hand instead.
Neglecting inspection allows a worn chain or damaged link to remain in service. Cleaning should make faults easier to see, not hide them under fresh lubricant.
A chain that has reached the end of its mechanical life needs replacement. Cleaning can remove contamination and improve operation, but it can't restore worn metal. If you find repeated skipping, damaged links, or abnormal movement after a proper clean, use this guide on how to replace a bike chain and check the rest of the drivetrain before fitting the new part.
The best routine is the one you'll repeat. Keep a stiff nylon brush, clean rags, suitable bike chain cleaner, and the correct lube together, then respond to rain, mud, dust, and coastal exposure before the drivetrain starts shouting for attention.
Rider 18 supplies bikes, e-bike components, drivetrain parts, tools, and practical maintenance support for riders and families across New Zealand. Visit Rider 18 for the equipment and workshop advice you need to keep your chain clean, lubricated, and ready for local conditions.


