

Balance Bike with Pedals: A NZ Parent's Buying Guide
- by Nigel
-

Saturday morning on the Maitai River path. You're holding a takeaway coffee, your child is scooting along under the willows, and suddenly both feet lift clear of the ground. The balance bike glides, the steering is steady, and your three-year-old is travelling faster than you can comfortably jog.
Then comes the practical question: what happens next? Do you keep the balance bike, fit pedals, buy a first pedal bike, or accept a well-meaning hand-me-down that looks far too big? After fitting children to their first bikes, my view is straightforward. The right choice depends less on the calendar and more on what your child can already do on two wheels.
Watching Your Child Ride and Wondering What's Next
Saturday morning on the Maitai River path, your child is still on a balance bike, but the riding has changed. Both feet lift clear of the ground, the steering stays steady, and they glide faster than you can comfortably jog. That is the point to assess the next step, not the next birthday.
Look for practical control. Your child should be able to steer around a parent, slow down deliberately, stop without panic, and climb back on without help. A rider who once shuffled nervously may now make these skills look ordinary. That progress matters more than the age printed on a product page.
New Zealand's learn-to-ride pathway supports starting with balance. Auckland Transport's guidance places balance bikes in the 85 to 110 cm height range, typically for children aged 2 to 5 years, while noting that children as young as 18 months can begin. It places 12-inch bikes at 85 to 100 cm and 16-inch bikes at 100 to 120 cm, showing how early balance practice can lead into pedal riding (Auckland Transport sizing guidance).
Those ranges are useful for checking fit, not for setting a deadline. One child may be ready to try cranks while another needs months of relaxed gliding. Add pedals once balance is secure, so the child has one new task, pedalling, rather than balance, steering, and pedalling all at once.
My rule in the workshop: don't buy pedals to solve a balance problem. Add pedals after the balance problem has largely disappeared.
A convertible bike can bridge the change well, but inspect the trade-off. Extra weight, a poor fit in one mode, or a child outgrowing the frame can leave the conversion kit unused. Judge the purchase by the move your child is ready to make now, not by the promise of two bikes in one.
What a Balance Bike with Pedals Actually Is
A balance bike with pedals starts as a foot-powered two-wheel bike, then changes into a pedal bike on the same frame. Your child learns to balance, steer and glide first. Once those skills are reliable, the crank, chain and pedals introduce propulsion without making them learn on an unfamiliar frame.
Three designs appear regularly:
- True convertibles begin without pedals. A detachable crank and pedal kit is added later, normally with a chain and rear freewheel.
- Factory hybrids are built for both modes. Their pedals fold, swing away or detach, depending on the mechanism.
- Trike-to-balance designs start with three wheels, become two-wheel balance bikes, then may accept pedals. They provide a gradual path, but smaller wheels and different frame geometry can restrict how long the pedal mode remains useful.
The conversion mechanism deserves close attention. It should fit without a fight, leave no sharp pinch points and keep the riding position usable. Ask the shop to show both configurations before you buy. A bike that looks excellent in balance mode may feel cramped, heavy or awkward once the pedals are installed.
Training wheels are not needed for this pathway. The child holds the bike upright, steers and glides before coordinating the crank. NZTA guidance recommends keeping the pedal crank level through most riding and using a heel-on-pedal fit check, allowing only a slight knee bend for control (NZTA pedal-bike fit guidance). That makes the fit check part of the decision, not an afterthought.
A convertible earns its place when the child is ready for the next mode and the bike works properly in both. Otherwise, two purpose-built bikes may be the cleaner choice.
Benefits and Real Drawbacks of Convertible Designs
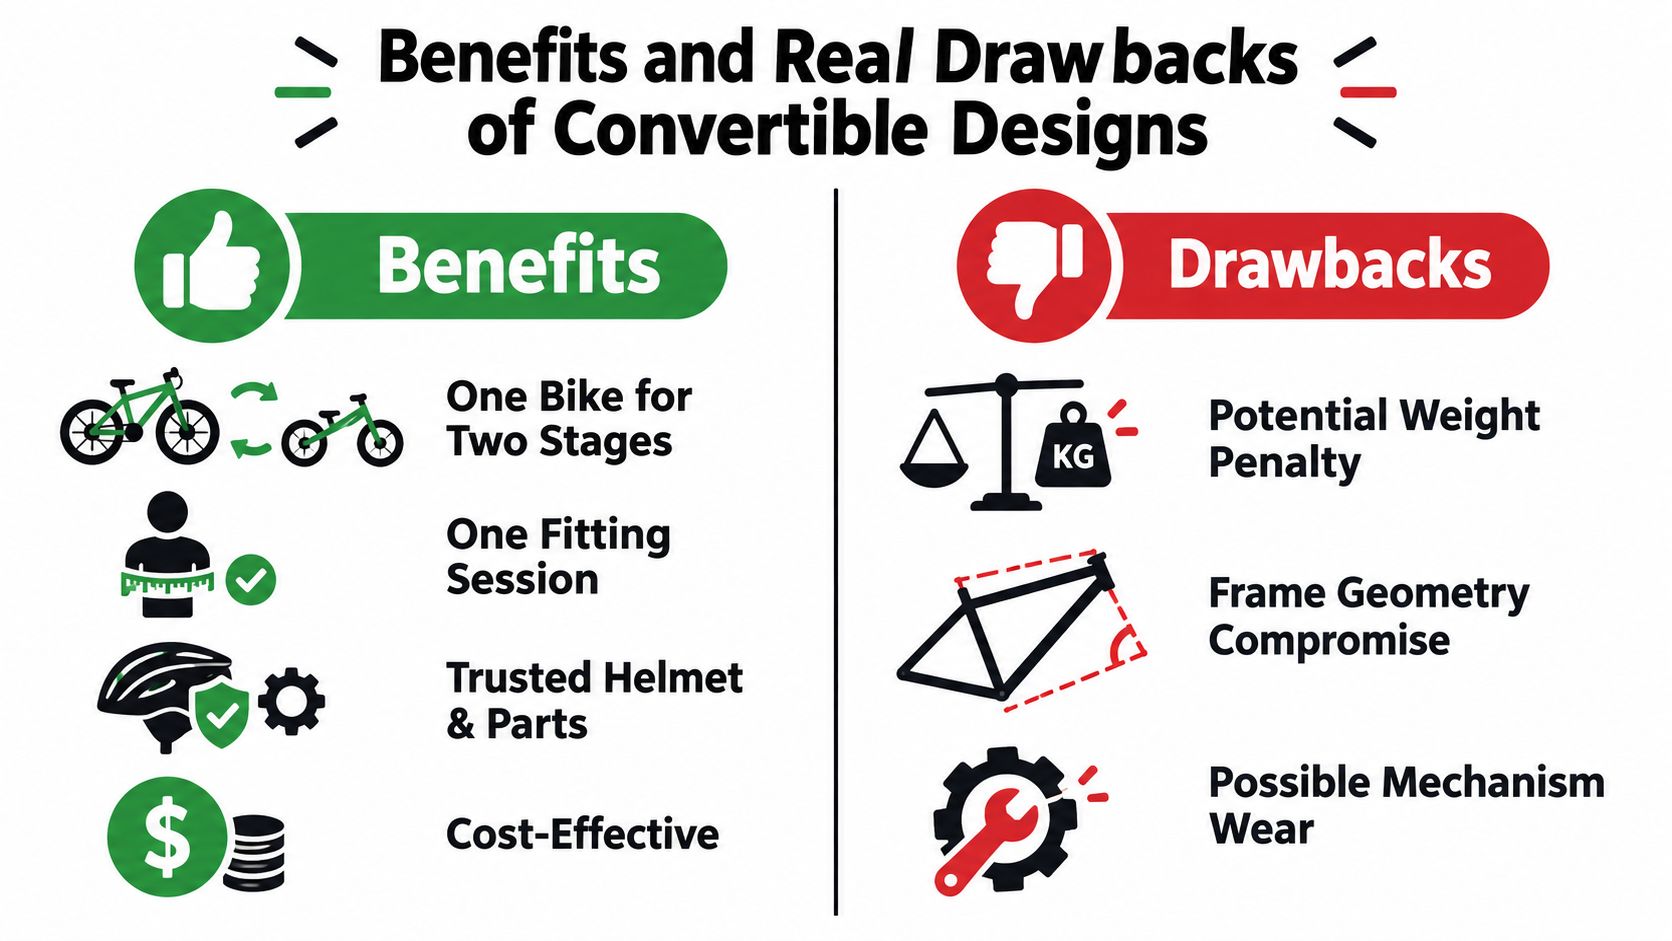
The strongest argument for a convertible bike is convenience. One frame follows the child through two learning stages, the family keeps one familiar saddle and handlebar setup, and the child doesn't have to learn a completely new bike at the same time as learning to pedal. For a household with limited storage, that simplicity has real value.
A convertible can also remove an awkward mismatch. A small child may be too tall or confident for a basic balance bike but not yet physically comfortable on a larger pedal bike. Keeping the same frame can make the change feel less dramatic, particularly when the child already trusts how the bike steers and stops.
The drawbacks are just as practical. Adding a drivetrain brings extra parts and usually extra weight compared with a dedicated balance bike. That matters when a tired toddler has to lift the bike over a kerb, carry it up steps, or manage it after a long ride. A convertible frame can also be a compromise. It has to accommodate both low, foot-led balance riding and a usable pedal position.
The lightest bike your child can control beats the cleverest bike they can't lift.
Cost deserves a close look, but parents shouldn't judge it by the purchase price alone. A convertible may replace two purchases, yet its useful life still depends on wheel size, saddle range, and the timing of the child's development. If the child outgrows the frame before the crank is installed, the conversion feature has delivered no practical saving.
There are useful non-cycling parallels here. A parent considering gradual movement development may find Ocodile's Montessori balance board guide helpful for thinking about confidence, control, and age-appropriate challenge. The same principle applies to bike buying: choose the tool that matches the skill being learned, not the one with the longest feature list.
Age, Height and Fit for NZ Kids
Fit starts with inside-leg height, not the age printed on the carton. Measure your child in socks, standing against a wall. Compare that measurement with the bike's actual saddle range. Both feet should land securely while seated, with enough clearance to move the bike and a slight knee bend.
Auckland Transport's NZ guidance places balance bikes around 85 to 110 cm, 12-inch bikes around 85 to 100 cm, and 16-inch bikes around 100 to 120 cm (Auckland Transport size reference). Use those figures as a starting point, then check the child on the bike. Two children of the same height can have different leg lengths, confidence, and riding positions.
| Child Height | Typical Age | Wheel Size | Saddle Height Range |
|---|---|---|---|
| 85 to 100 cm | Around 2 to 5 years | 12-inch | Low enough for flat-footed balance riding |
| 85 to 110 cm | Around 2 to 5 years | Balance-bike format | Adjustable for early gliding and growth |
| 100 to 120 cm | Often the next stage | 16-inch | Set for a slight knee bend during pedalling |
A convertible bike needs closer checking at the smaller end of the range. Pedal hardware can raise the frame or reduce clearance, while the extra parts may make the bike harder for a small child to control. Test it in balance mode first. Check flat-footed contact, handlebar reach, step-over clearance, and whether your child can move the bike without help.
The decision threshold is simple: if the bike only fits with tiptoes or a stretched reach, wait or choose a smaller balance bike. A convertible is useful only when its balance setup fits now and its pedal setup will still fit later.
For a practical example of what to inspect, see the Cruzee balance bike information, especially its focus on low weight and child fit. Do not let an overseas age chart overrule a poor local fit. Your child should look settled and in control, not perched, stretched, or forced to tiptoe.
When Your Child Is Ready to Add the Pedals
Your child may still look small on the bike, yet their riding can show they are ready for the next stage. Watch the riding, not the calendar.
The clearest sign is sustained gliding. They should push, lift both feet, and coast in a straight line while steering calmly. The distance does not matter. Gliding needs to happen repeatedly, not as a lucky moment, before pedals add value.
Watch the stops too. A ready rider can place both feet down without panic, recover from a small wobble, and restart after pausing. Perfect braking is not required yet. They do need enough control to keep the bike steady while learning crank timing and pedal position.
Look for terrain curiosity as well. Your child might seek a gentle slope, choose grass, or ask for a longer route instead of walking. Around Nelson, that could mean wanting to continue along the Maitai path or ride further at Founders Heritage Park. Curiosity alone is not enough, but paired with controlled gliding and confident foot placement, it shows the balance bike may no longer provide enough challenge.
The sensible order is balance first, pedals second. Add one new task while keeping the rest familiar. This approach matches how scaffolding builds confidence, and NZTA's balance and control guidance supports building bike control before adding more complex pedal skills (NZTA balance and control guidance).
If your child shows two of these three signs, install the pedals and practise somewhere flat, open, and quiet. Keep the first rides short. Use this balance bike to pedal bike transition guide for the practical sequence, then let your child's control decide the pace. If they cannot stop calmly or keep their feet ready, remove the pedals and return to balance practice. That is a better choice than pushing the conversion too early.
Convertible Versus Two Separate Bikes
This is the decision most families are really making. A convertible promises one purchase and less storage. Two separate bikes offer a lighter balance bike and a pedal bike designed specifically for its stage.
| Factor | Convertible Balance Bike with Pedals | Two Separate Bikes |
|---|---|---|
| Early learning | Familiar frame through the transition | Dedicated balance bike can be lighter and simpler |
| Pedal setup | Conversion mechanism must work cleanly | Pedal bike is ready-made for its intended use |
| Storage | One bike occupies less space | Two bikes require more room |
| Fit | One frame must suit both stages | Each bike can be fitted precisely |
| Family use | Useful when one child moves steadily through both stages | Better when siblings can inherit separate bikes |
| Riding style | Suits moderate family riding and a smooth transition | Suits families wanting a specialised bike for more demanding rides |
A convertible makes sense when your child already rides confidently, the frame fits properly in both modes, and storage is tight. It also earns its keep when a younger sibling is likely to inherit it. In that situation, one adaptable bike can serve a family for longer than a single child's first riding phase.
Two separate bikes win when weight and performance matter most. A dedicated balance bike is easier for a small child to manoeuvre, while a proper pedal bike can offer a more suitable brake layout, wheel size, and position for local hills. The balance bike versus pedal bike comparison is useful when you're deciding whether the two stages should remain separate.
My opinion is blunt. Buy the convertible for convenience, not because conversion automatically makes it better. If your child rides hard, tackles mixed surfaces, or needs a very low starting weight, separate bikes are usually the cleaner solution. If the bike will be used for family paths and passed between children, the convertible deserves serious consideration.
Features, Safety and Maintenance That Matter
A balance bike with pedals should be assessed as a complete machine, not as a balance bike with a bonus box of parts. Lift it yourself first. Then ask whether your child can move it, turn it, and recover it when the front wheel catches a small edge.
Check these points before buying:
- Frame weight: lighter helps early riders control the bike and helps parents carry it home.
- Saddle range: the lowest setting must allow flat feet, while the upper setting should support a genuine pedal position.
- Pedal attachment: the crank should fit securely without wobble, exposed sharp edges, or an awkward conversion joint.
- Tyres: foam tyres suit smooth footpaths and indoor storage, while pneumatic tyres provide a more forgiving ride across grass and uneven paths.
- Brakes: a child should be able to reach and squeeze the brake levers without twisting the wrist or losing steering control.
- Bearings and fasteners: sealed bearings and properly tightened hardware reduce unnecessary drag and movement.
A saddle that starts low can then be raised as confidence improves. Auckland Transport recommends lowering it for early practice so the child can touch the ground comfortably, then raising it towards a more efficient pedalling position as technique develops (Auckland Transport learn-to-ride booklet).
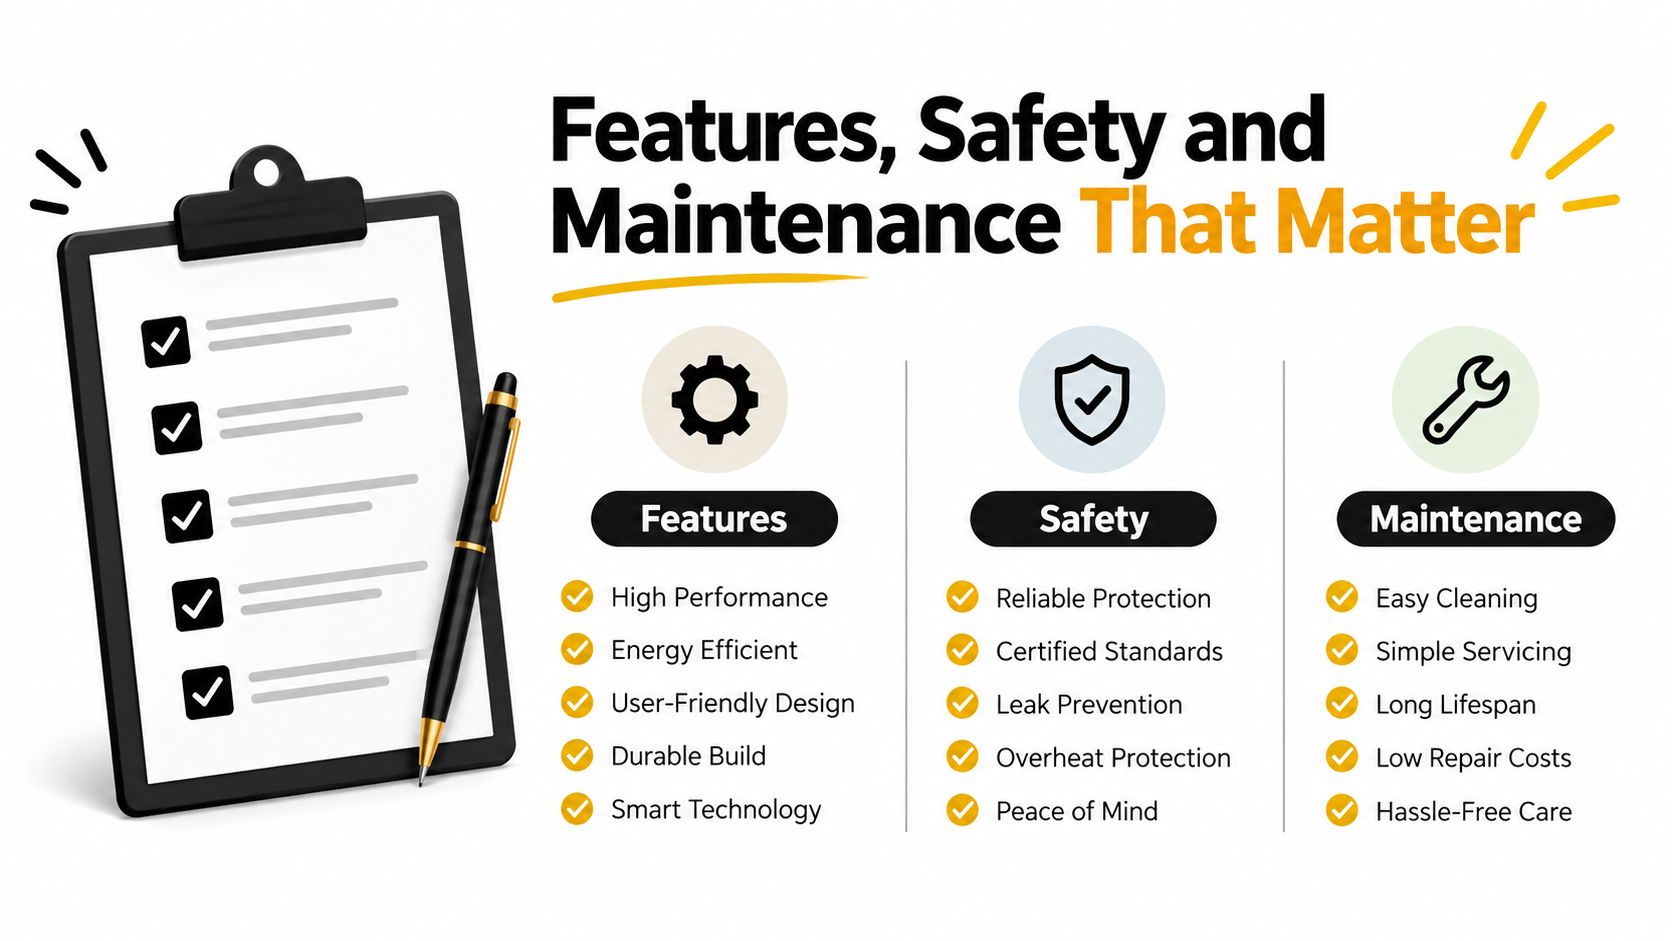
Use a helmet that fits securely and meets applicable NZ requirements. Closed-in shoes protect toes, and parents should check the saddle clamp, handlebar area, and pedal-conversion joint regularly for movement or pinch points. After the first few rides, inspect the pedal arm and chain, wipe dirt from the chain, check tyre pressure, and confirm the quick-release saddle mechanism is locked.
If the fit or conversion feels wrong, Rider 18 offers in-store fitting and workshop support alongside its kids' bike range. That matters because a small adjustment can change whether a child feels balanced or overwhelmed.
Making the Right Call for Your Family
Choose a dedicated balance bike first if your child is small, still learning to glide, or mainly rides short path outings. A lighter, simpler bike gives that child the best chance to build control without wrestling with unused drivetrain hardware. When the child later shows stable gliding, confident stops, and interest in more demanding terrain, choose the first pedal bike for the fit they need then, not the growth they might have later.
Choose a convertible if your child already has the balance stage under control and you value one familiar frame, reduced storage, or hand-me-down use between siblings. Inspect the bike in both modes, check the lowest saddle position, and make sure the pedal kit doesn't turn a manageable balance bike into a cumbersome one.
New Zealand's formal cycling experience also supports taking early skills seriously. The NZTA review recorded 27,935 children receiving full cycle-skills training in the 2012 to 2013 financial year, equal to 4.9% of children aged 5 to 14 and 6.6% of children who actively rode bicycles (NZTA cycle-skills review). It also recorded 18,988 children receiving grade 1 training and 8,947 receiving grade 2 training, showing the scale of early competency work before children progress further.
That leaves a clear recommendation. Don't rush a capable balance rider onto pedals, and don't keep buying balance-only equipment once the child is clearly ready for the next skill. Test the bike, fit the saddle properly, and choose the format that suits your child's current control, your storage, and whether another child will use it later.
Book an in-store fit at Rider 18 in Nelson before you buy, especially if you're comparing a convertible with two separate bikes. The team can size your child, demonstrate the conversion, and help keep the bike maintained as the riding changes.
Visit Rider 18 in Nelson with your child and compare a balance bike with pedals against separate balance and pedal-bike options in person. Ask for a proper fit, a demonstration of the conversion mechanism, and practical advice on the setup your child can control today.


