

Mountain Bike Grips NZ How to Choose Fit and Ride
- by Nigel
-

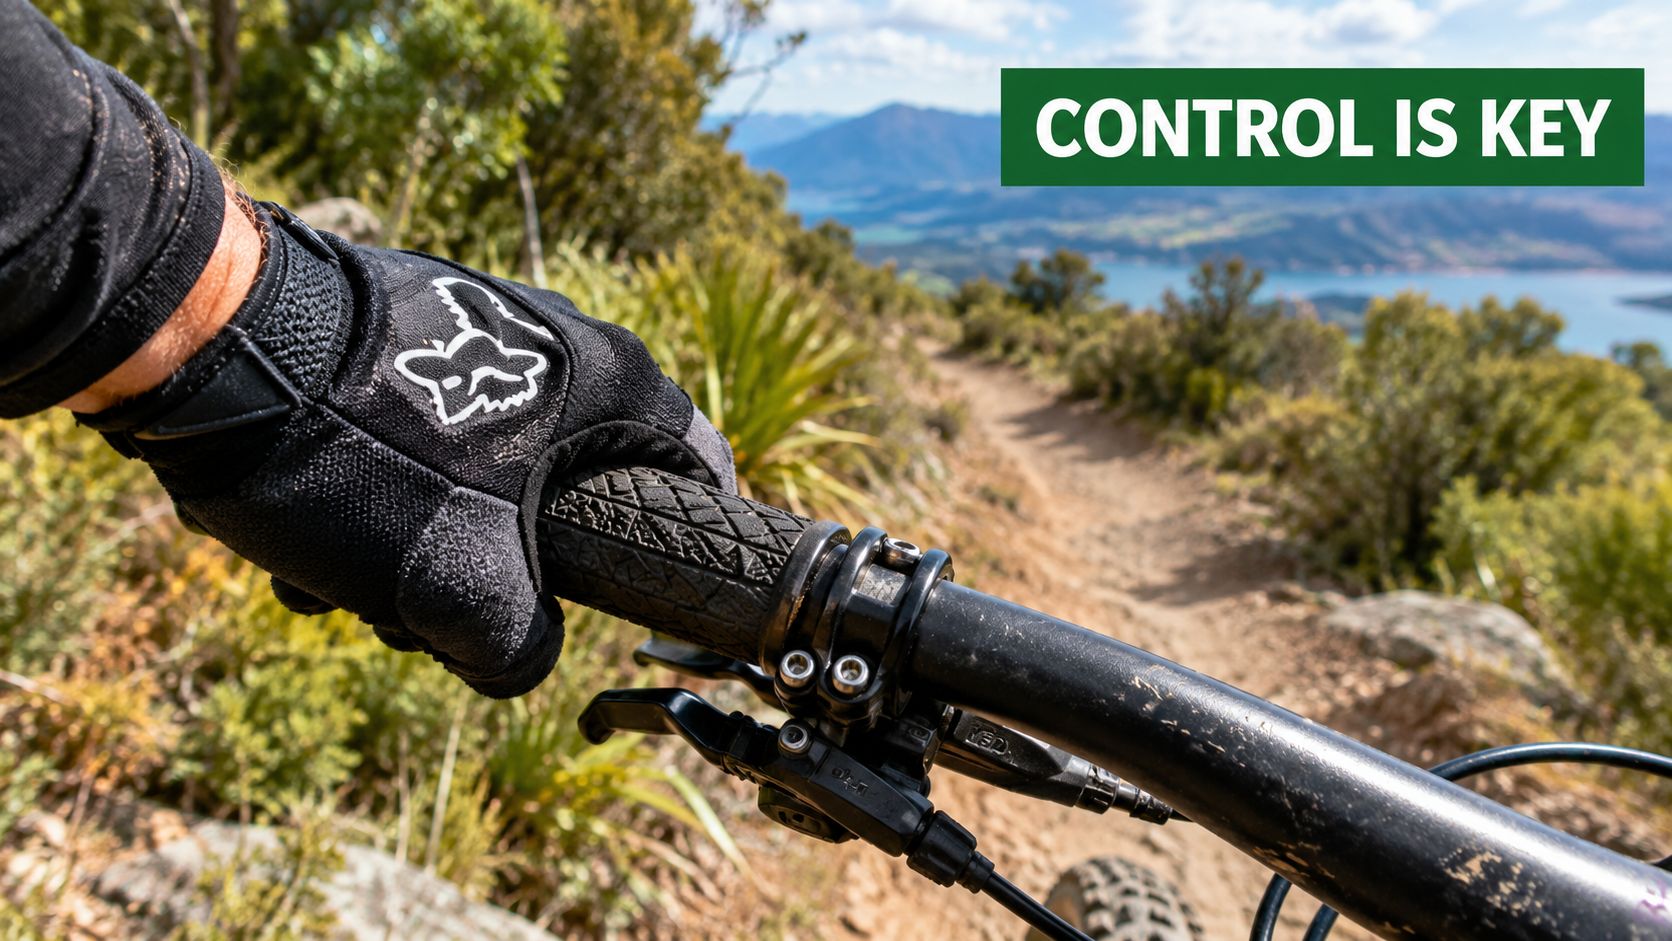
You're halfway down a Nelson trail, the surface has turned to loose chatter, and your hands are working harder than they should. By the time the track smooths out, your palms are sore, your fingers feel numb, and you're squeezing the handlebar just to keep the front wheel settled. Before changing tyres, suspension settings, or brakes, look at the small contact points you've been holding for the entire ride.
Mountain bike grips in NZ need to do more than look tidy on the bike. Diameter, compound, texture, length, attachment method, gloves, and lever position all influence how relaxed your hands can stay. The right choice can make rough riding feel calmer. The wrong one can leave you fighting vibration, losing confidence in wet corners, or compensating for a fit problem with extra grip pressure.
Why Your Grips Matter More Than You Think on NZ Trails
Your hands are one of the bike's main communication points. They guide steering, support your body during braking, and help you sense what the front wheel is doing. If the grip rotates, feels harsh, or forces your fingers into an awkward position, you'll often respond by squeezing harder. That extra tension travels into your wrists and forearms.
Nelson riders know how quickly trail conditions change. A dry climb can lead into a rough descent, loose corners, roots, and a damp surface under trees. A grip that feels fine while you're standing beside the bike might feel too thin, too slippery, or too firm once your hands are tired and the trail starts moving underneath you.
The warning signs are usually physical
Poor grip fit doesn't always announce itself as a clear mechanical fault. Instead, watch for patterns during and after rides:
- Numb fingers: The diameter, compound, glove combination, or cockpit position may be creating pressure in the wrong places.
- Sore palms: A hard or narrow grip can concentrate vibration and load rather than spreading it across your hand.
- Grip movement: A rotating grip makes you hold tighter because you no longer trust the contact point.
- Early forearm fatigue: Your hands may be stabilising the bar with force instead of resting on a secure, supportive surface.
- Uncertain braking: An oversized grip can make lever reach and finger movement harder, particularly for smaller hands.
This doesn't mean a new grip will solve every hand problem. Brake lever angle, saddle position, bar roll, tyre pressure, suspension setup, gloves, and riding technique all matter. But grips are a sensible place to investigate because they're inexpensive to change and directly connected to your hands.
Workshop habit: Notice when discomfort starts. If your hands feel good on the climb but go numb during rough braking sections, look at vibration, grip pressure, and lever reach rather than blaming the whole bike.
Hand comfort also belongs in a wider conversation about managing friction and pressure during riding. If you're comparing different approaches to hand traction and protection, this guide can help you compare liquid chalk and tape, although cycling grips and those aids solve different problems.
Mountain biking has a meaningful participation base in New Zealand. Sport NZ's 2013–14 Sport & Active Recreation Profile recorded mountain biking participation among 8.8% of adults aged 16 and over, around 292,000 people, and recorded 24.8%, around 823,000 adults, taking part in cycling or mountain biking combined (Sport NZ profile). That gives retailers and riders a useful context. Grips aren't an obscure upgrade for a tiny group. They're a practical contact-point component in a large cycling culture.
Lock On Versus Slip On and What Each Design Does Best
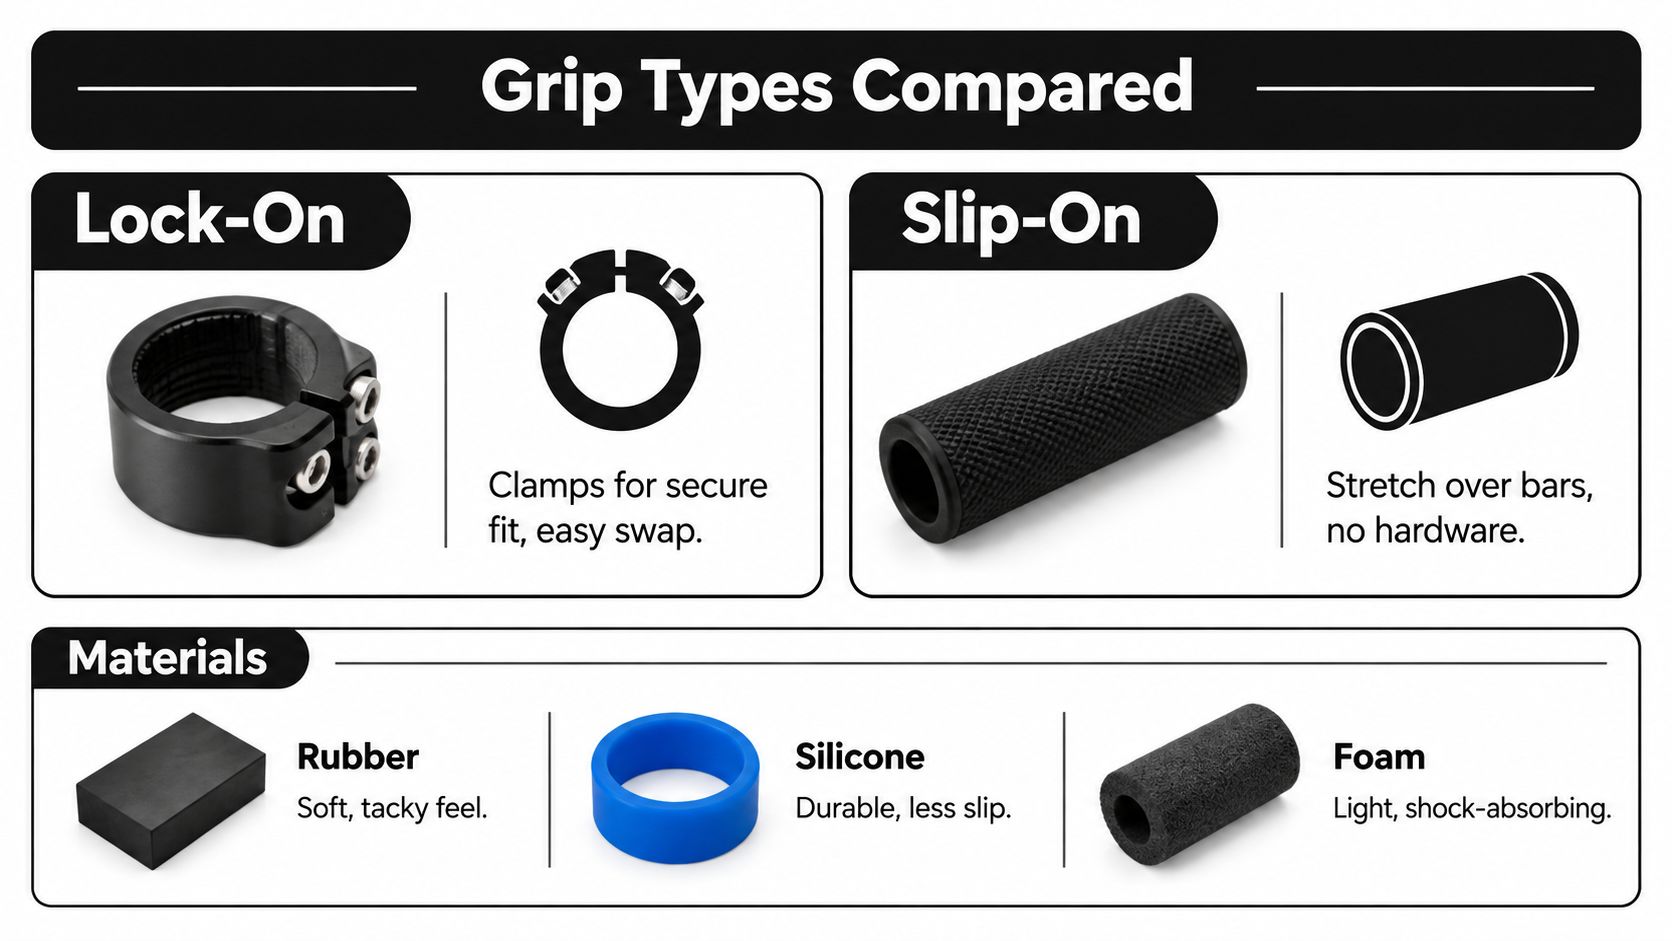
Choosing between lock-on and slip-on grips is like choosing between shoes with laces and shoes that rely on a snug fit. A lock-on grip uses a clamp and bolt to secure itself to the bar. A slip-on grip stretches over the handlebar and relies on friction between the grip and the bar surface.
Neither design is automatically right for every bike. The better choice depends on how much you value quick replacement, low weight, simple construction, and resistance to twisting.
Lock-on grips suit demanding trail use
Lock-ons are usually straightforward to fit and remove. Once the grip is positioned correctly, the clamp holds it against the bar instead of asking the rubber to resist every steering and braking force through friction alone. That makes them useful for muddy riding, frequent bike washing, travelling, and riders who want predictable positioning after a crash or maintenance job.
The main trade-off is hardware. A lock-on grip has a clamp, bolt, and often an inner sleeve, so it may feel slightly more substantial than a simple slip-on. That hardware also needs correct installation. A loose clamp can let the grip twist, while excessive tightening can damage the clamp, fastener, or handlebar.
Single-clamp and dual-clamp designs offer different priorities. A single clamp can leave more flexible rubber at the outside of the grip and may reduce hardware. A dual-clamp design spreads retention across more of the grip, which some riders prefer for aggressive riding and larger loads. Check the manufacturer's fitting instructions rather than assuming that tighter is safer.
Slip-on and silicone grips prioritise simplicity
Slip-on grips can have a clean, direct feel because there's no clamp at the outer end. They can also be light and comfortable, particularly when made from foam or silicone-like material. Their weakness is installation sensitivity. Dirt, moisture, an unsuitable bar surface, or incomplete drying can allow movement later.
Rubber compounds vary from firm and precise to soft and cushioned. Silicone grips can offer a smooth, comfortable contact surface, while foam tends to prioritise lightness and shock absorption. Softer materials may reduce the sharpness of trail chatter, but they can also feel less precise or wear sooner when exposed to grit and repeated crashes.
Flanged grips add a raised section at the inside or outside edge that can help define hand position or provide a barrier against sliding. Flangeless grips give your hands more freedom to move and often feel less restrictive during technical riding. Some riders like the extra reference point of a flange. Others find it catches their thumb or limits movement.
For a straightforward lock-on option, you can inspect the construction and dimensions of OneUp Lock-On Grips. Treat the product details as a starting point, then match the grip's diameter, shape, and compound to your hands and riding.
A useful rule is simple:
- Choose lock-on when security, repeatable positioning, and easy servicing matter most.
- Choose slip-on when you prefer a simple interface and are prepared to install it carefully.
- Choose soft material when vibration and palm comfort are your main concerns.
- Choose firmer material when direct feedback and long-term surface definition matter more.
Finding Your Perfect Fit With Diameter Length and Compound
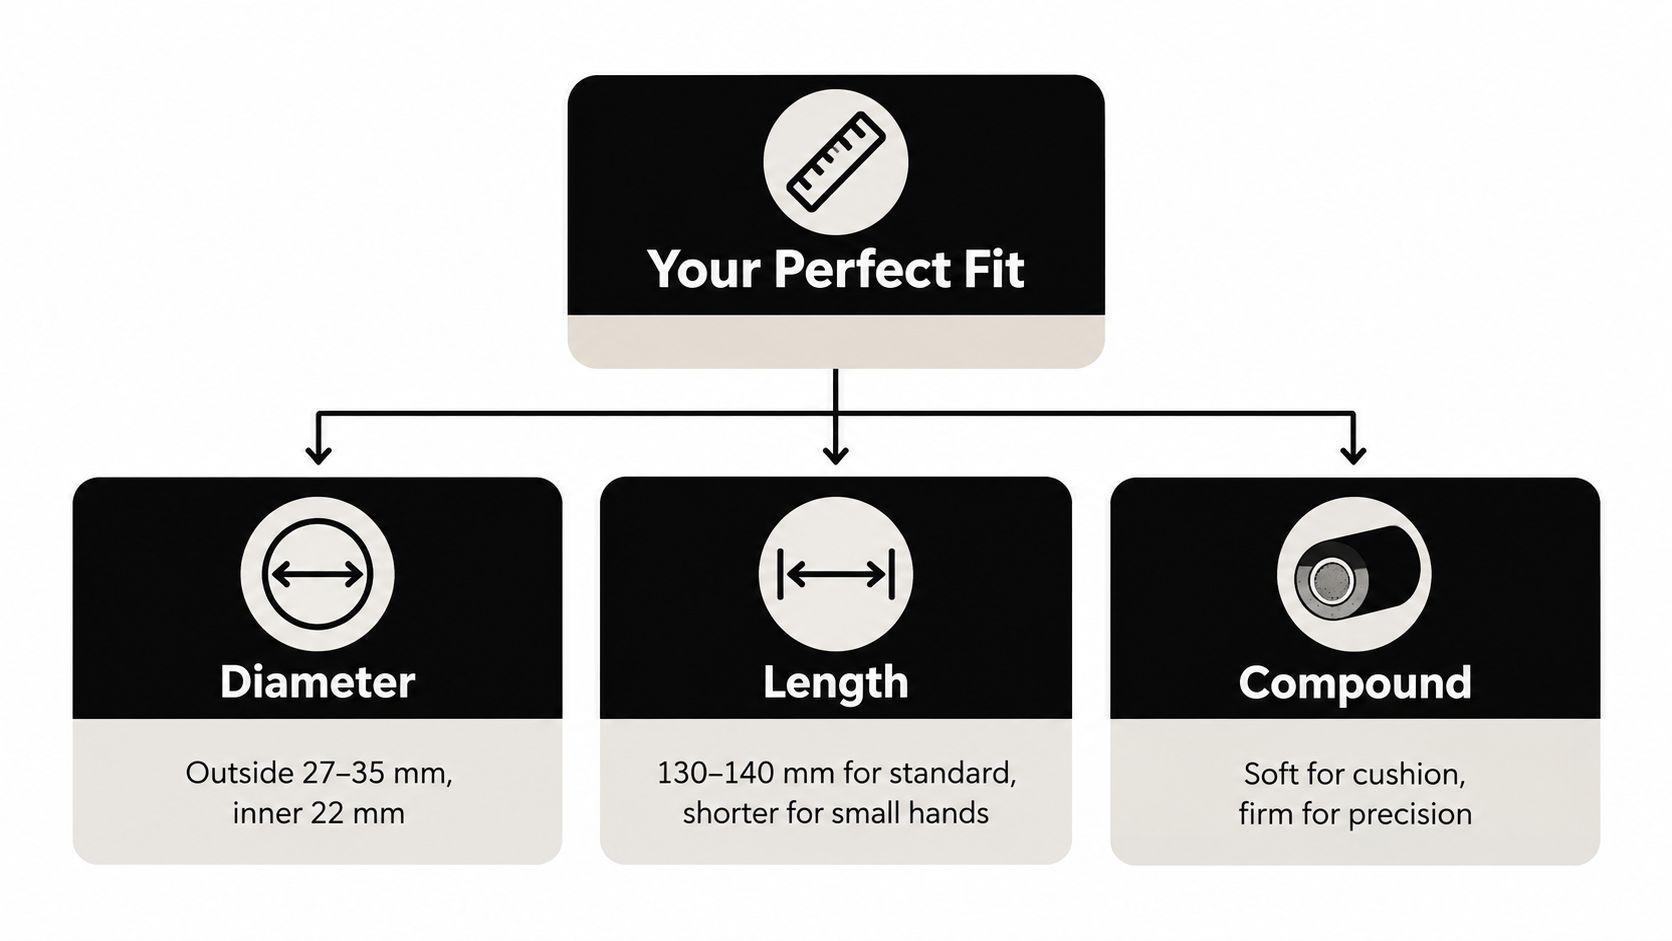
A grip should fit your hand in the same practical way a shoe fits your foot. It needs enough volume to support you without preventing a controlled wrap around the bar. Diameter, length, and compound work together, so changing one can alter how the others feel.
NZ retail guidance commonly places adult mountain-bike grips at around 130 to 140 mm in length and roughly 27 to 35 mm in outside diameter (NZ grip sizing guidance). These are useful reference ranges, not instructions that every rider must follow.
Start with the handlebar standard
The grip area of a modern MTB flat bar is typically 22.2 mm, while the centre clamp area is commonly 31.8 mm or 35 mm (NZ MTB technical regulations). Those measurements describe different parts of the bar. A 35 mm centre clamp does not mean you need a 35 mm grip. The grip slides over the smaller control area outside the centre section.
This is a common source of confusion when shopping online. Match the grip to the bar's control area and the product's stated compatibility. Don't measure the centre bulge and use that as your grip diameter.
The national safety framework also matters. NZ-adopted ISO 4210-2 covers mountain bicycles and includes requirements related to handlebar dimensions, grips, and plugs (handlebar grip sizing guidance). In practical terms, a grip needs to stay secure, fit correctly, and be used with suitable bar-end plugs. It's not just a comfort accessory.
Use hand size and symptoms as your guide
A smaller diameter can give smaller hands easier access around the bar and may preserve precise lever control. The trade-off is that a thin grip can concentrate pressure and transmit more vibration, especially if the material is firm.
A larger diameter can spread contact over more of the palm and reduce the need to clamp down. It can feel calmer on a rough descent or long ride, but it may make the bar feel vague and can interfere with clean brake lever reach if your hands are small.
Try this check with one finger resting naturally near the brake lever:
- Wrap your hand around the grip without squeezing hard.
- Check whether your fingers close comfortably without digging sharply into your palm.
- Reach for the brake lever and confirm that your index finger can move freely.
- Hold the position while standing on the pedals.
- Notice whether the shape creates a hotspot under the palm or heel of the hand.
Compound changes the result. A soft rubber or silicone surface can calm vibration and feel comfortable with gloves, while a firmer compound can provide sharper feedback and resist deformation. Softness doesn't replace correct diameter. A soft grip that's too large can still compromise lever control.
For riders who want to compare several diameter options within one system, the RevGrips Pro System shows how small changes in outside diameter can become part of the fitting decision.
Comfort check: If numbness appears only after rough descending, test diameter and compound first. If it appears on smooth riding too, inspect lever position, wrist angle, gloves, and overall cockpit setup.
Length matters when you use unusual controls, extra hand positions, or a smaller frame. Standard adult lengths suit many MTB controls, but shorter hands or crowded bars may benefit from a shorter grip. Before trimming anything, confirm that brake levers, shifters, dropper remotes, and lock-on collars will still fit in a safe position.
Installing and Removing Grips Without Damage or Slip
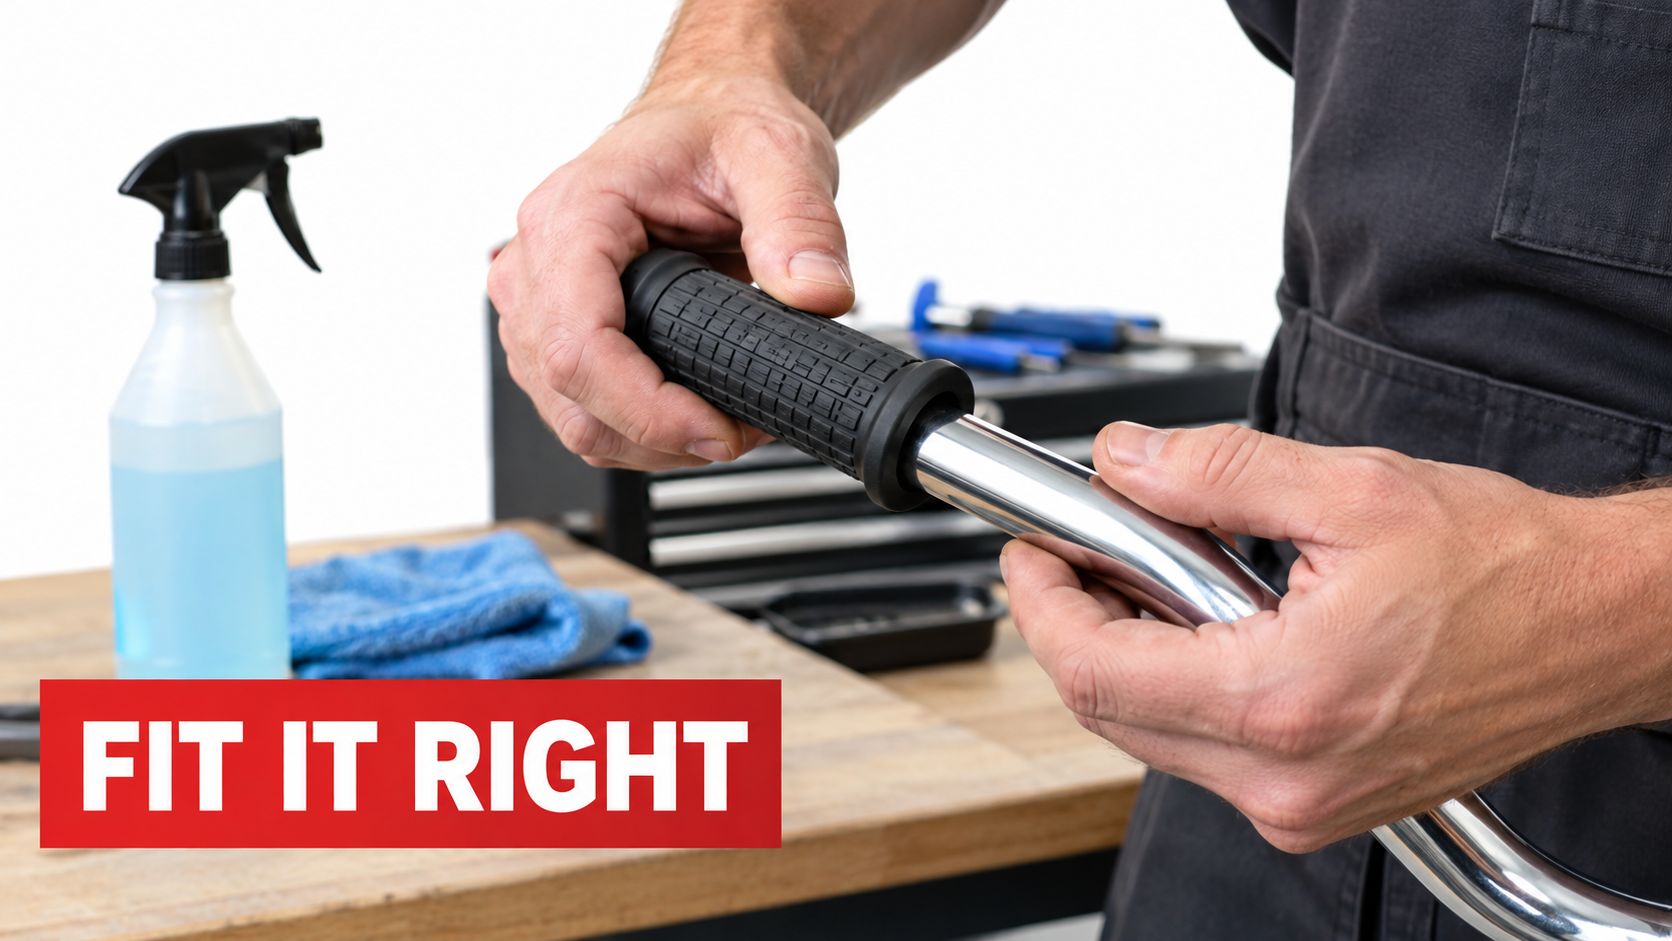
Good installation starts with a clean bar. Remove the old grip and bar-end plug, then inspect the exposed handlebar for dirt, adhesive, burrs, dents, or cracks. If the bar is damaged at the end, don't force a new grip over it. A stubborn fit can hide a serious problem.
Fitting lock-on grips
Lock-on installation is mostly about alignment and restraint.
- Clean the interface: Wipe the handlebar and the inside of the grip so grit can't prevent full seating.
- Dry-fit the grip: Slide it into position without grease unless the manufacturer specifically instructs otherwise.
- Set the rotation: Round grips can be neutral. Ergonomic or directional grips need the palm support and texture facing the intended direction.
- Align the clamps: Keep clamp edges seated evenly rather than allowing one side to pinch.
- Tighten progressively: If the design uses two bolts, alternate between them. Use the manufacturer's specified torque, especially on carbon bars.
- Check the controls: Make sure brake levers and shifters remain reachable without the grip forcing your hand out of position.
Don't treat the bolt like a wheel nut. Over-tightening can crush a clamp or damage the bar, while under-tightening leaves the grip vulnerable to twisting. A torque wrench is useful if the manufacturer provides a torque value.
Installing slip-on grips
Slip-ons need a clean, compatible surface and time to settle. For removal, compressed air under the grip edge can break the seal. A small amount of isopropyl alcohol can also help separate the grip from the bar.
For installation, use a light amount of isopropyl alcohol inside the grip or a manufacturer-approved fitting method. It helps the grip slide into place and evaporates as it dries. Avoid oil, grease, or other lubricants that can remain between the bar and grip and encourage movement.
Leave the grip undisturbed until the fitting method has fully dried. Then twist it firmly by hand and check that it doesn't rotate.
Finish with the bar ends
Bar-end plugs are a safety part, not decoration. Fit secure plugs that suit the handlebar and grip design, then check them after a crash, transport, or repeated washing. An open bar end can damage the grip and expose a sharp edge during a fall.
Keeping Grips Fresh and Fixing Common Trail Problems
Grip problems often develop slowly. The surface becomes glossy, the compound hardens, or the outer edge tears after repeated contact with the ground. Because your hands adapt to gradual change, you might only notice the issue when a replacement suddenly makes the bike feel easier to control.
Clean grips with mild soap and water after muddy or dusty rides. Sweat, sunscreen, clay, and grit can change the way the surface feels. Harsh solvents may dry or alter some compounds, so use the least aggressive cleaning method that removes the contamination.
Inspect before the next ride
Run your fingers over the whole grip and look for:
- Rotation: Hold the grip and apply firm twisting pressure. A lock-on should stay fixed.
- Glossy patches: A polished area can indicate surface wear and reduced texture.
- Tears and missing chunks: Damage around the outer edge often follows a crash or bar contact.
- Hardening: A grip that feels noticeably firmer than the other side or than it used to may no longer provide the same damping.
- Loose plugs: Replace damaged or missing bar-end plugs before riding.
A worn grip doesn't only feel less comfortable. It can change the way you hold the bar, which may affect braking smoothness and fatigue.
Match each complaint to the likely cause
| Problem | What may be happening | First adjustment |
|---|---|---|
| Grip twists | Clamp is loose, or the interface is contaminated | Remove, clean, refit, and tighten to the specified setting |
| Hands go numb | Diameter, compound, gloves, lever position, or wrist angle doesn't suit you | Check lever reach and try a different diameter or softer compound |
| Palms develop hot spots | Pressure is concentrated by shape, texture, or rotation | Recheck grip angle and consider a different profile |
| Vibration feels sharp | The grip is too firm or too thin for the terrain | Try a fuller or softer option, then review tyre and suspension setup |
| Surface feels slippery when wet | Mud, worn texture, glove mismatch, or grip movement | Clean the grip, inspect wear, and check retention |
Not every symptom belongs to the grip. Persistent numbness, pain, or weakness deserves proper medical attention, particularly if it continues away from the bike. A grip change can improve contact comfort, but it shouldn't be used to ignore an ongoing health issue.
What to Pay and Where to Buy Mountain Bike Grips in NZ
Grip pricing varies with construction, compound, ergonomic shaping, brand, and whether the package includes clamps or other hardware. Rather than choosing by price alone, decide what you're paying for. A basic grip may provide a secure interface at a lower cost. A more developed model may offer a carefully tuned diameter, softer compound, extra texture, or palm support.
New Zealand riders can also use local buying support to solve fit questions before ordering. Holding a grip in your hand reveals more than a product photograph. You can compare thickness, check whether your fingers close comfortably, and assess how the texture interacts with your gloves.
Compare the main options
| Grip Category | Best For | Feel and Trade Off | Typical NZ Expectation |
|---|---|---|---|
| Basic slip-on | Simple builds, casual riding, and riders who prioritise minimal hardware | Direct and uncomplicated, but installation and moisture control matter more | Lower-cost entry option |
| Standard lock-on | General trail riding and riders who want dependable retention | Secure and easy to replace, with some clamp hardware | Mid-range practical choice |
| Soft or silicone grip | Riders focused on hand comfort and vibration reduction | Cushioned contact, with possible trade-offs in feedback and wear | Comfort-oriented option |
| Ergonomic grip | Mixed riding, touring, commuting, or riders who prefer palm support | Supports a defined area, but may restrict hand movement on technical terrain | Shape-specific purchase |
| Premium adjustable or multi-diameter system | Riders who want to fine-tune fit | More setup flexibility, with added complexity and cost | Higher-priced fitting solution |
Rider 18 offers mountain-bike grips and workshop support from its Nelson location at 60 Vanguard Street, with online ordering for riders outside the region. Its grip range includes options from brands such as Burgtec, OneUp, SRAM, and Shimano, while its published store information includes nationwide shipping, free delivery over $100, and 14-day returns (Rider 18 grip guide). Check the current product and returns terms before ordering.
If you're already preparing for a longer ride, grip comfort is only one part of reducing fatigue. Planning hydration around access, bottle placement, and carrying preferences is useful too, so it's worth reviewing these top features for trail hydration.
A sensible buying sequence is:
- Choose the attachment style based on how much security and easy servicing matter.
- Narrow the diameter using hand size and lever reach.
- Select compound and texture according to vibration, gloves, and wet conditions.
- Confirm length and bar compatibility before placing the order.
- Keep the receipt and packaging until the grip is fitted and feels right on a real ride.
Choosing With Confidence and Riding More Comfortably
A good grip choice comes down to three questions: How large are your hands? What does your local riding feel like? How much maintenance are you happy to do?
Small hands often need a slimmer profile and unrestricted brake access. Larger hands or riders troubled by repeated vibration may prefer more volume and a softer compound. Rough, wet trails usually reward secure retention and a surface that remains predictable with gloves, mud, and water. Riders who want quick removal will generally appreciate lock-on hardware. Riders who prefer a simple, light interface can still make slip-ons work with careful fitting.
Don't judge the final choice only in the car park. Ride long enough for fatigue to appear, then note whether you're squeezing, shifting your hands, losing lever access, or developing pressure points. If the symptoms remain, inspect the brake lever angle, bar rotation, gloves, and riding position before assuming the grip is the sole cause.
A small change at the handlebar can make the bike feel more settled because your hands no longer need to fight every movement. Choose the diameter first, use compound and texture to tune comfort, install the grip securely, and replace it when wear changes the feel.
At Rider 18, you can compare mountain bike grips, get practical fit advice, and arrange workshop help in Nelson if you'd rather have the installation checked. Visit Rider 18 before your next ride and take your current symptoms, glove choice, and handlebar details with you so the team can help you select a more comfortable setup.


